Tracking Admission Decisions
This guide explains how to record and manage a student’s college admission decisions within Achieve.
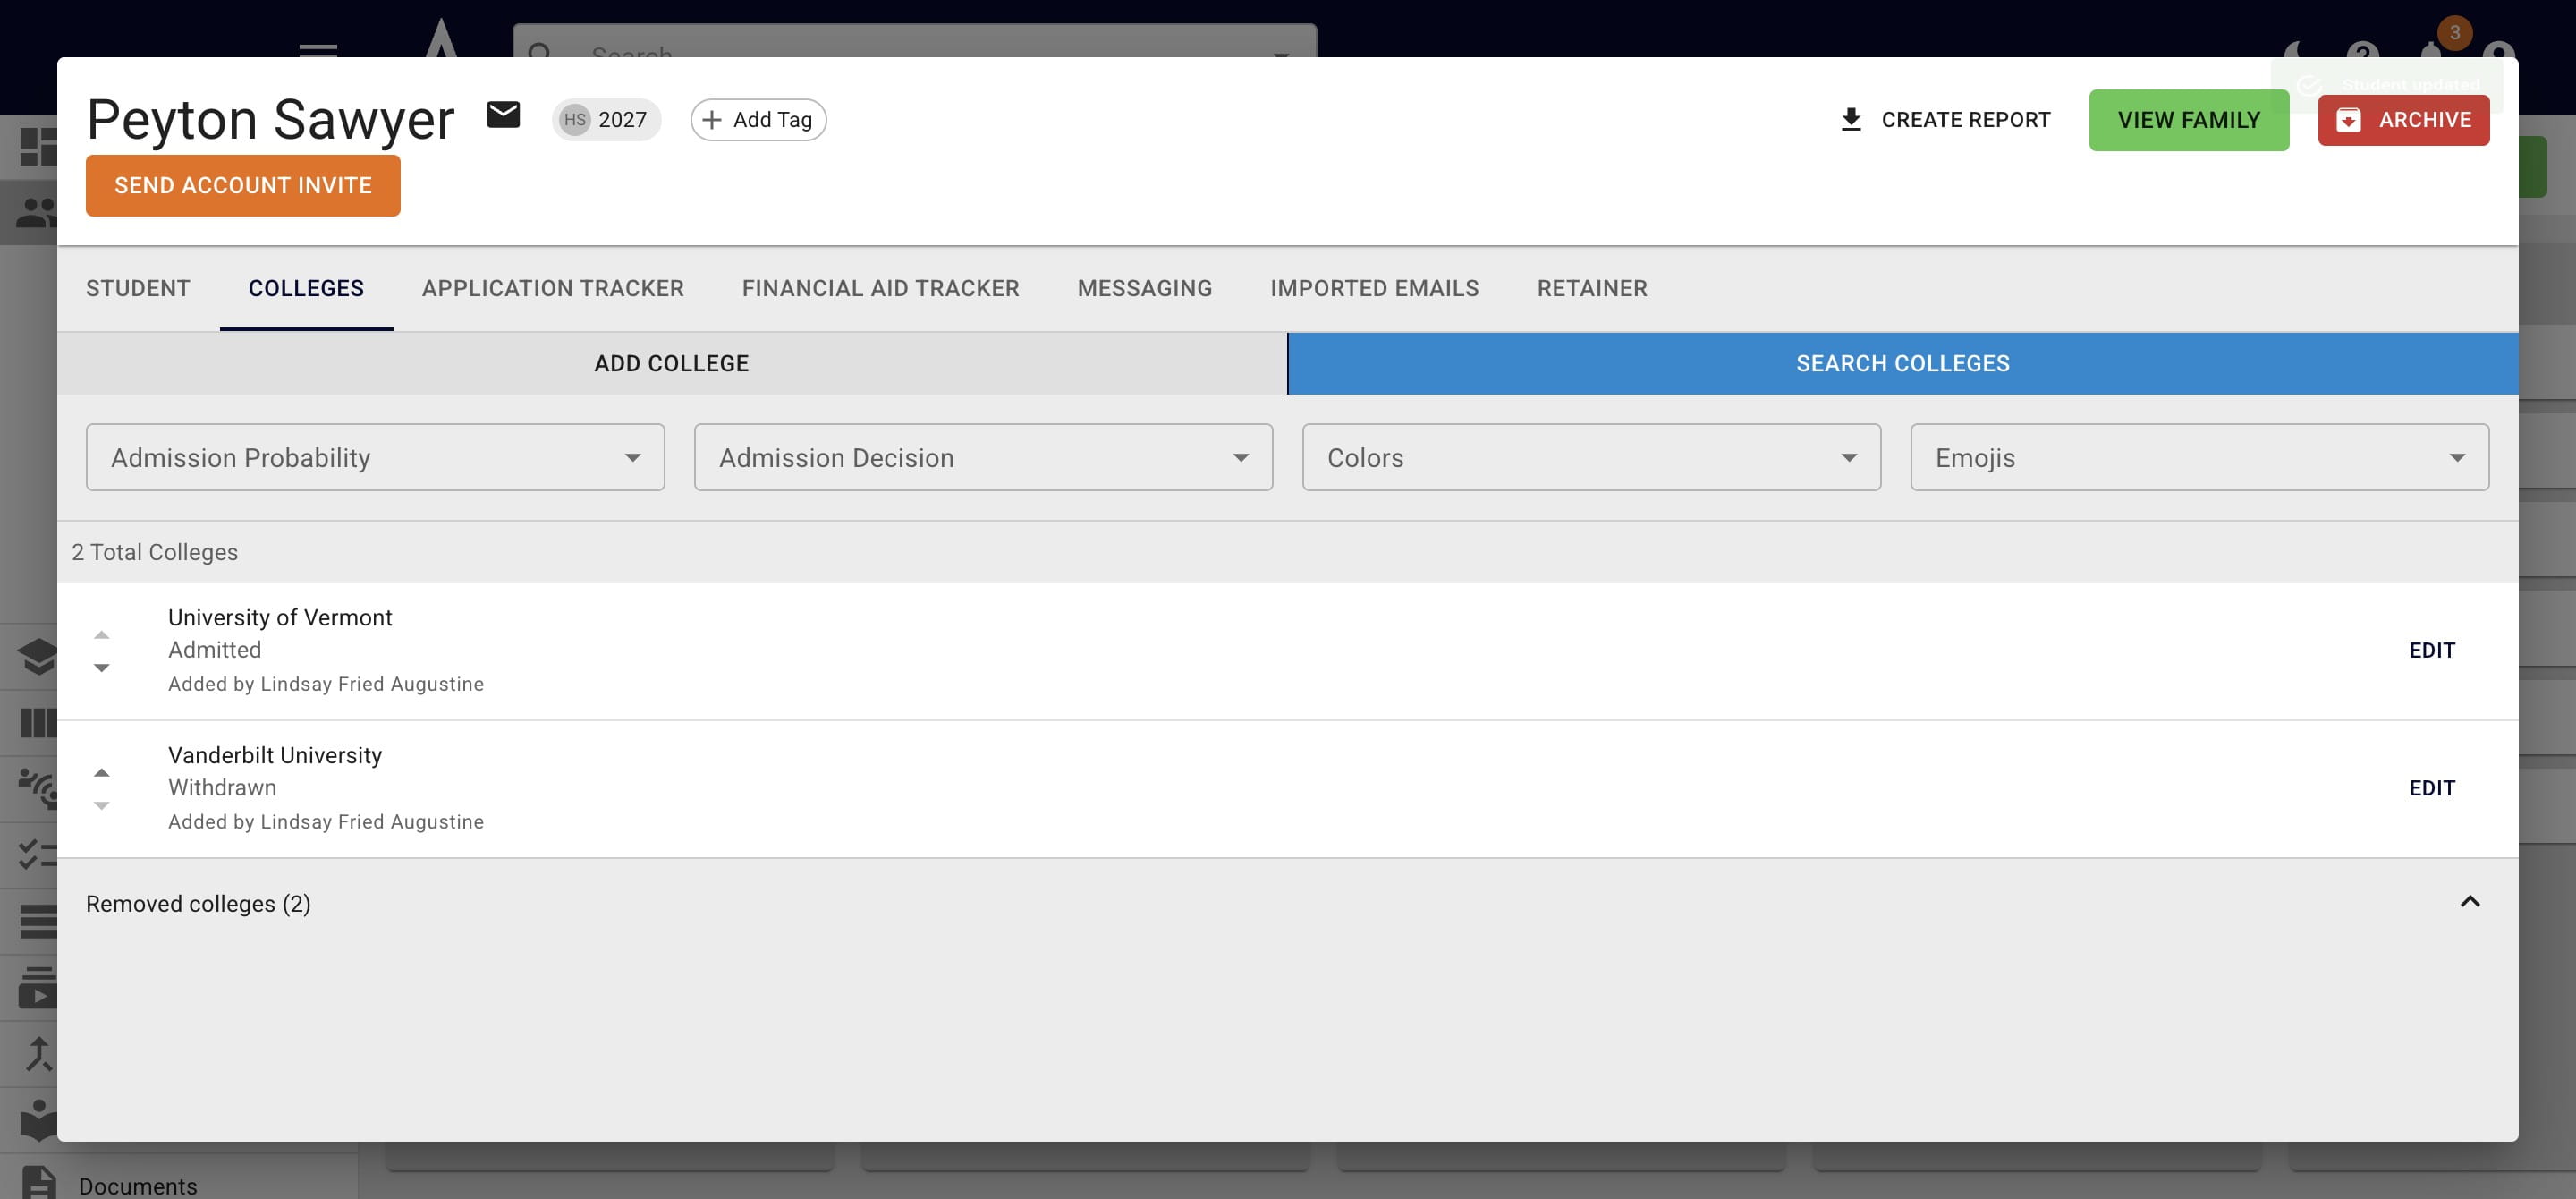
To record an admission decision open up the student's college list and press Edit to the right of the college you're updating.
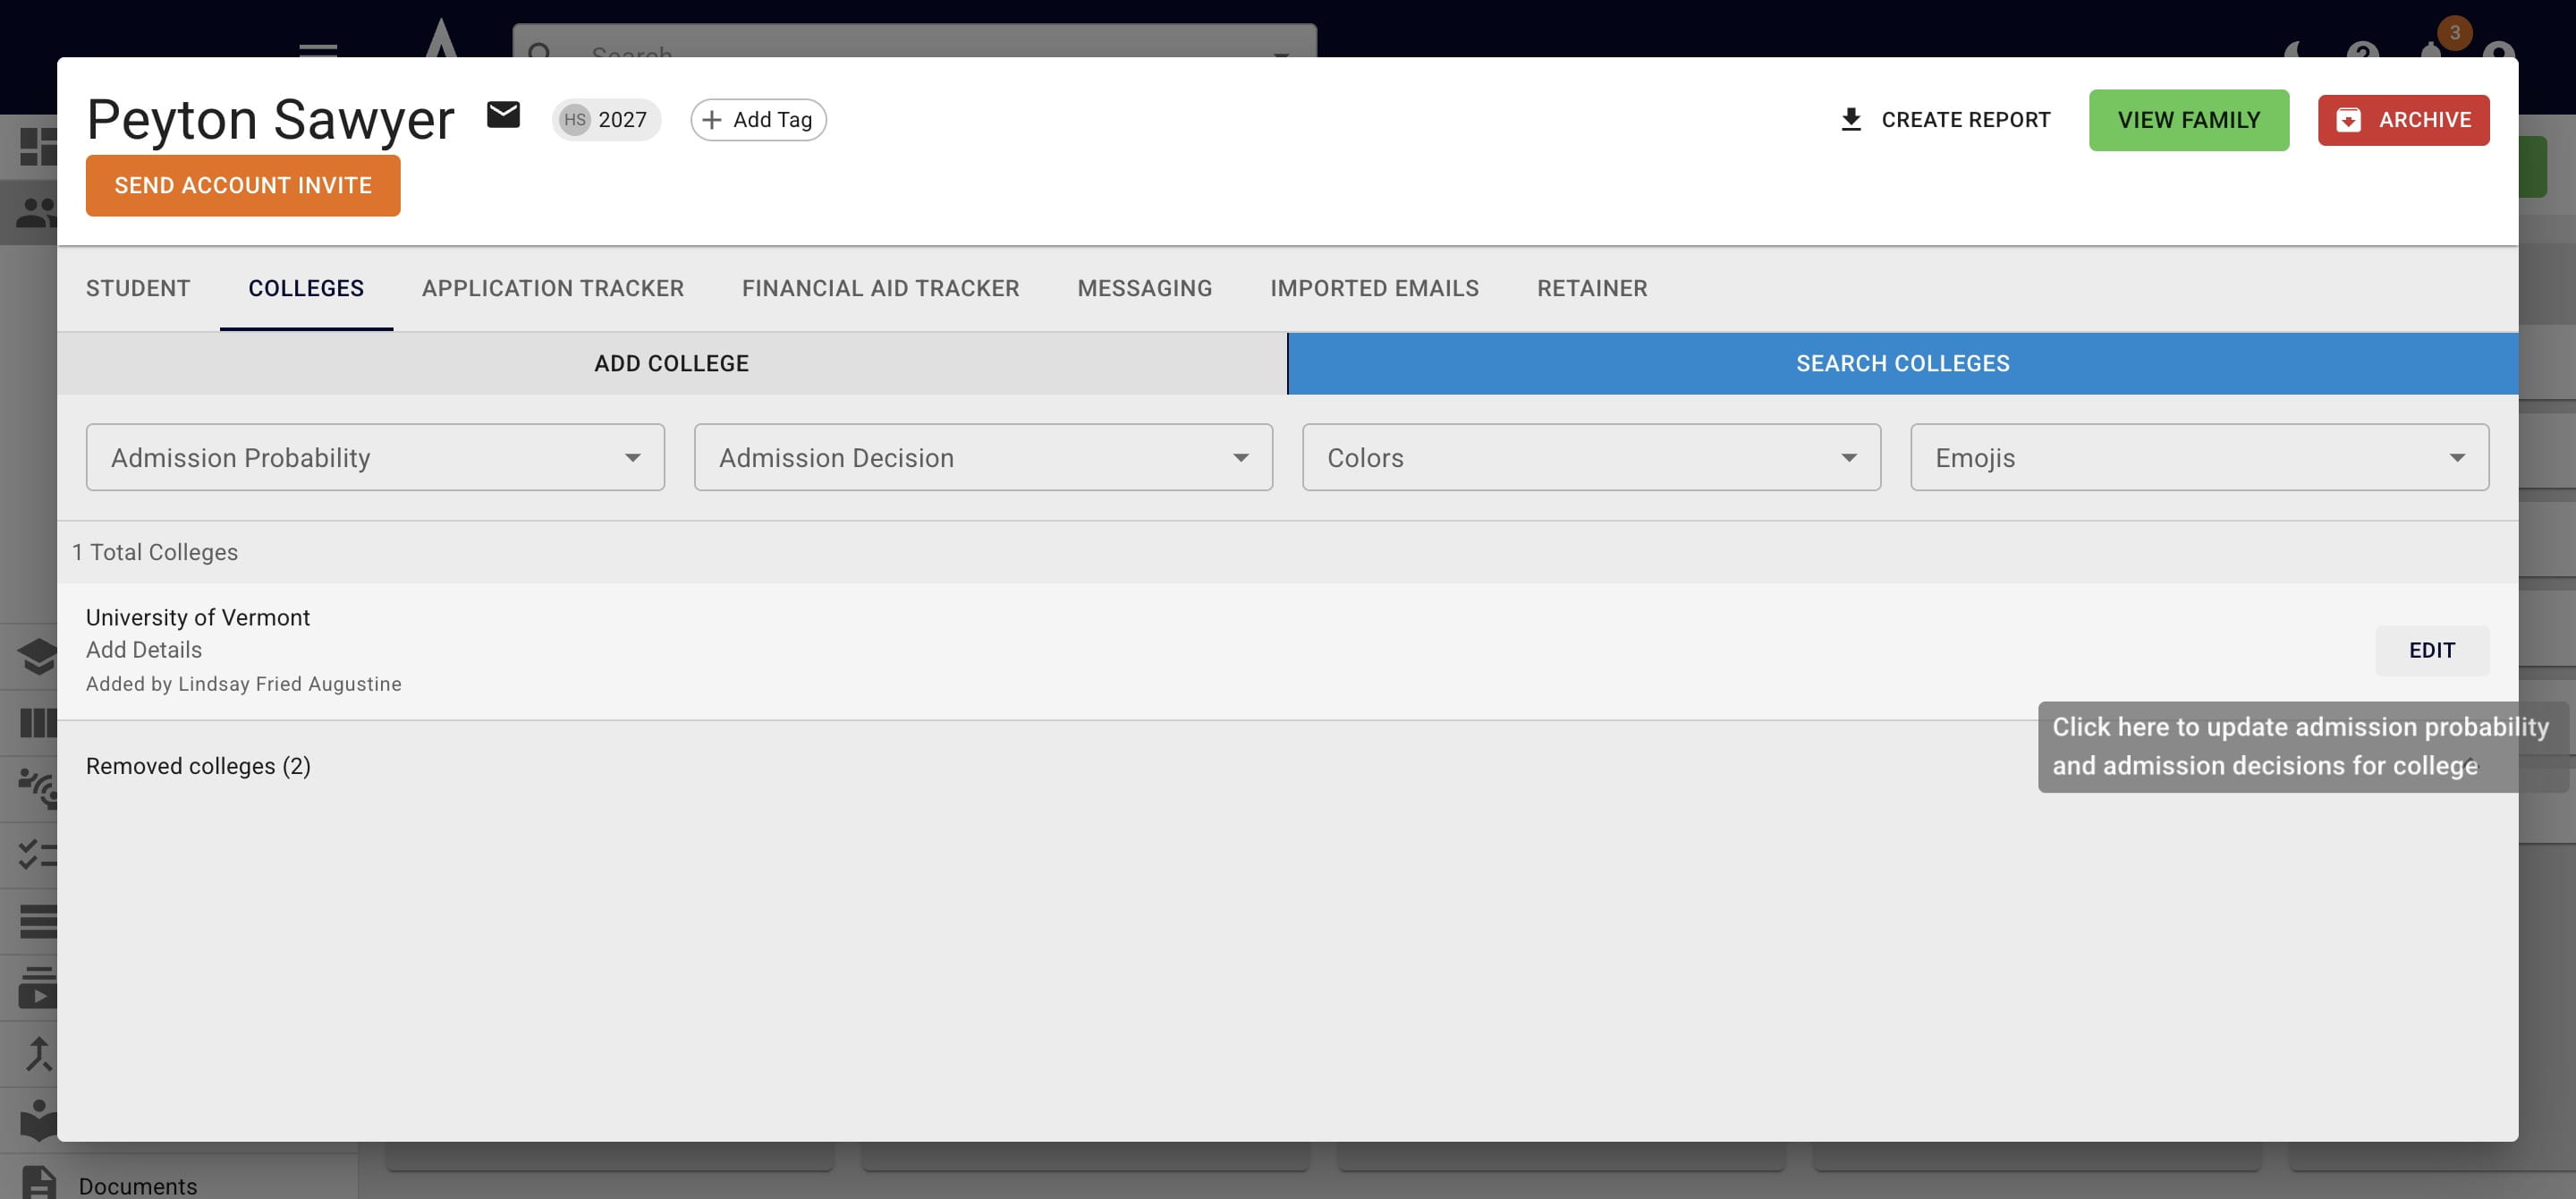
Then click on Update.
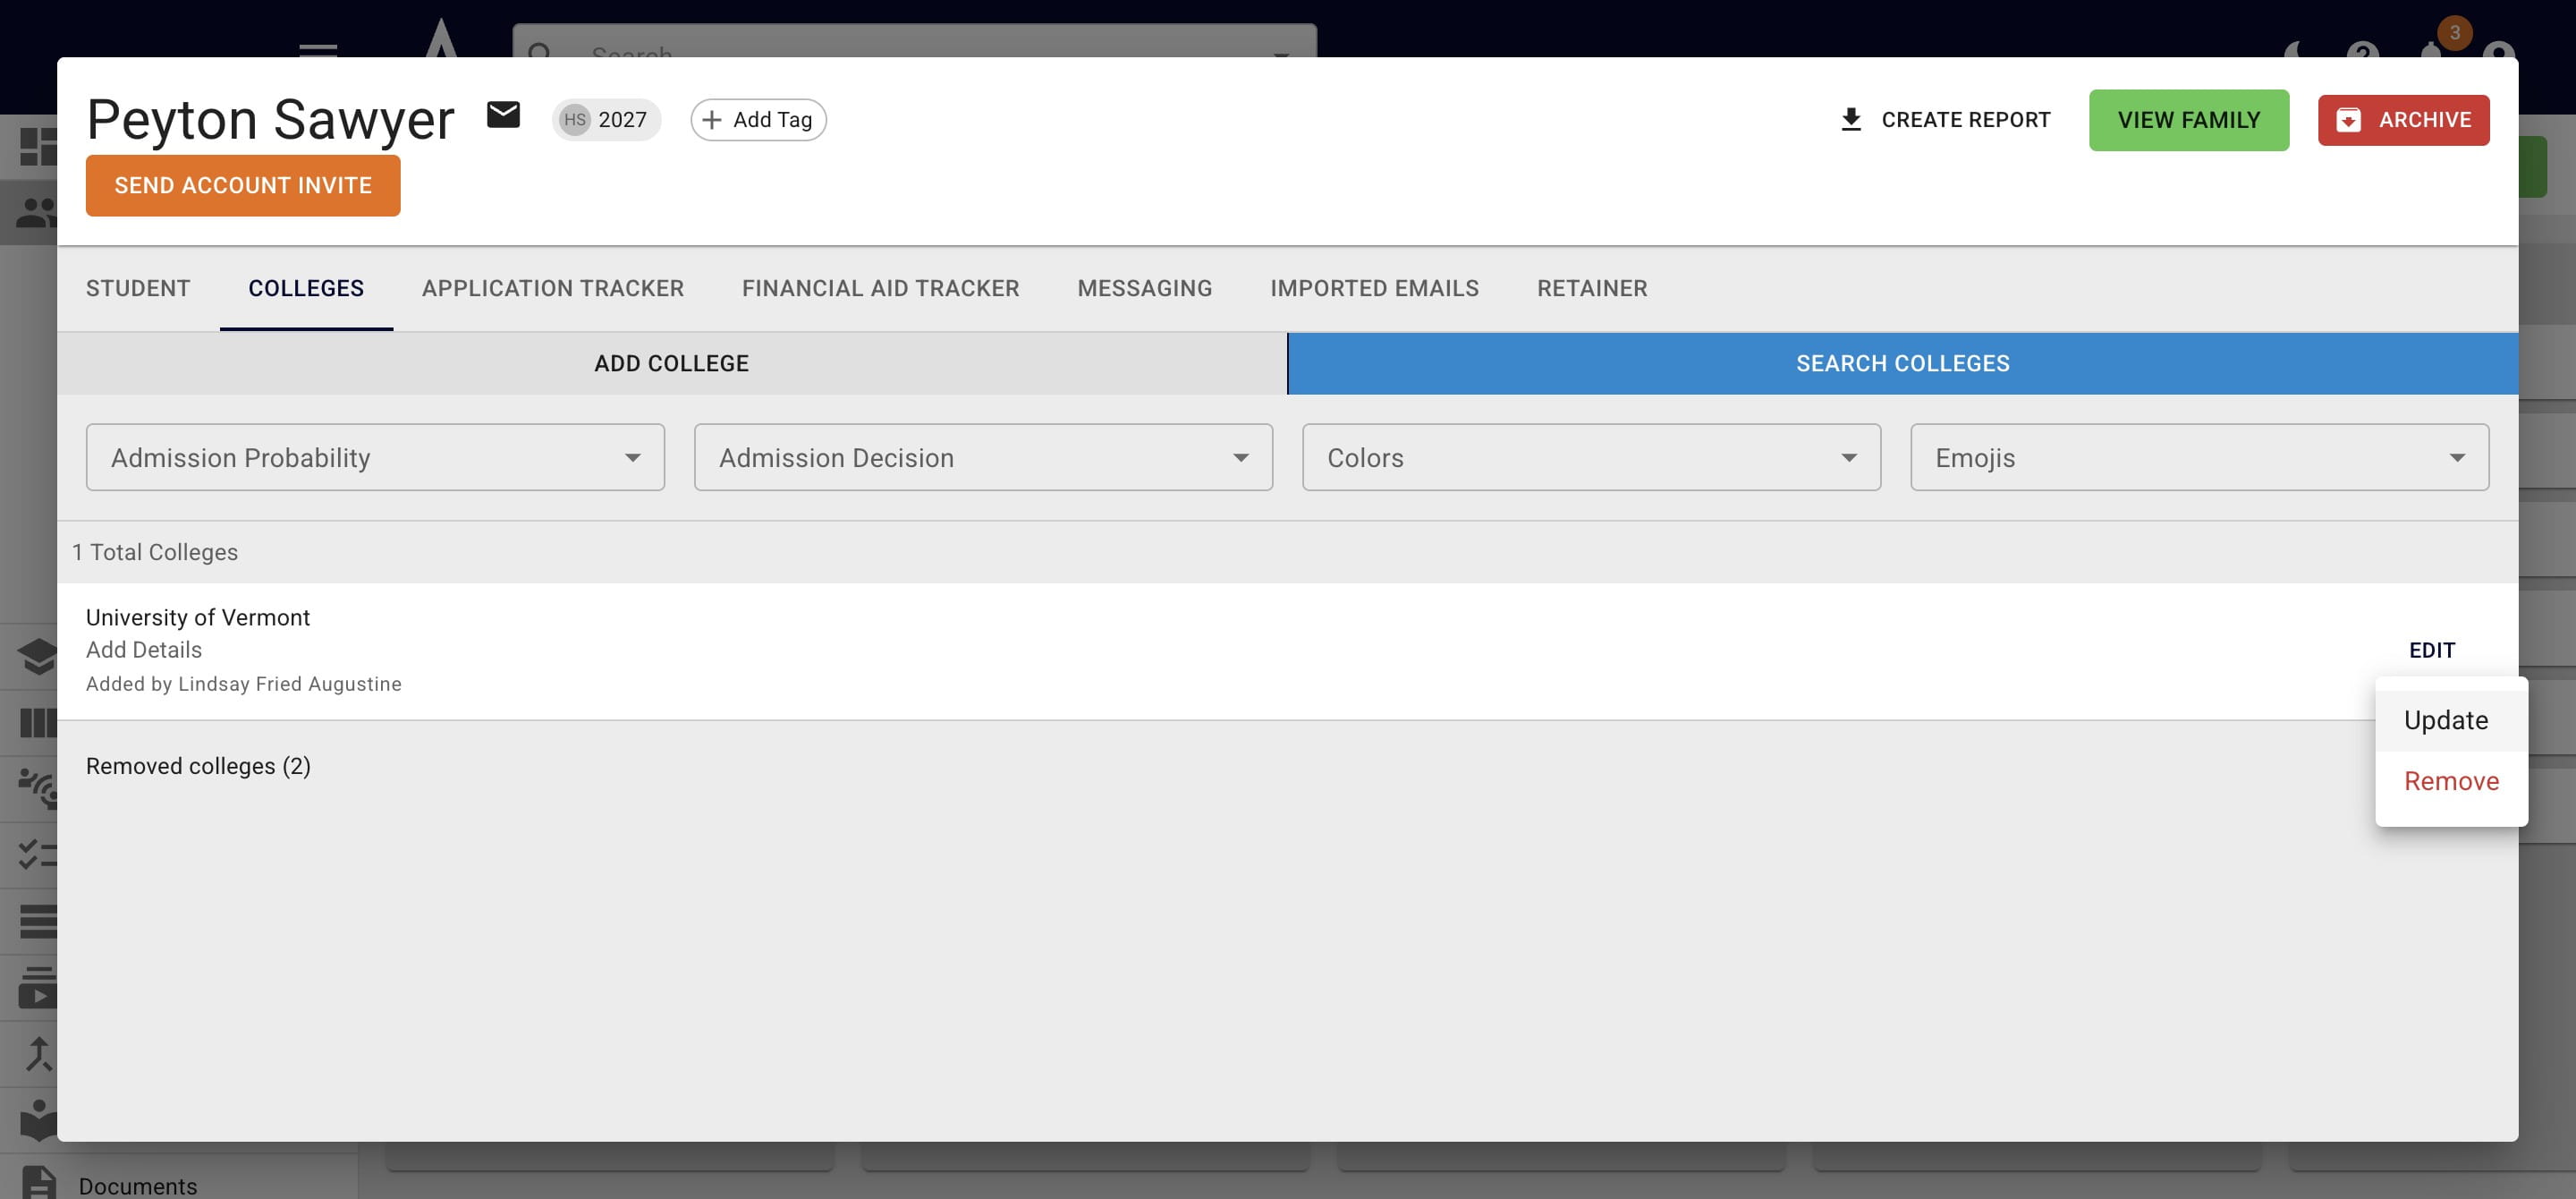
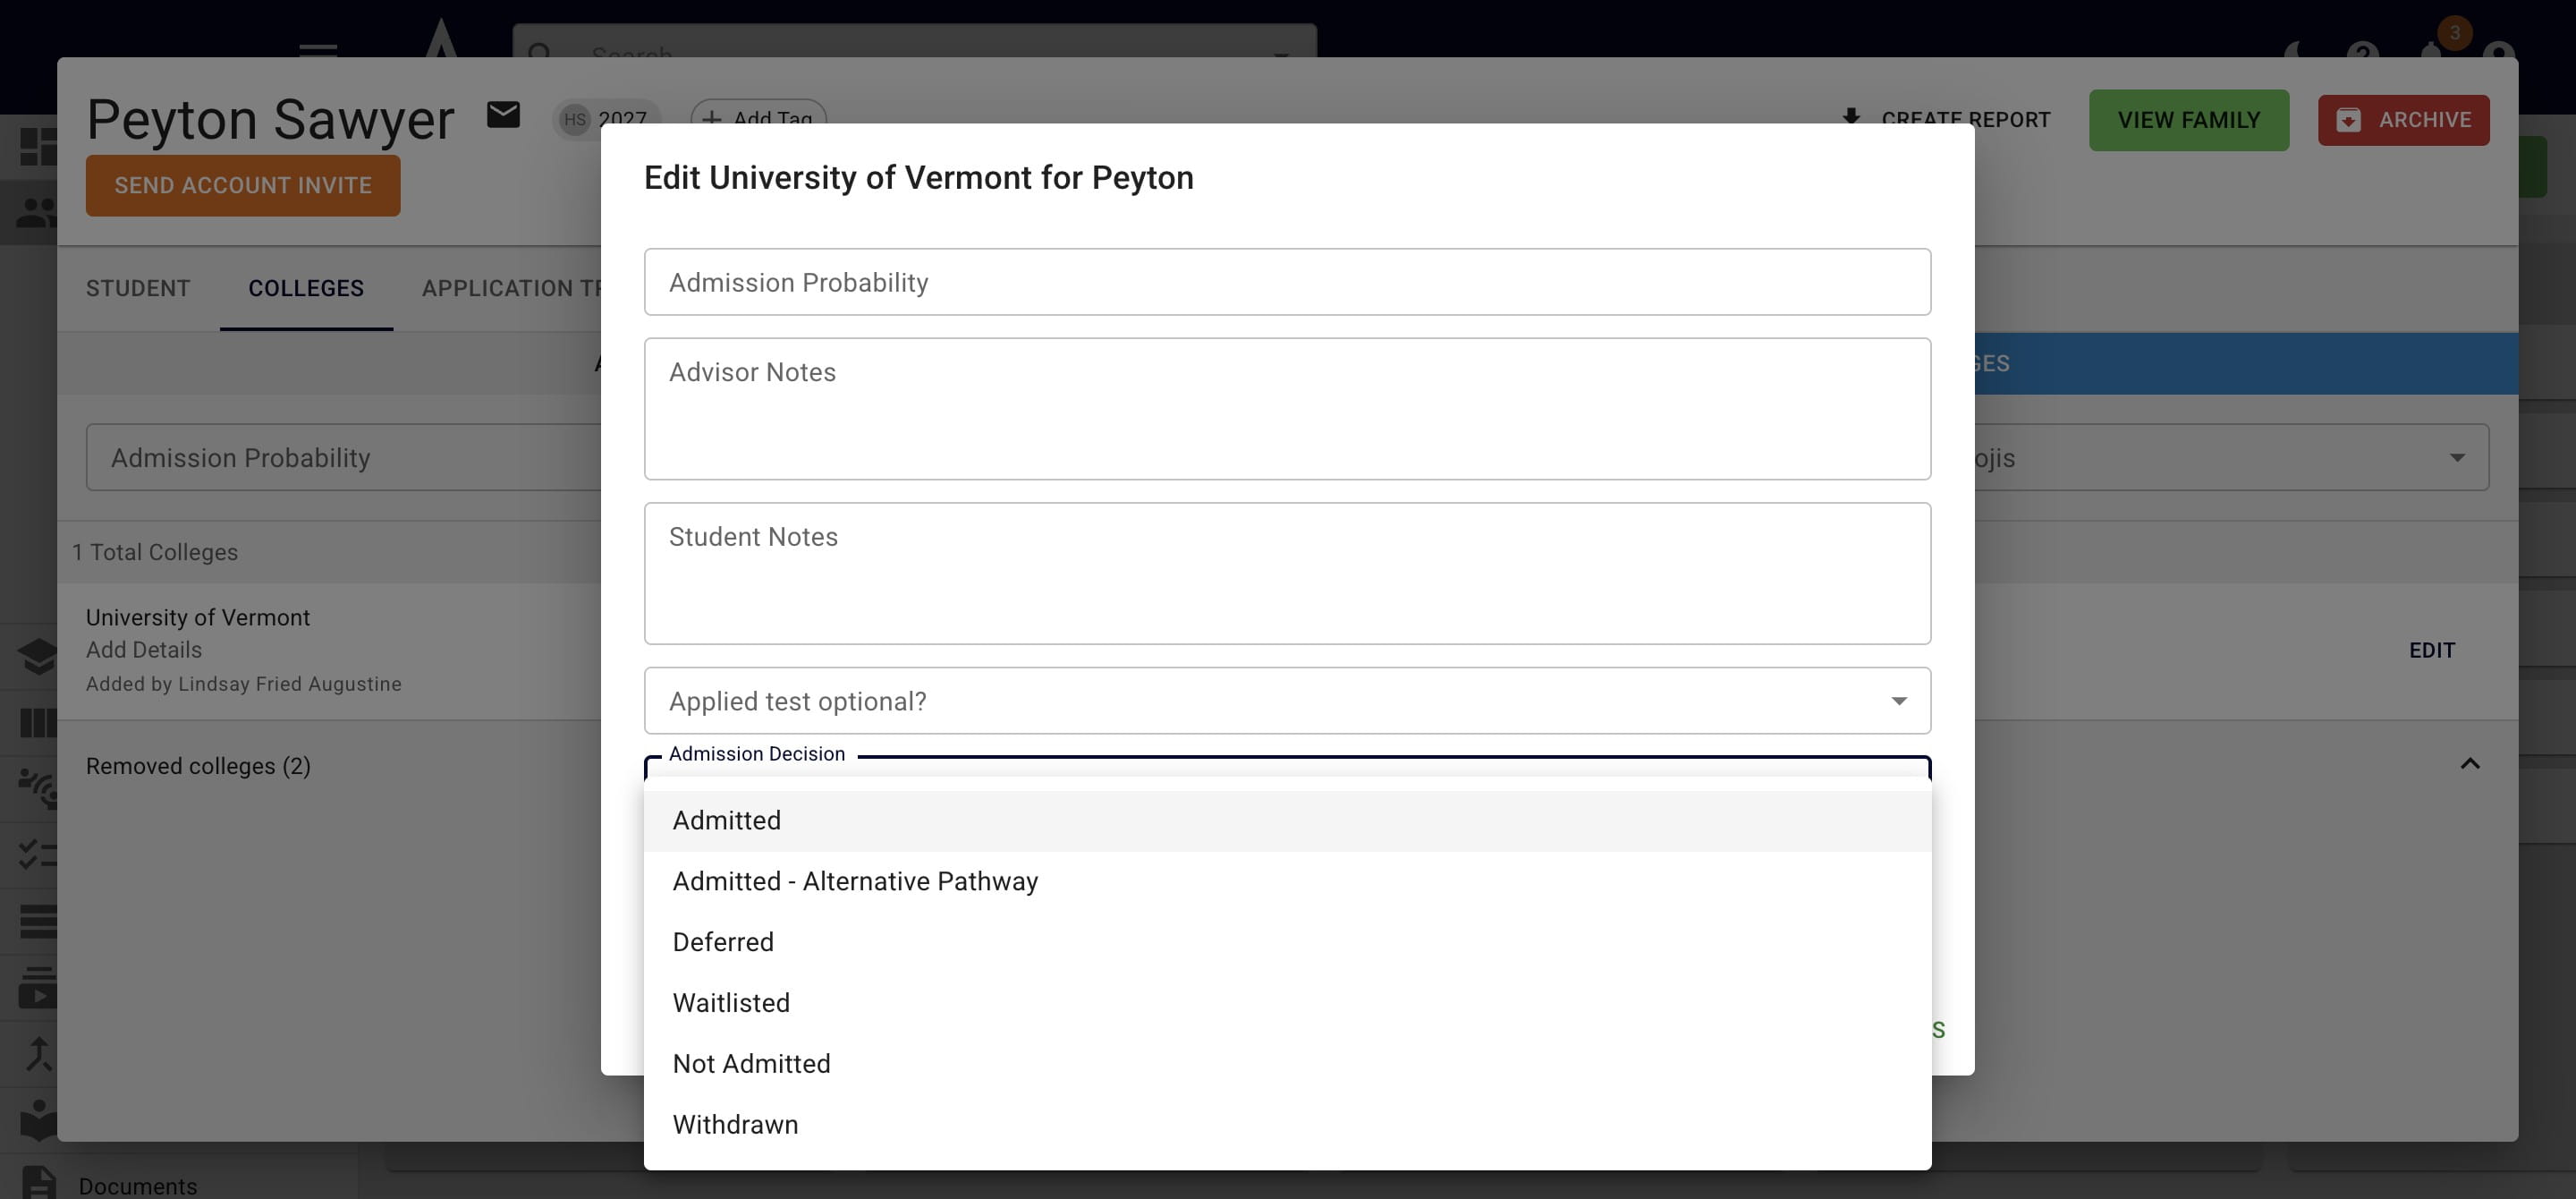
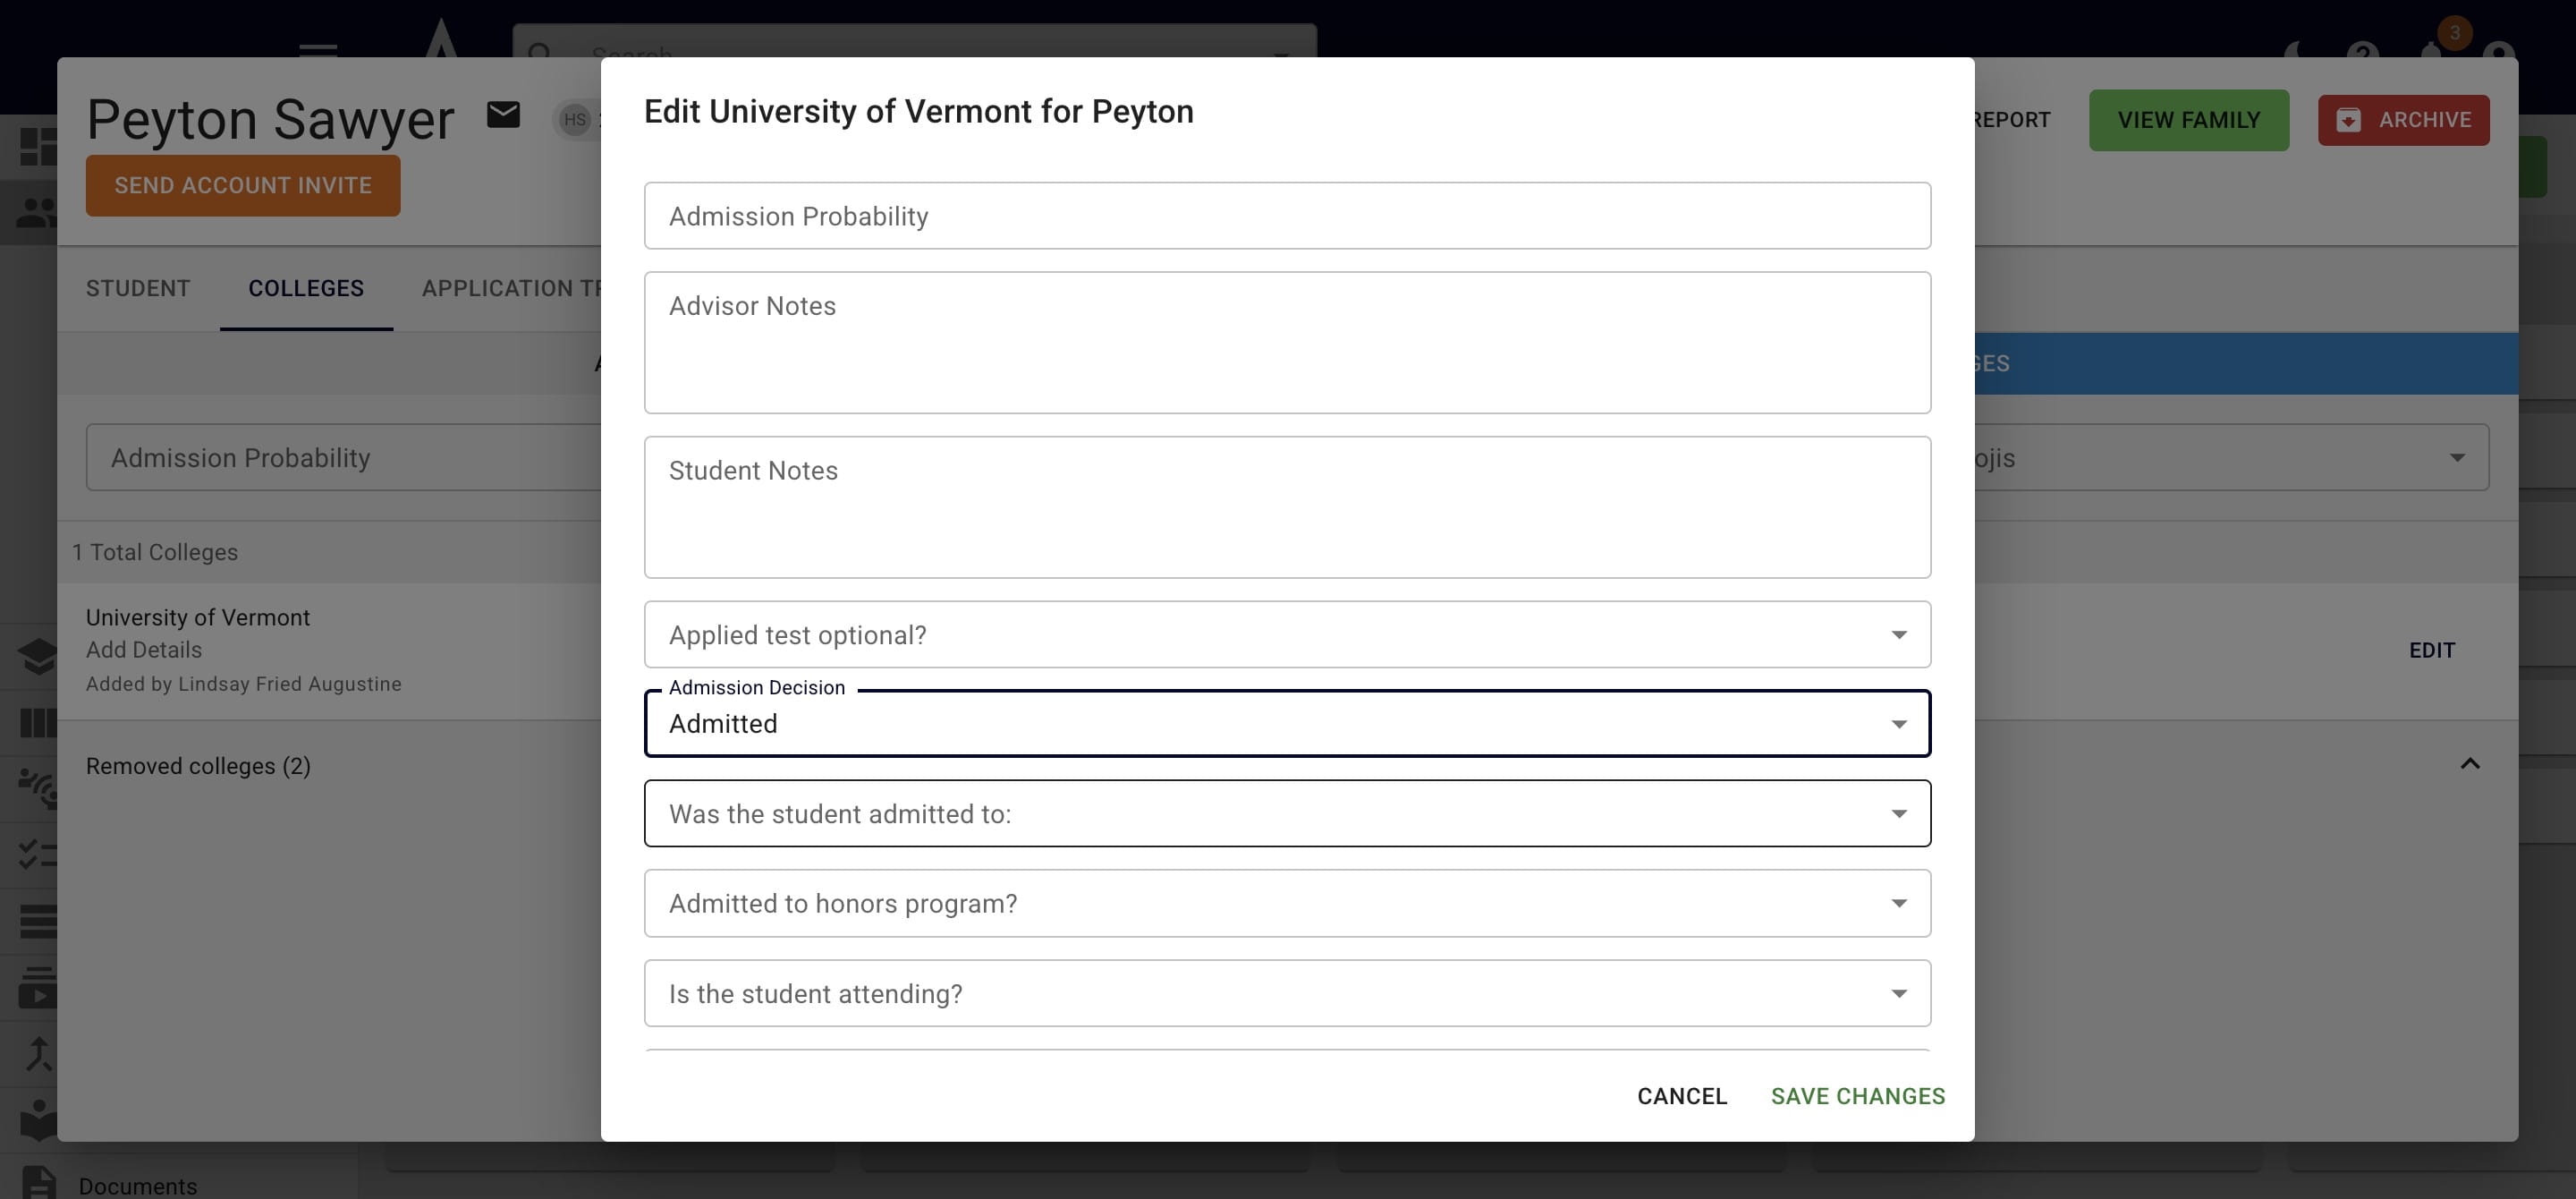
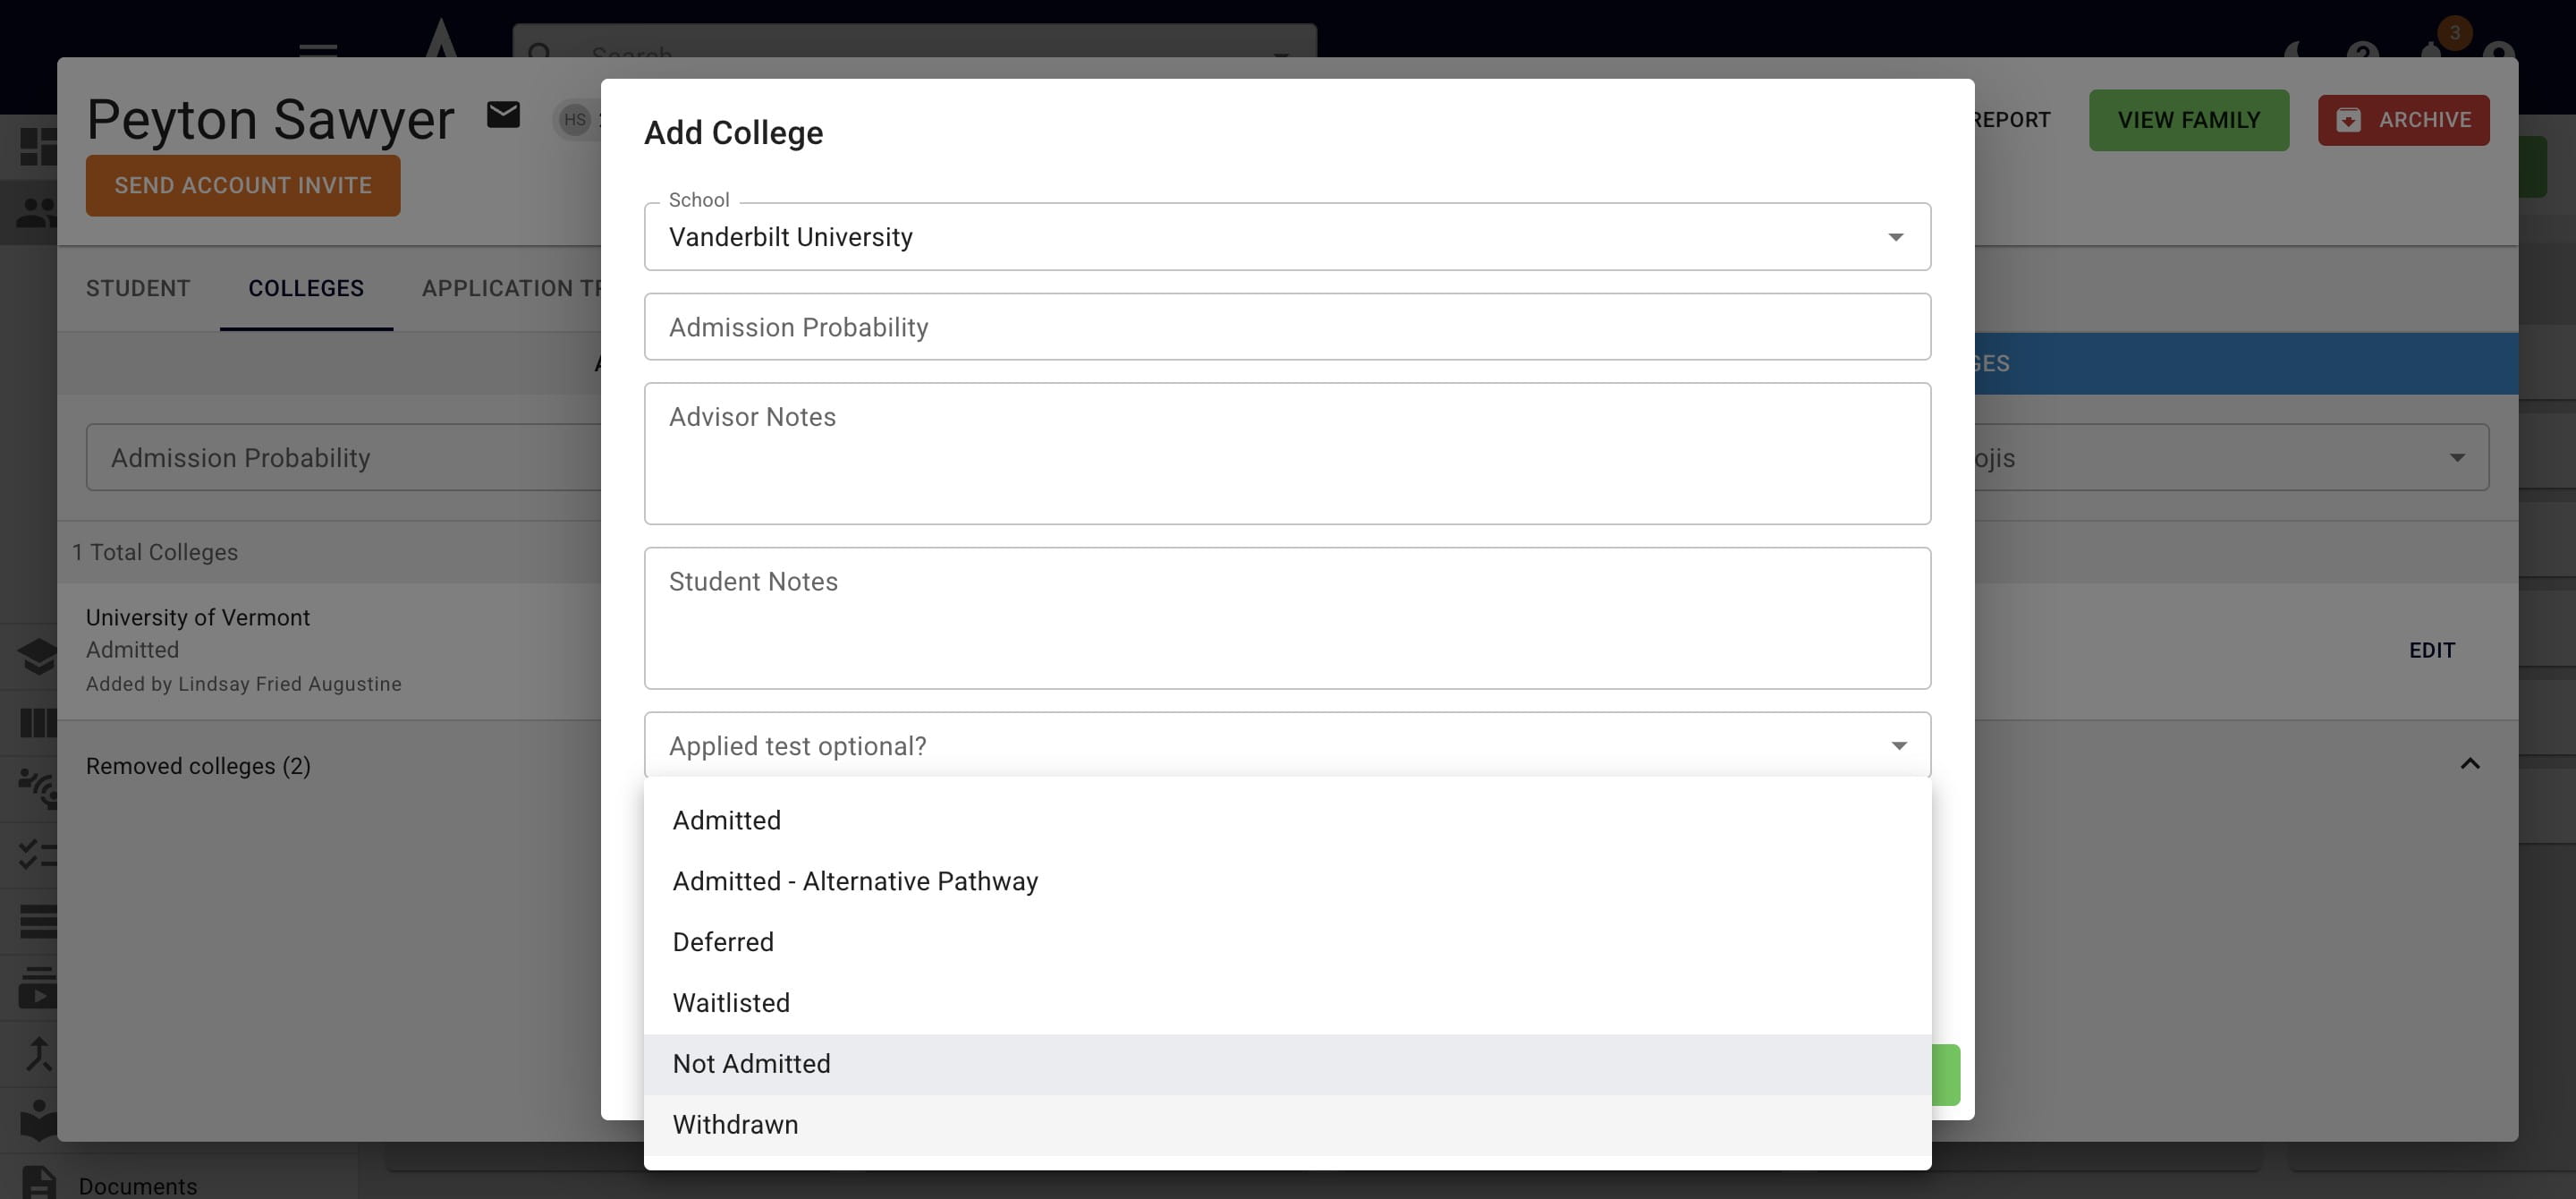
In the pop up that appears, click on Admission Decision and choose the applicable decision from the drop-down.
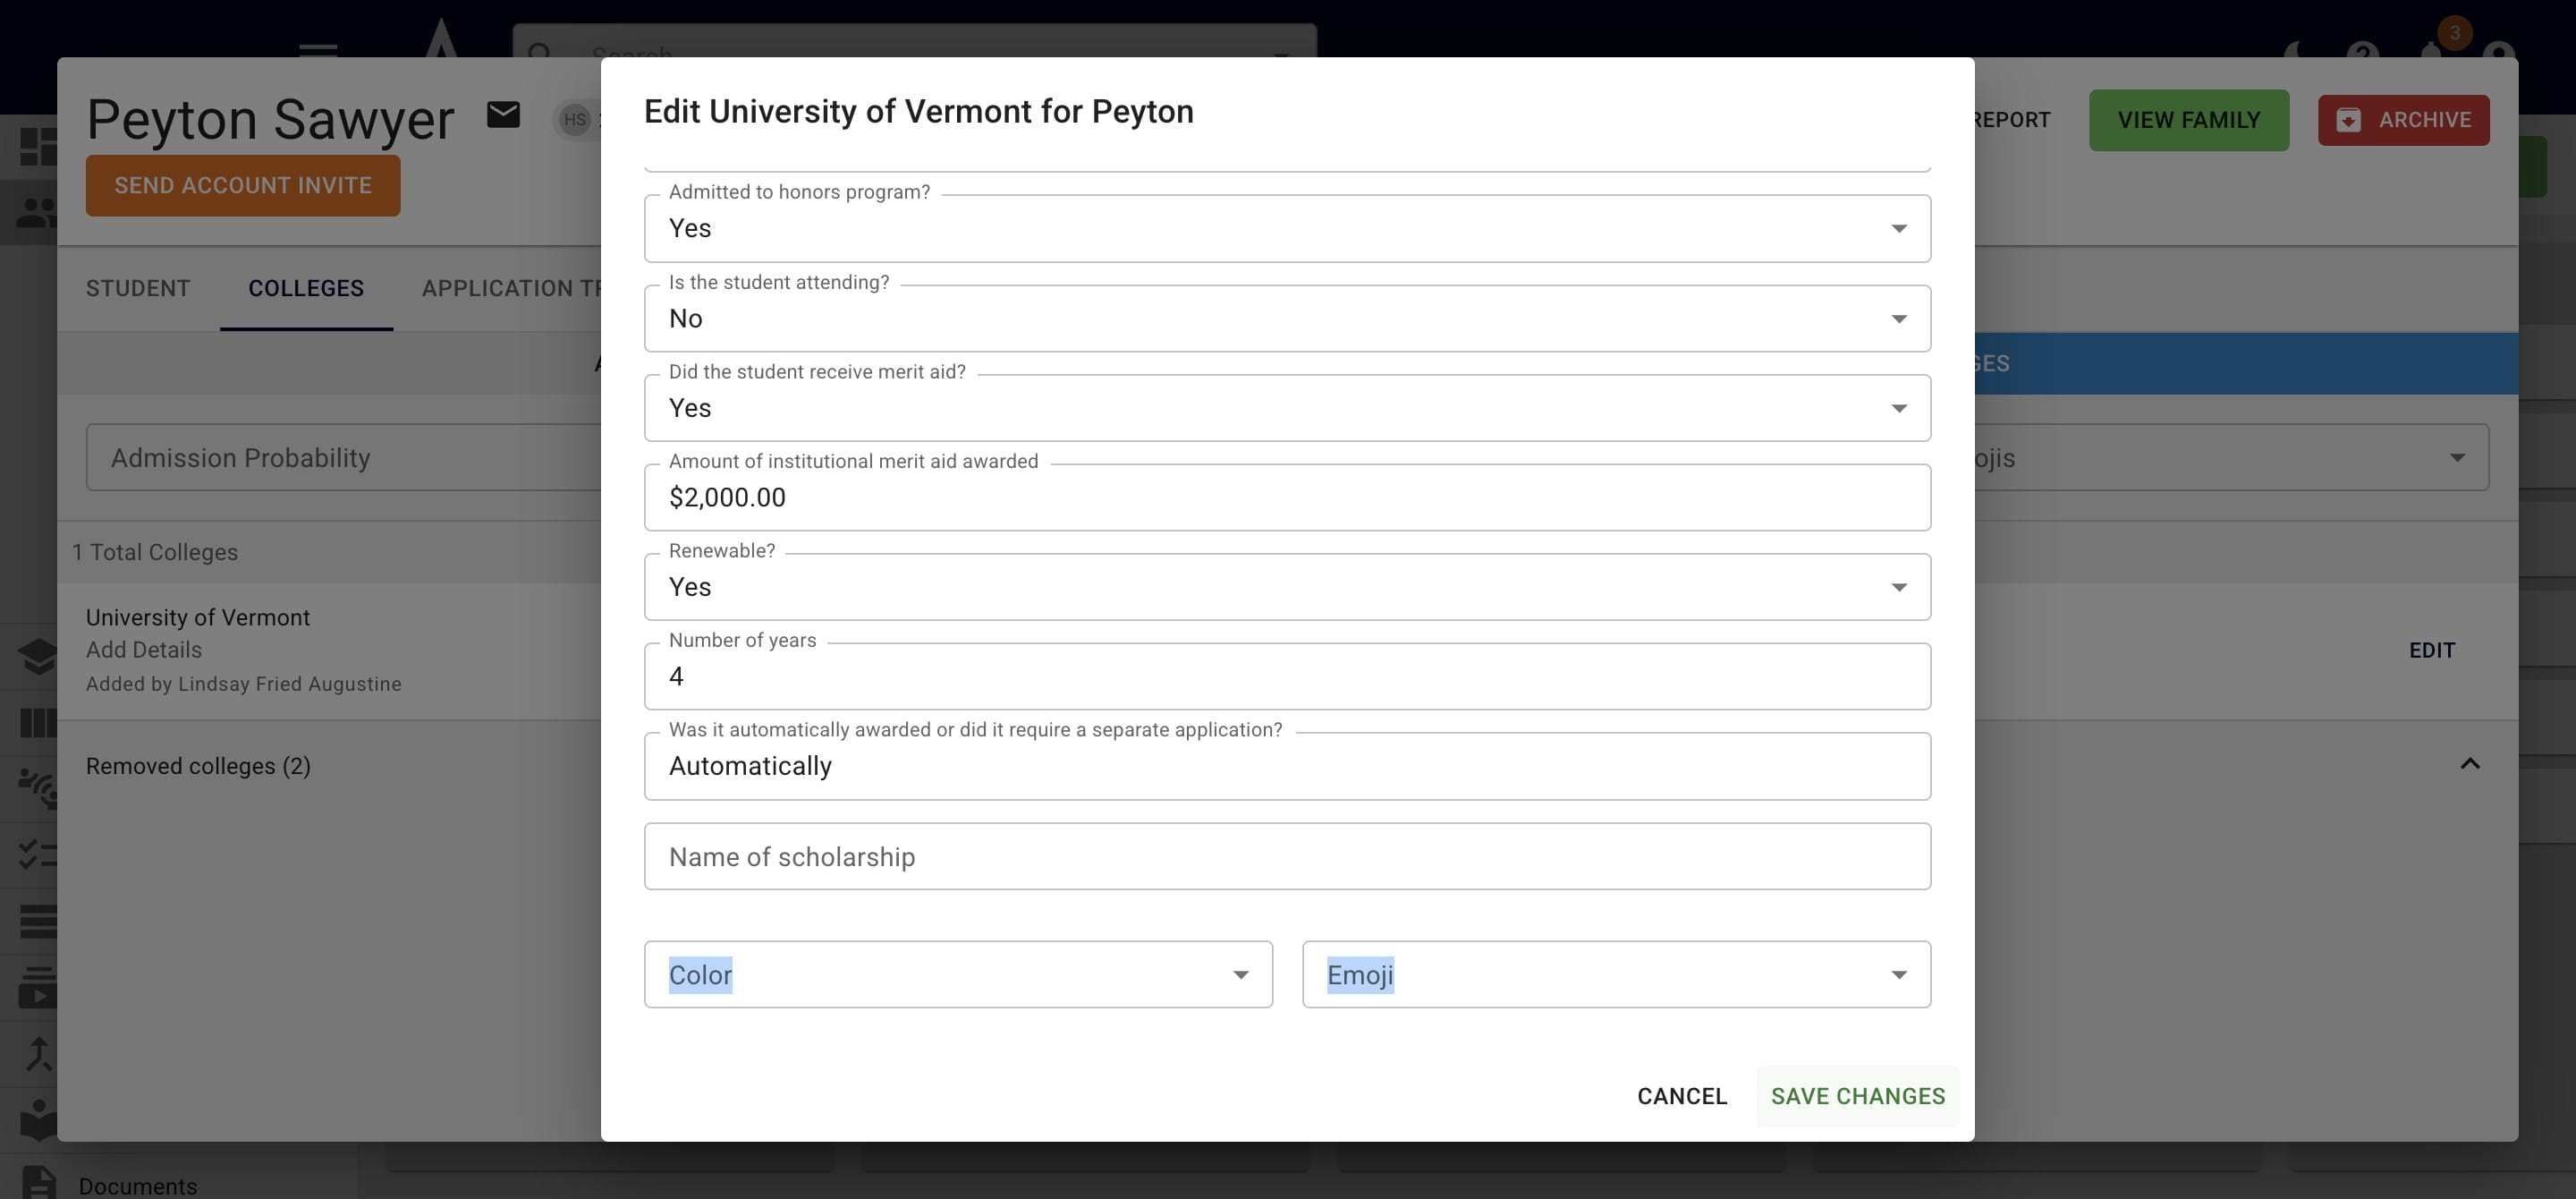
If you choose Admitted, related fields will appear to gather information about which program(s) the student was admitted to, merit aid they received, and/or if they're attending.
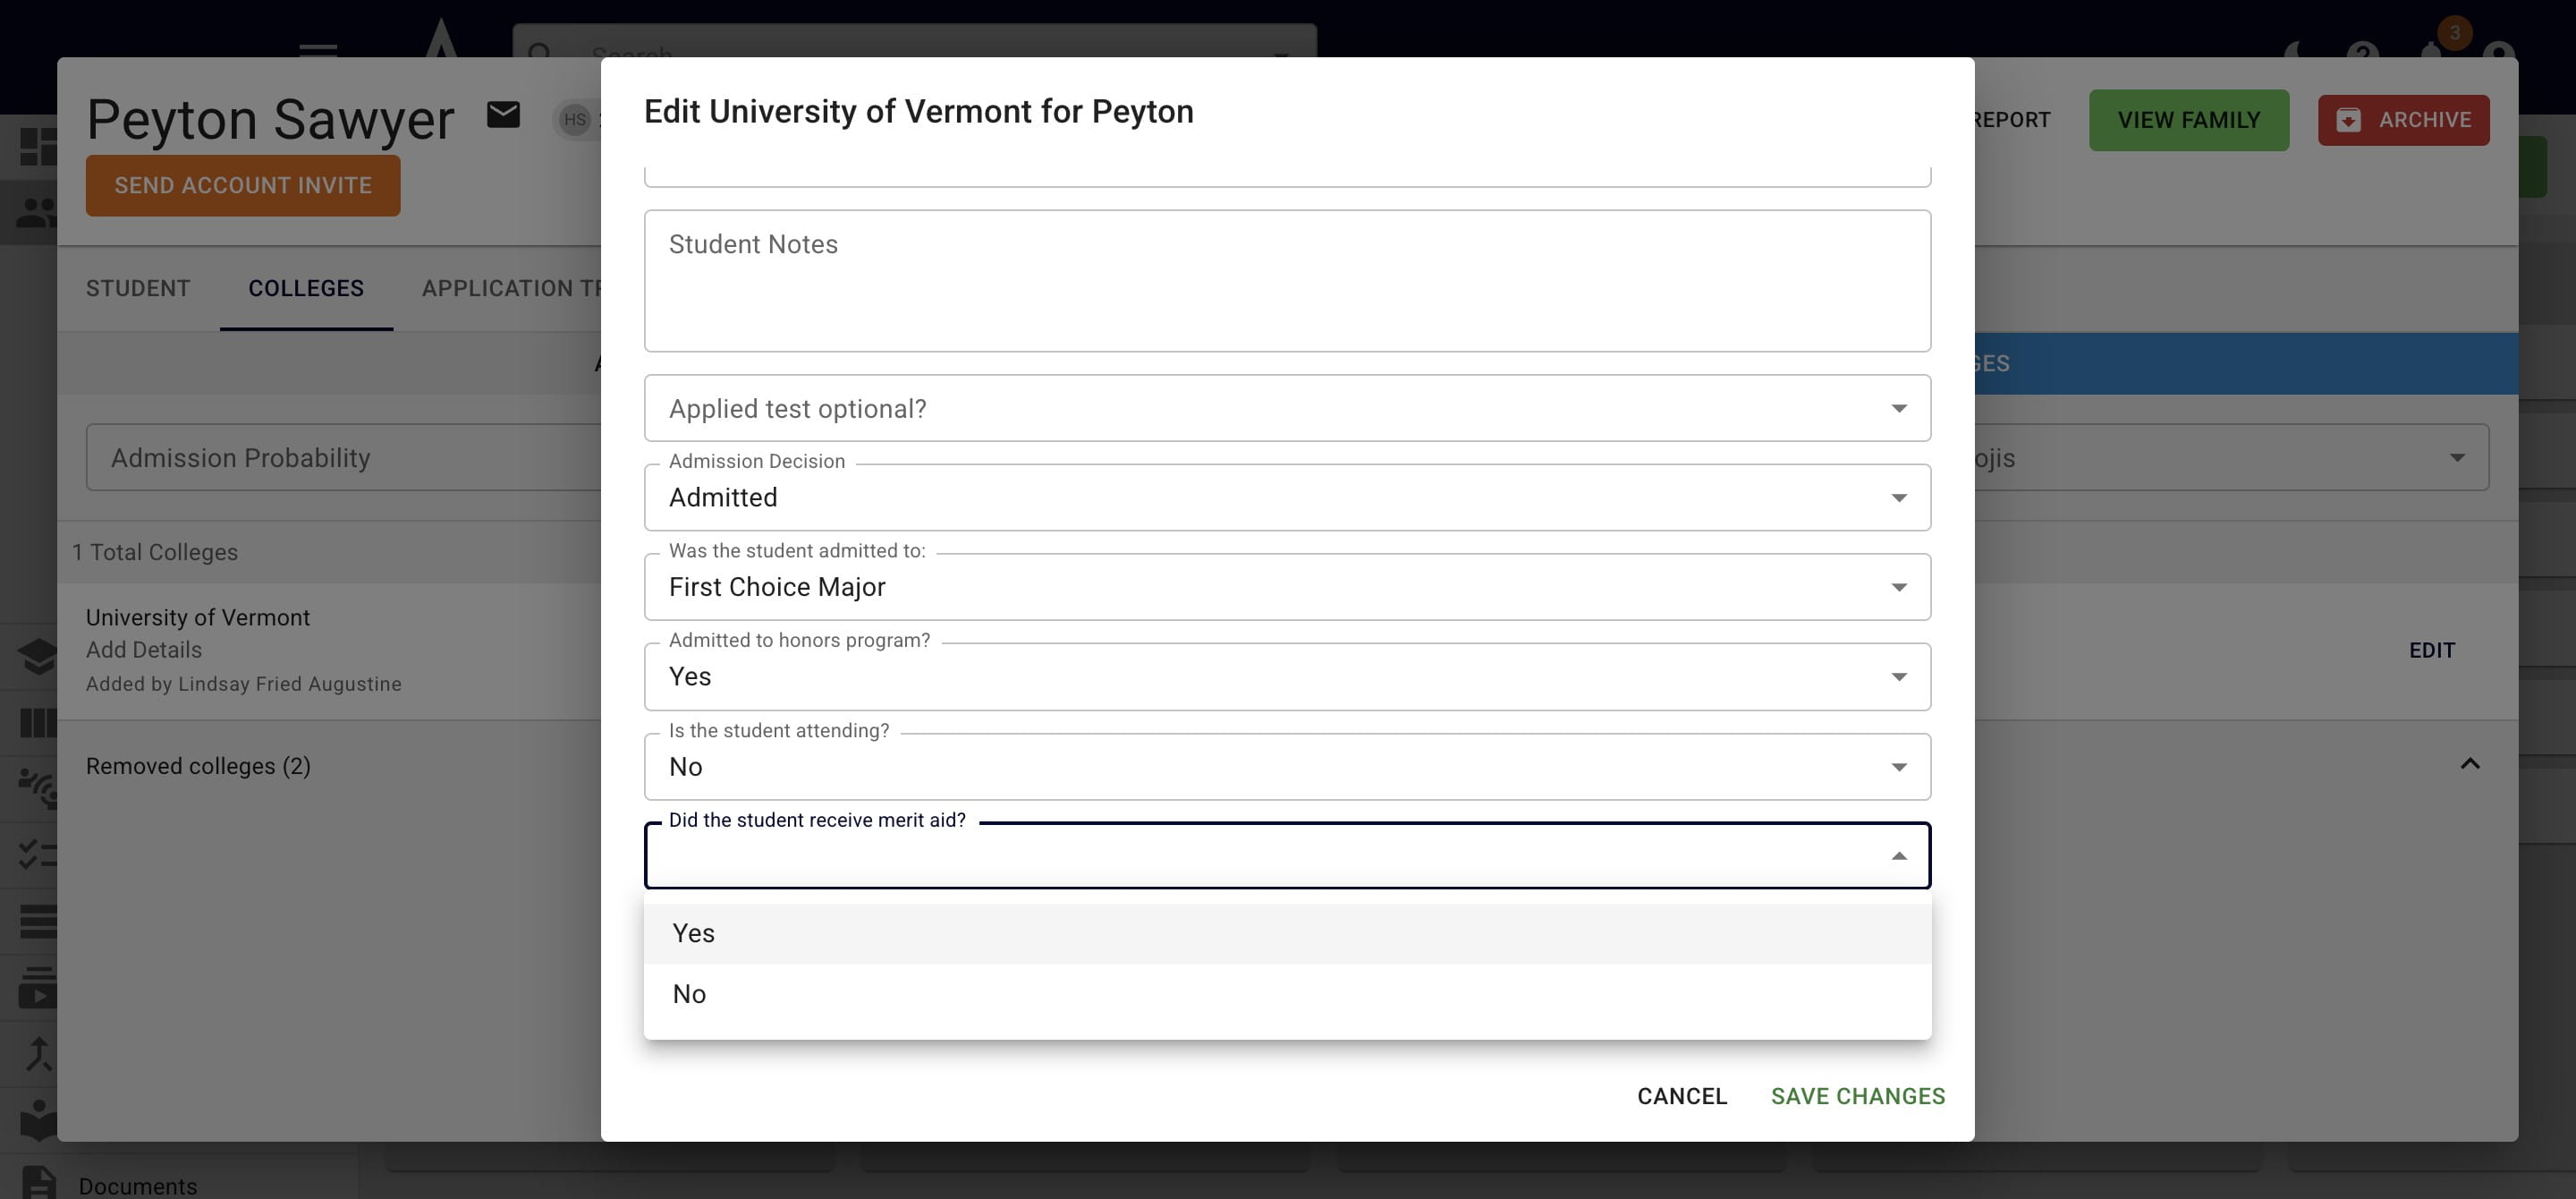
If a student received any scholarships, say Yes under Did the student receive merit aid?
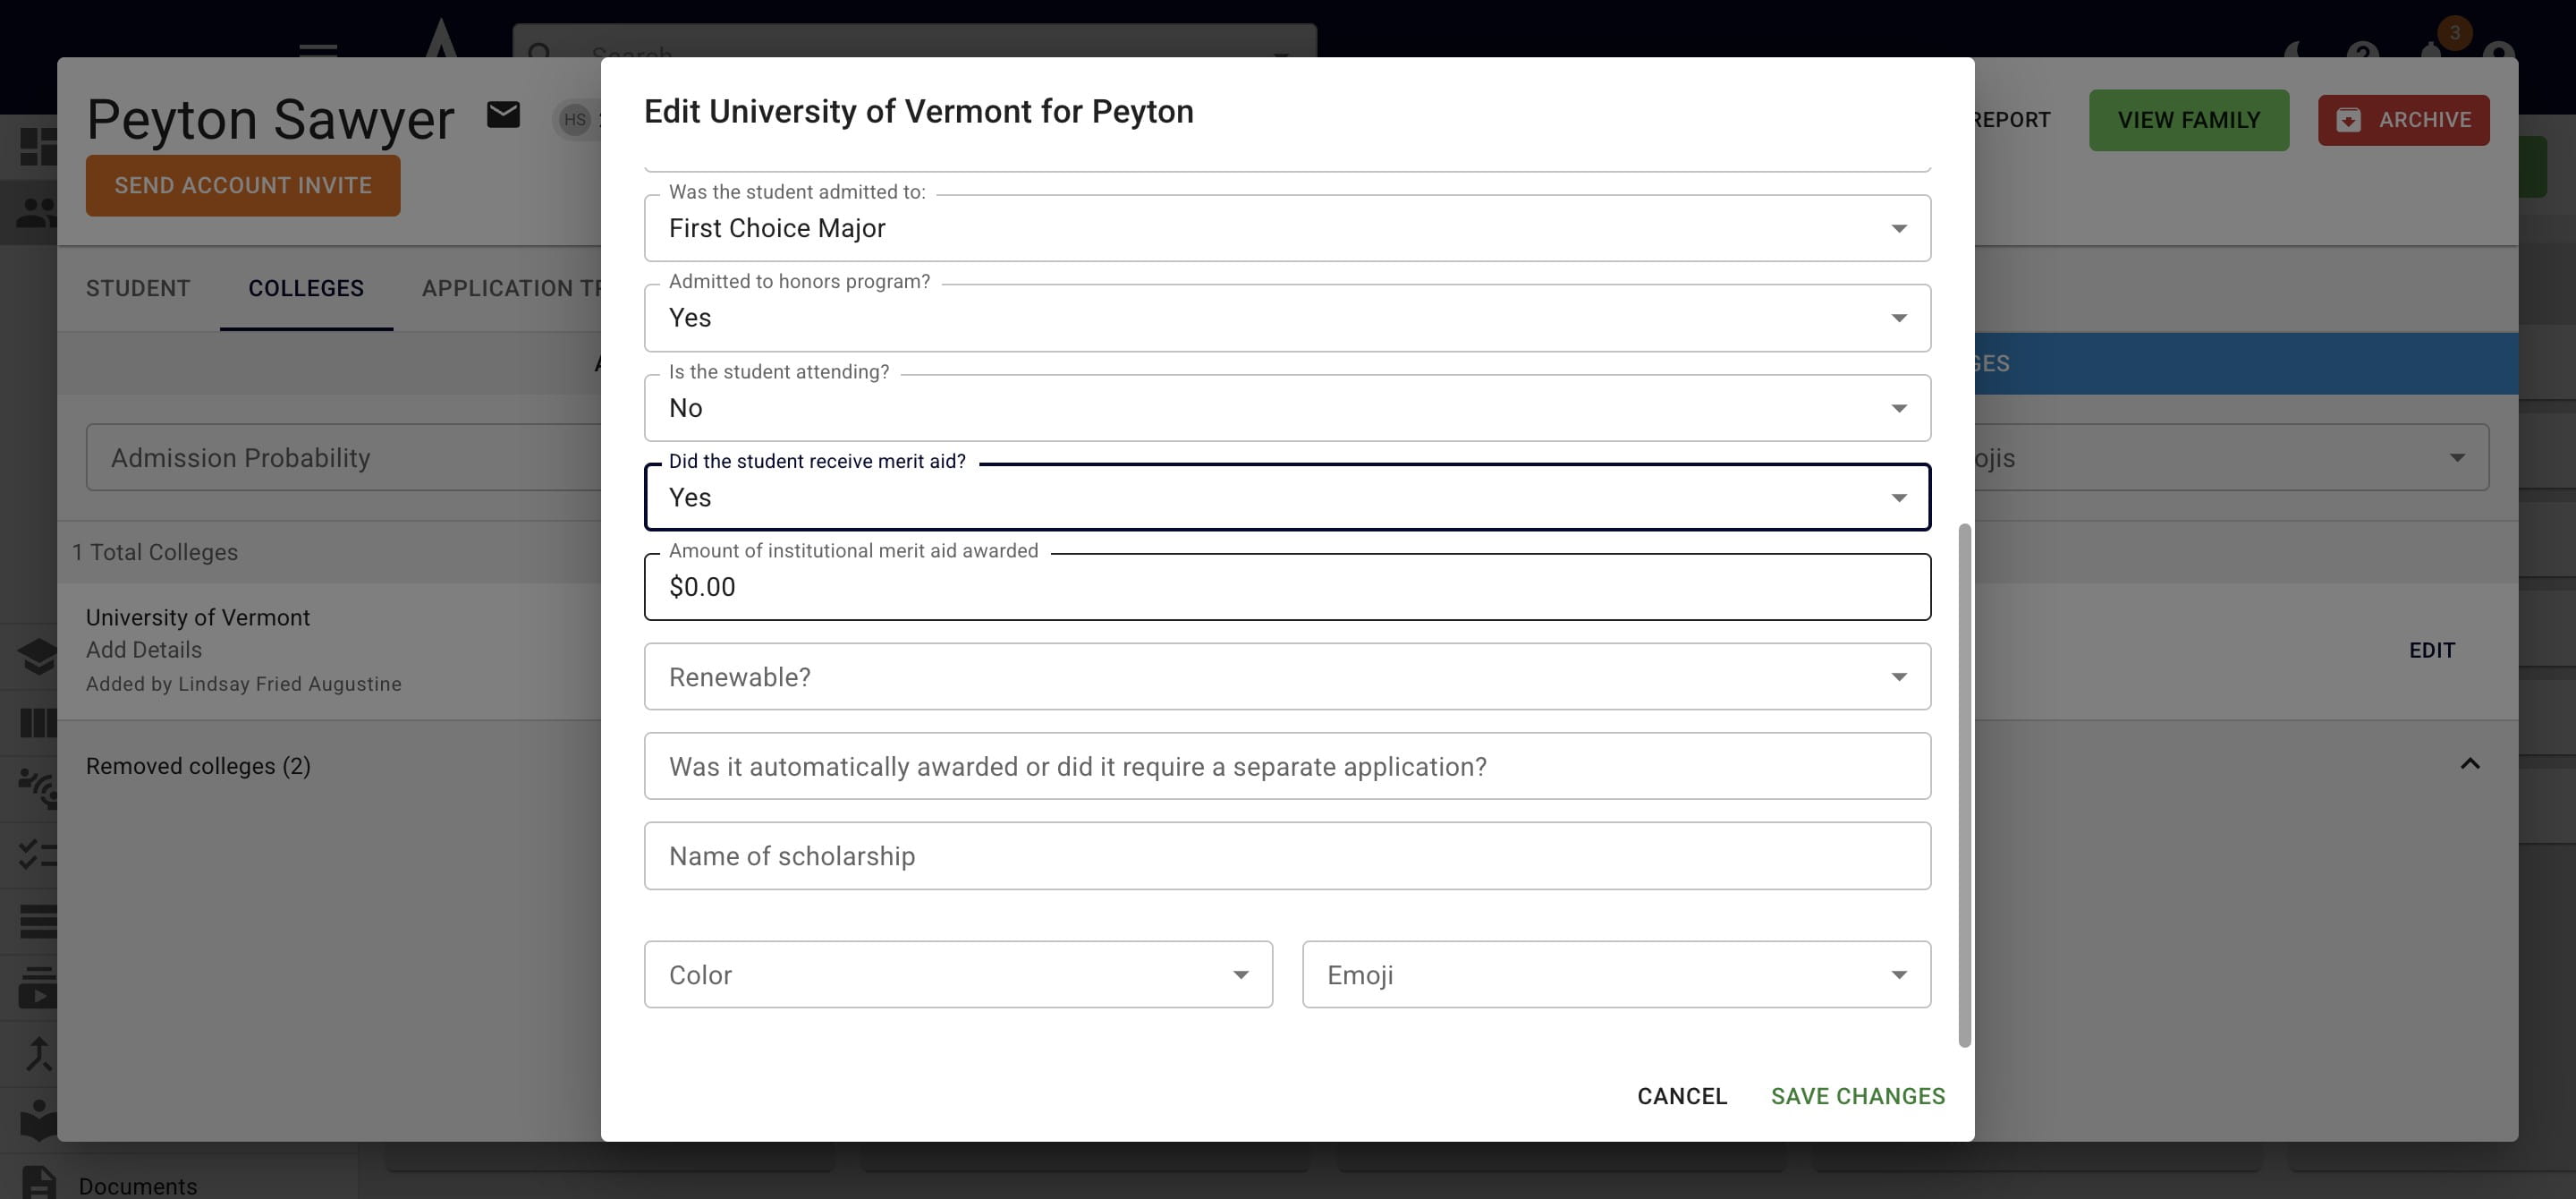
Additional fields will appear that ask for the amount of money that was rewarded and if it's a renewable scholarship (i.e. the student will receive it for more than 1 year).
If you say Yes to renewable, the field Number of Years will appear with the number 4 already filled in (because it's the most common answer). If a specific scholarship is not renewable for 4 years, type the correct number in the field.
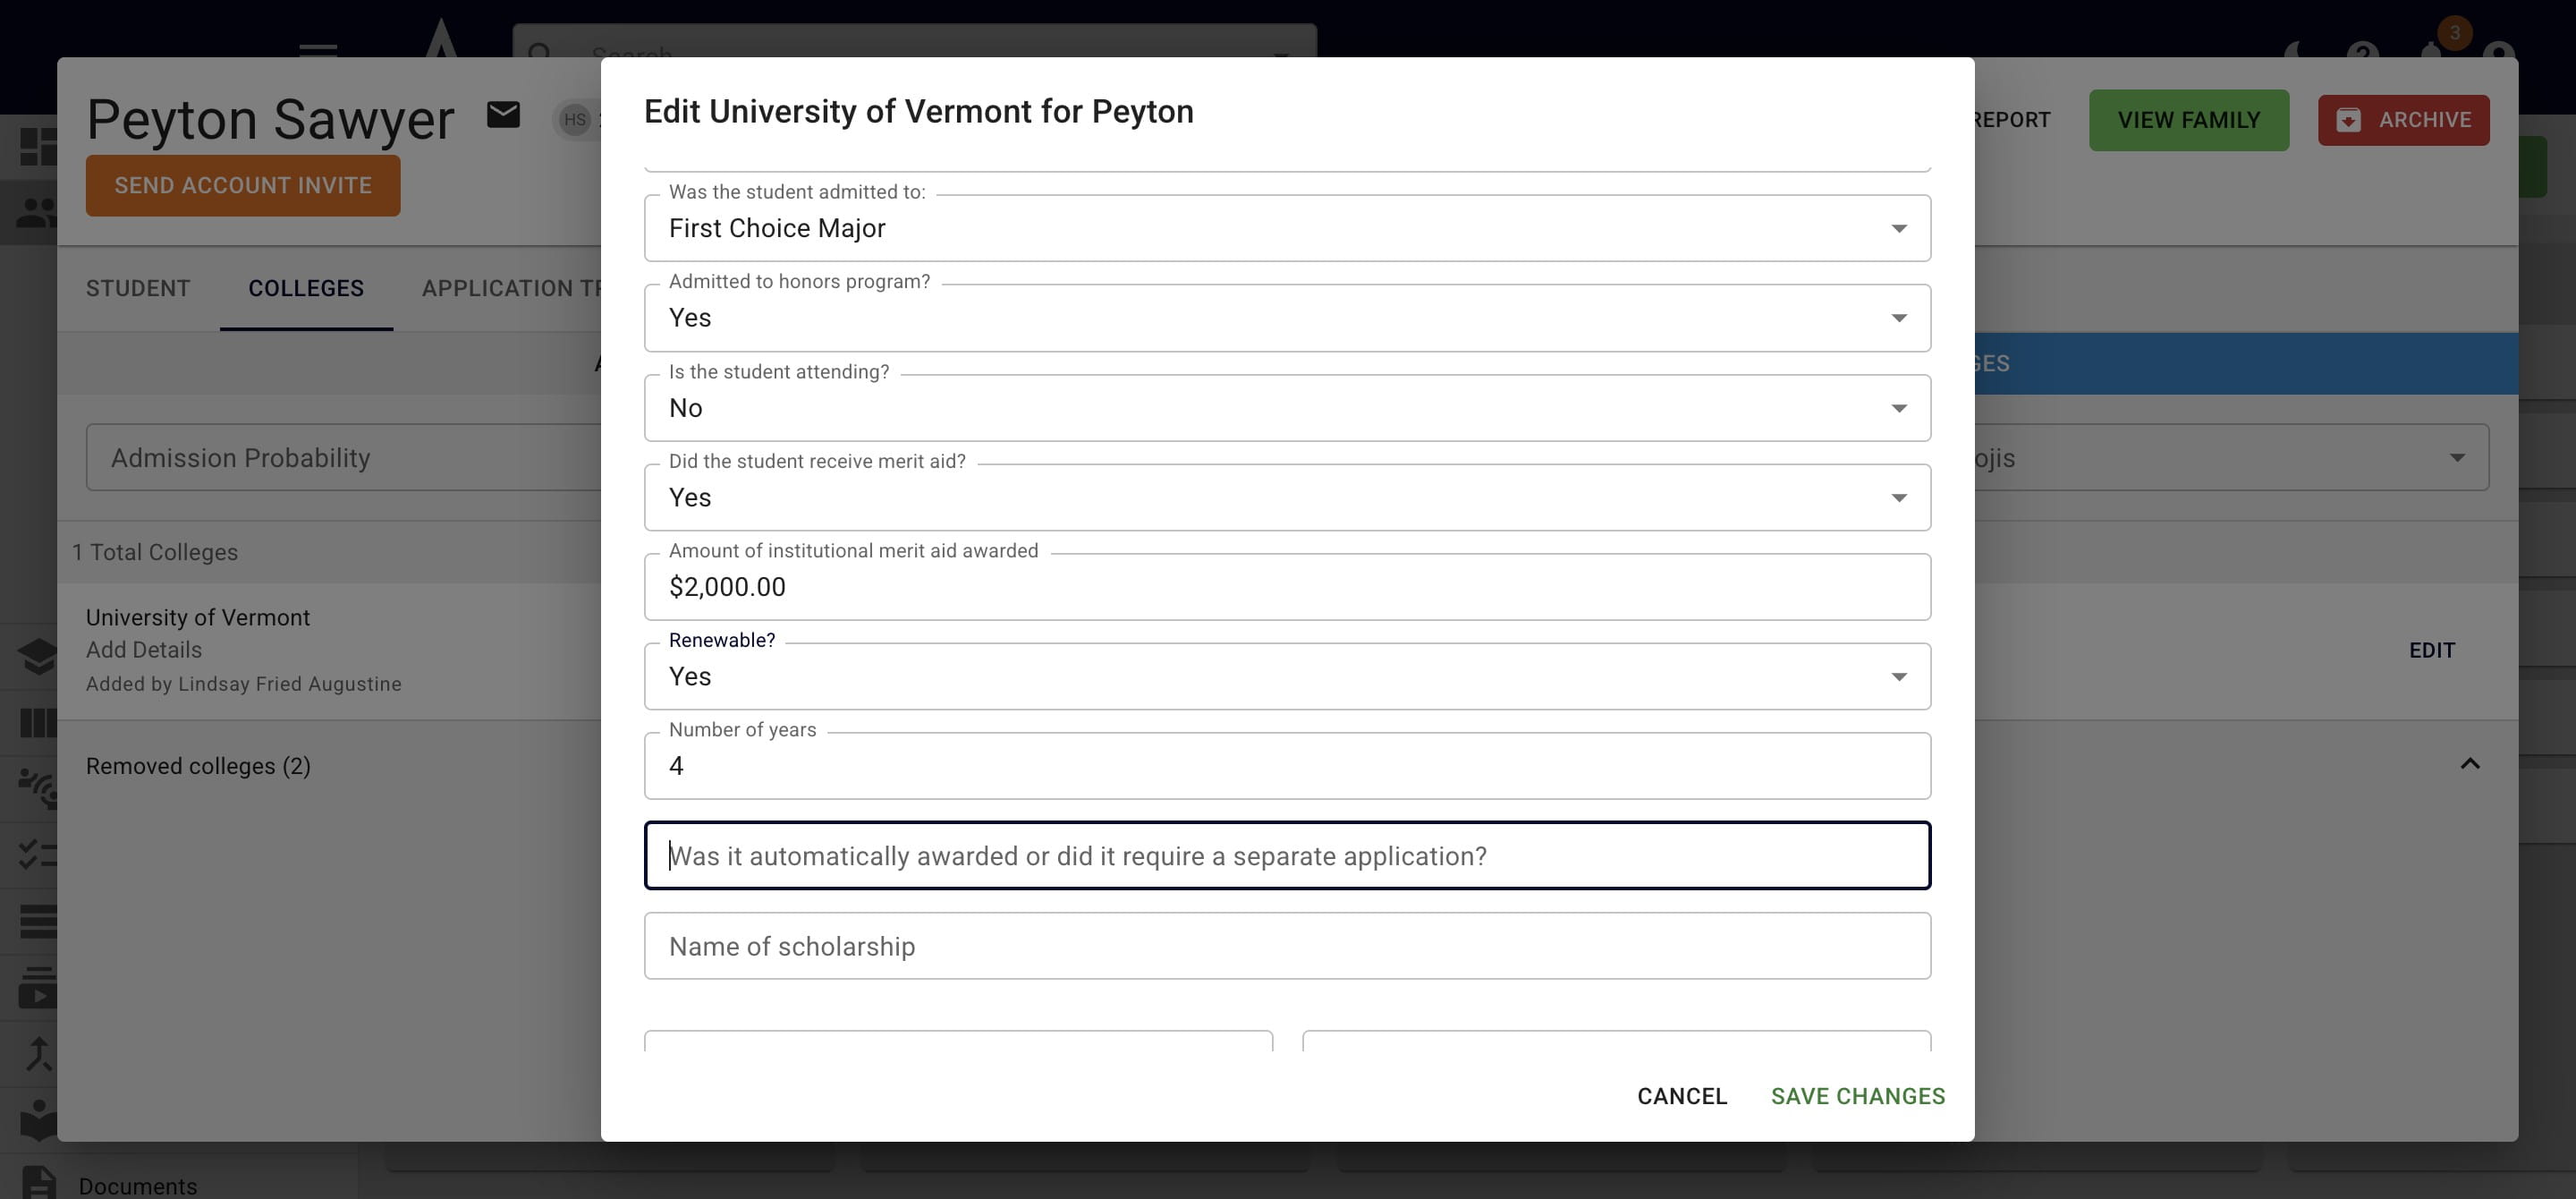
When you're done filling in the information, press Save Changes.
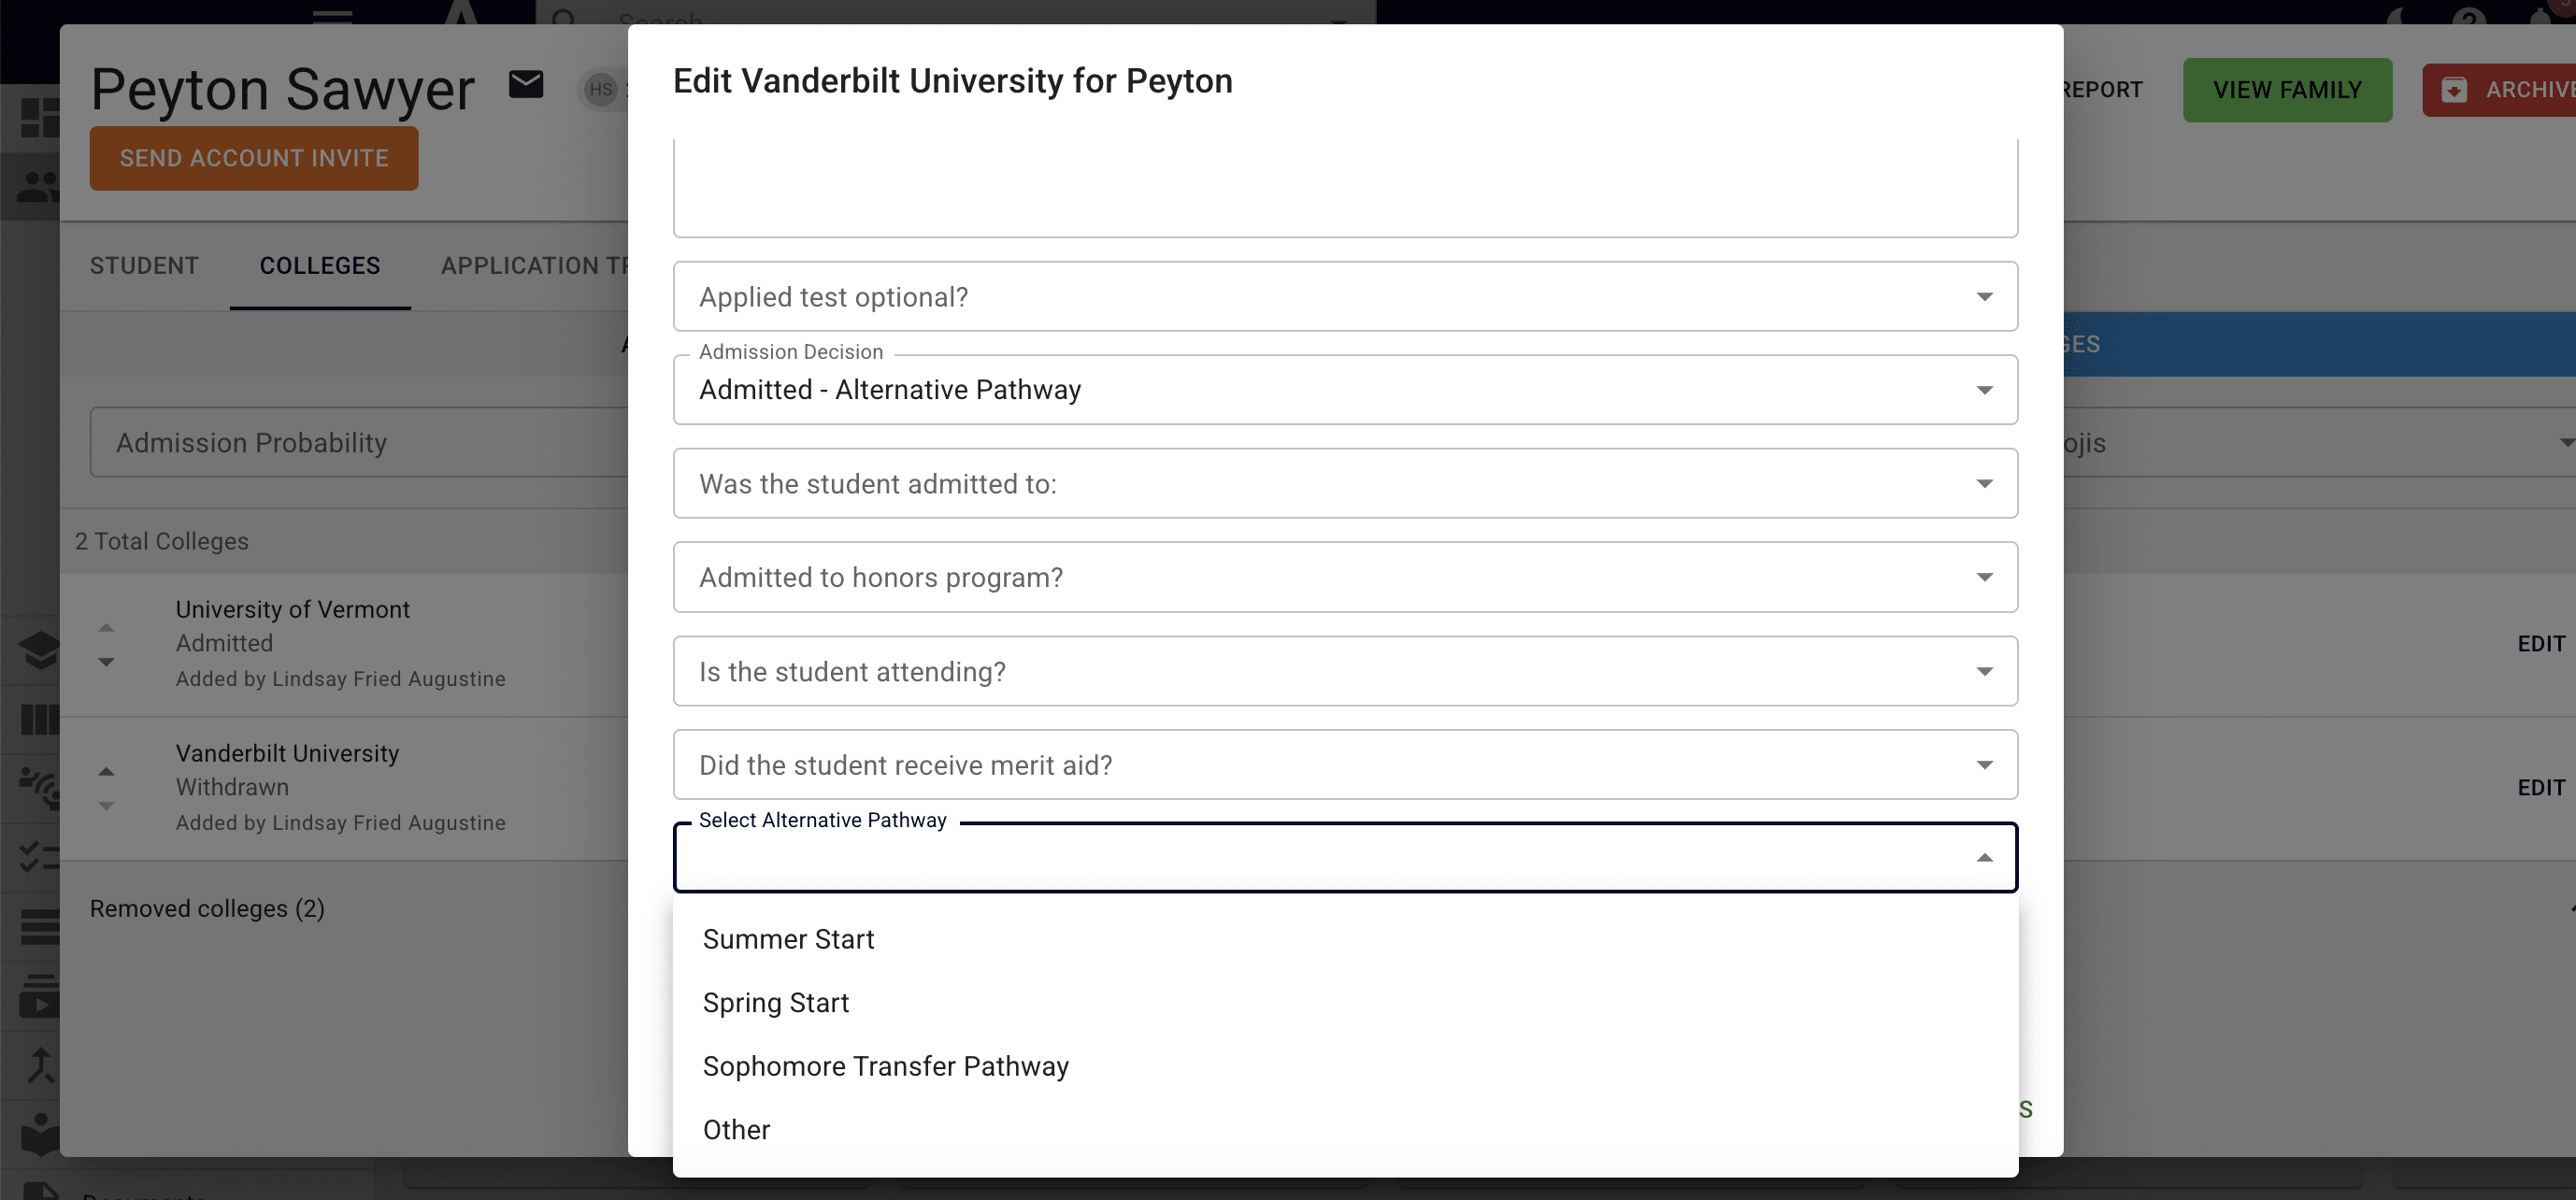
If you choose Admitted-Alternative Program as the Admission Decision, it will ask you to choose the alternative program (i.e. summer start, spring start, sophomore transfer pathway, other).
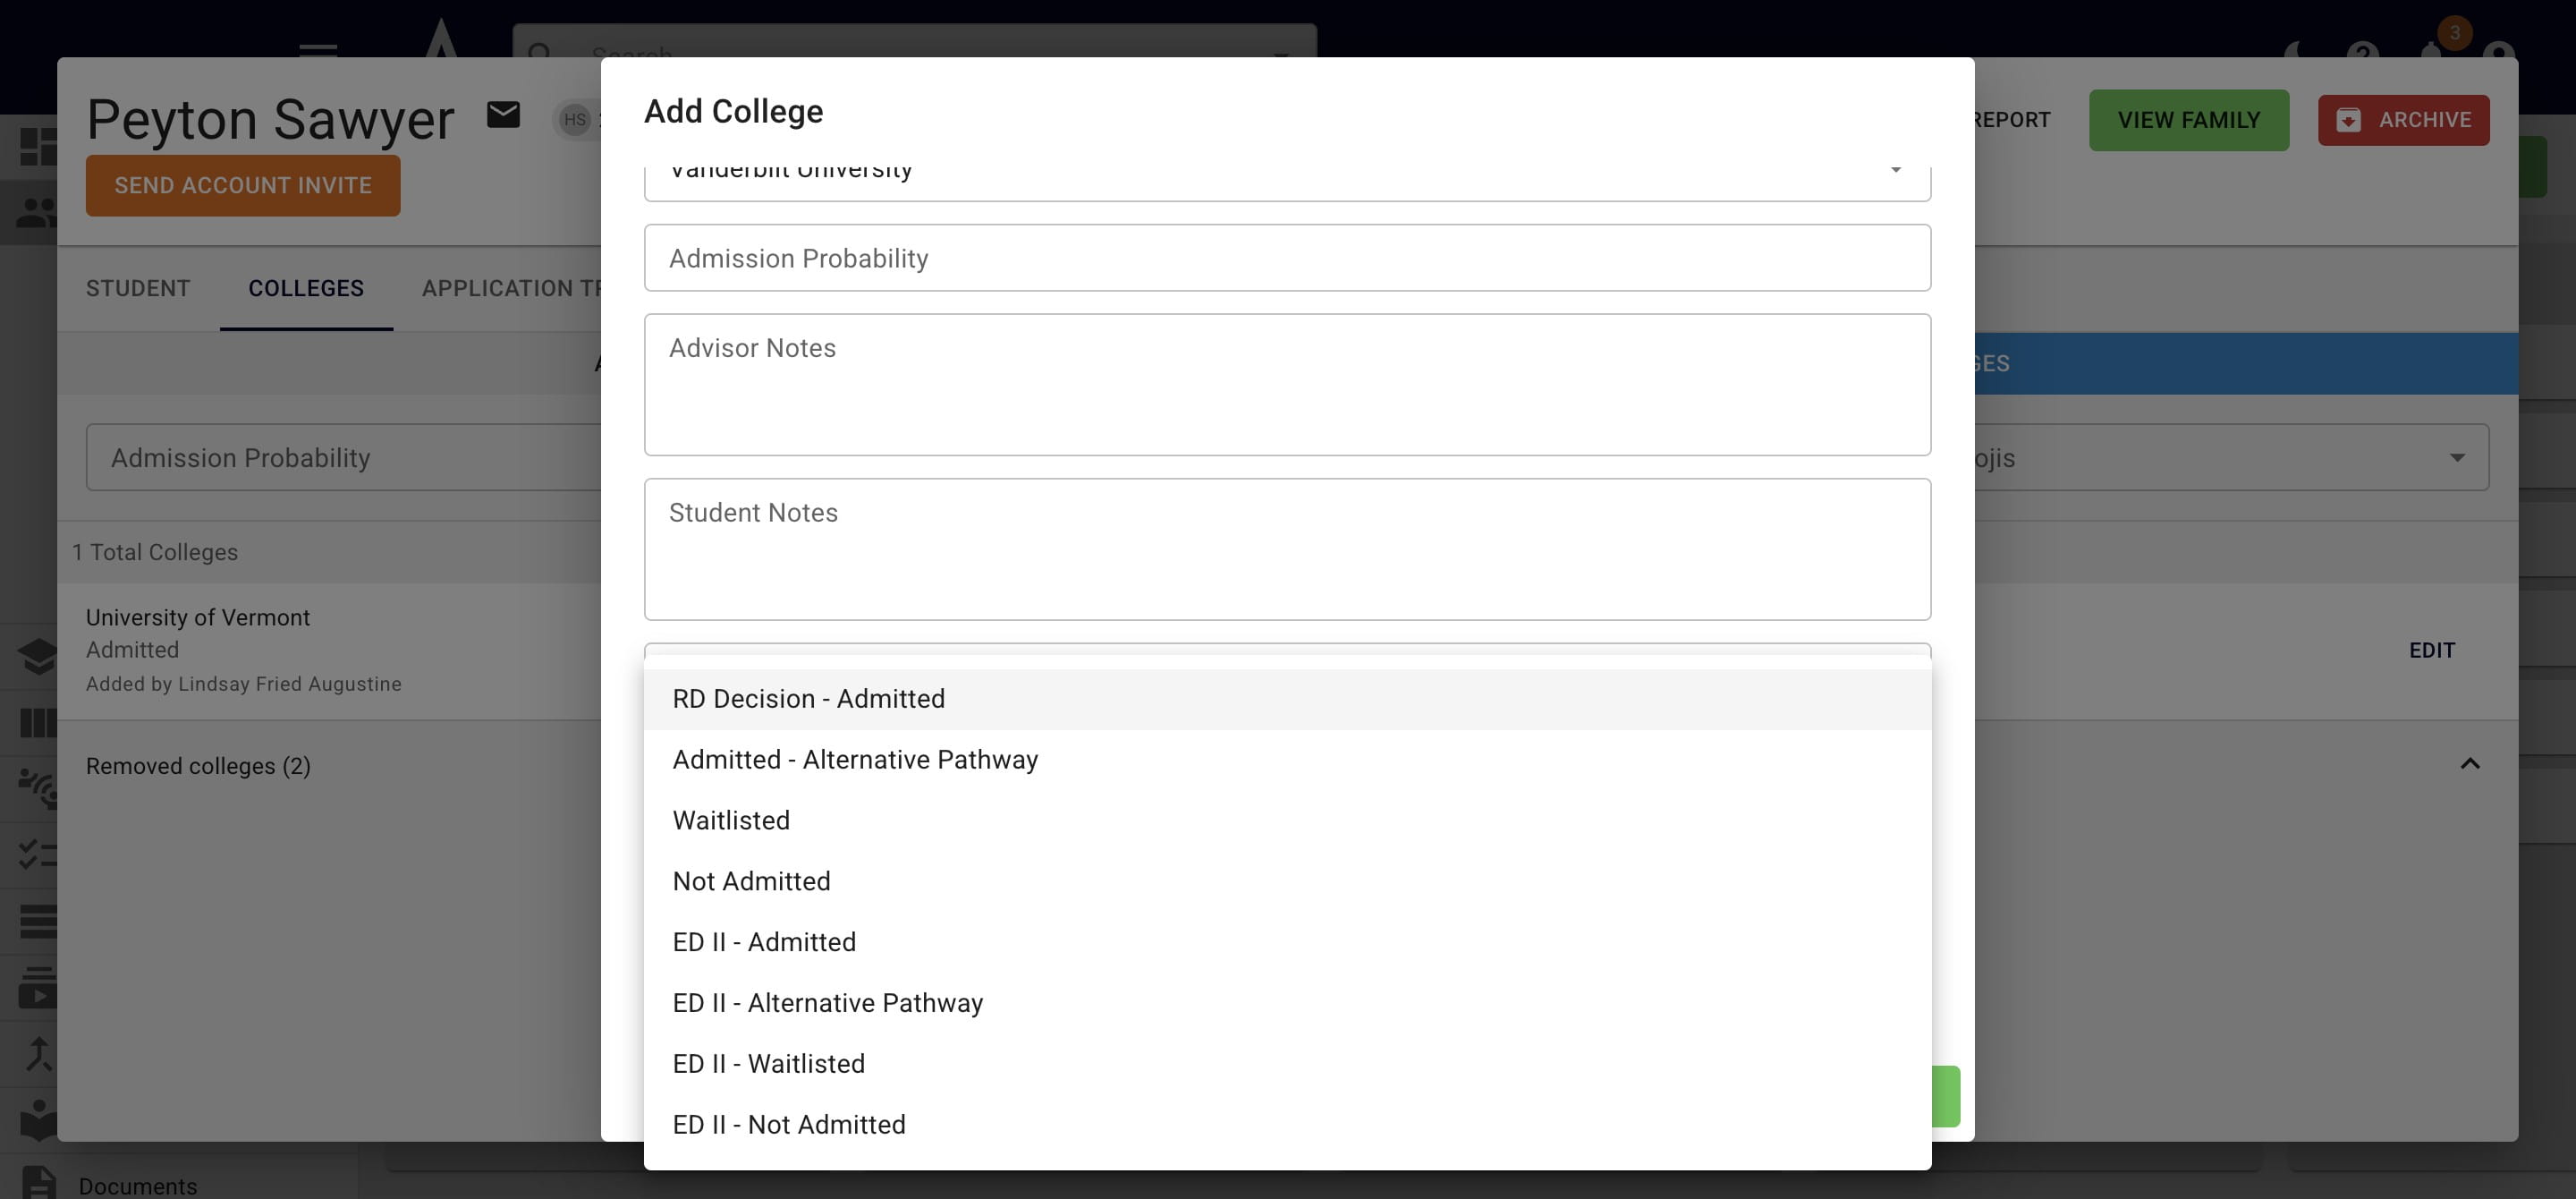
If you choose Deferred as the Admission Decision, it will then ask what the ultimate admission decision was.
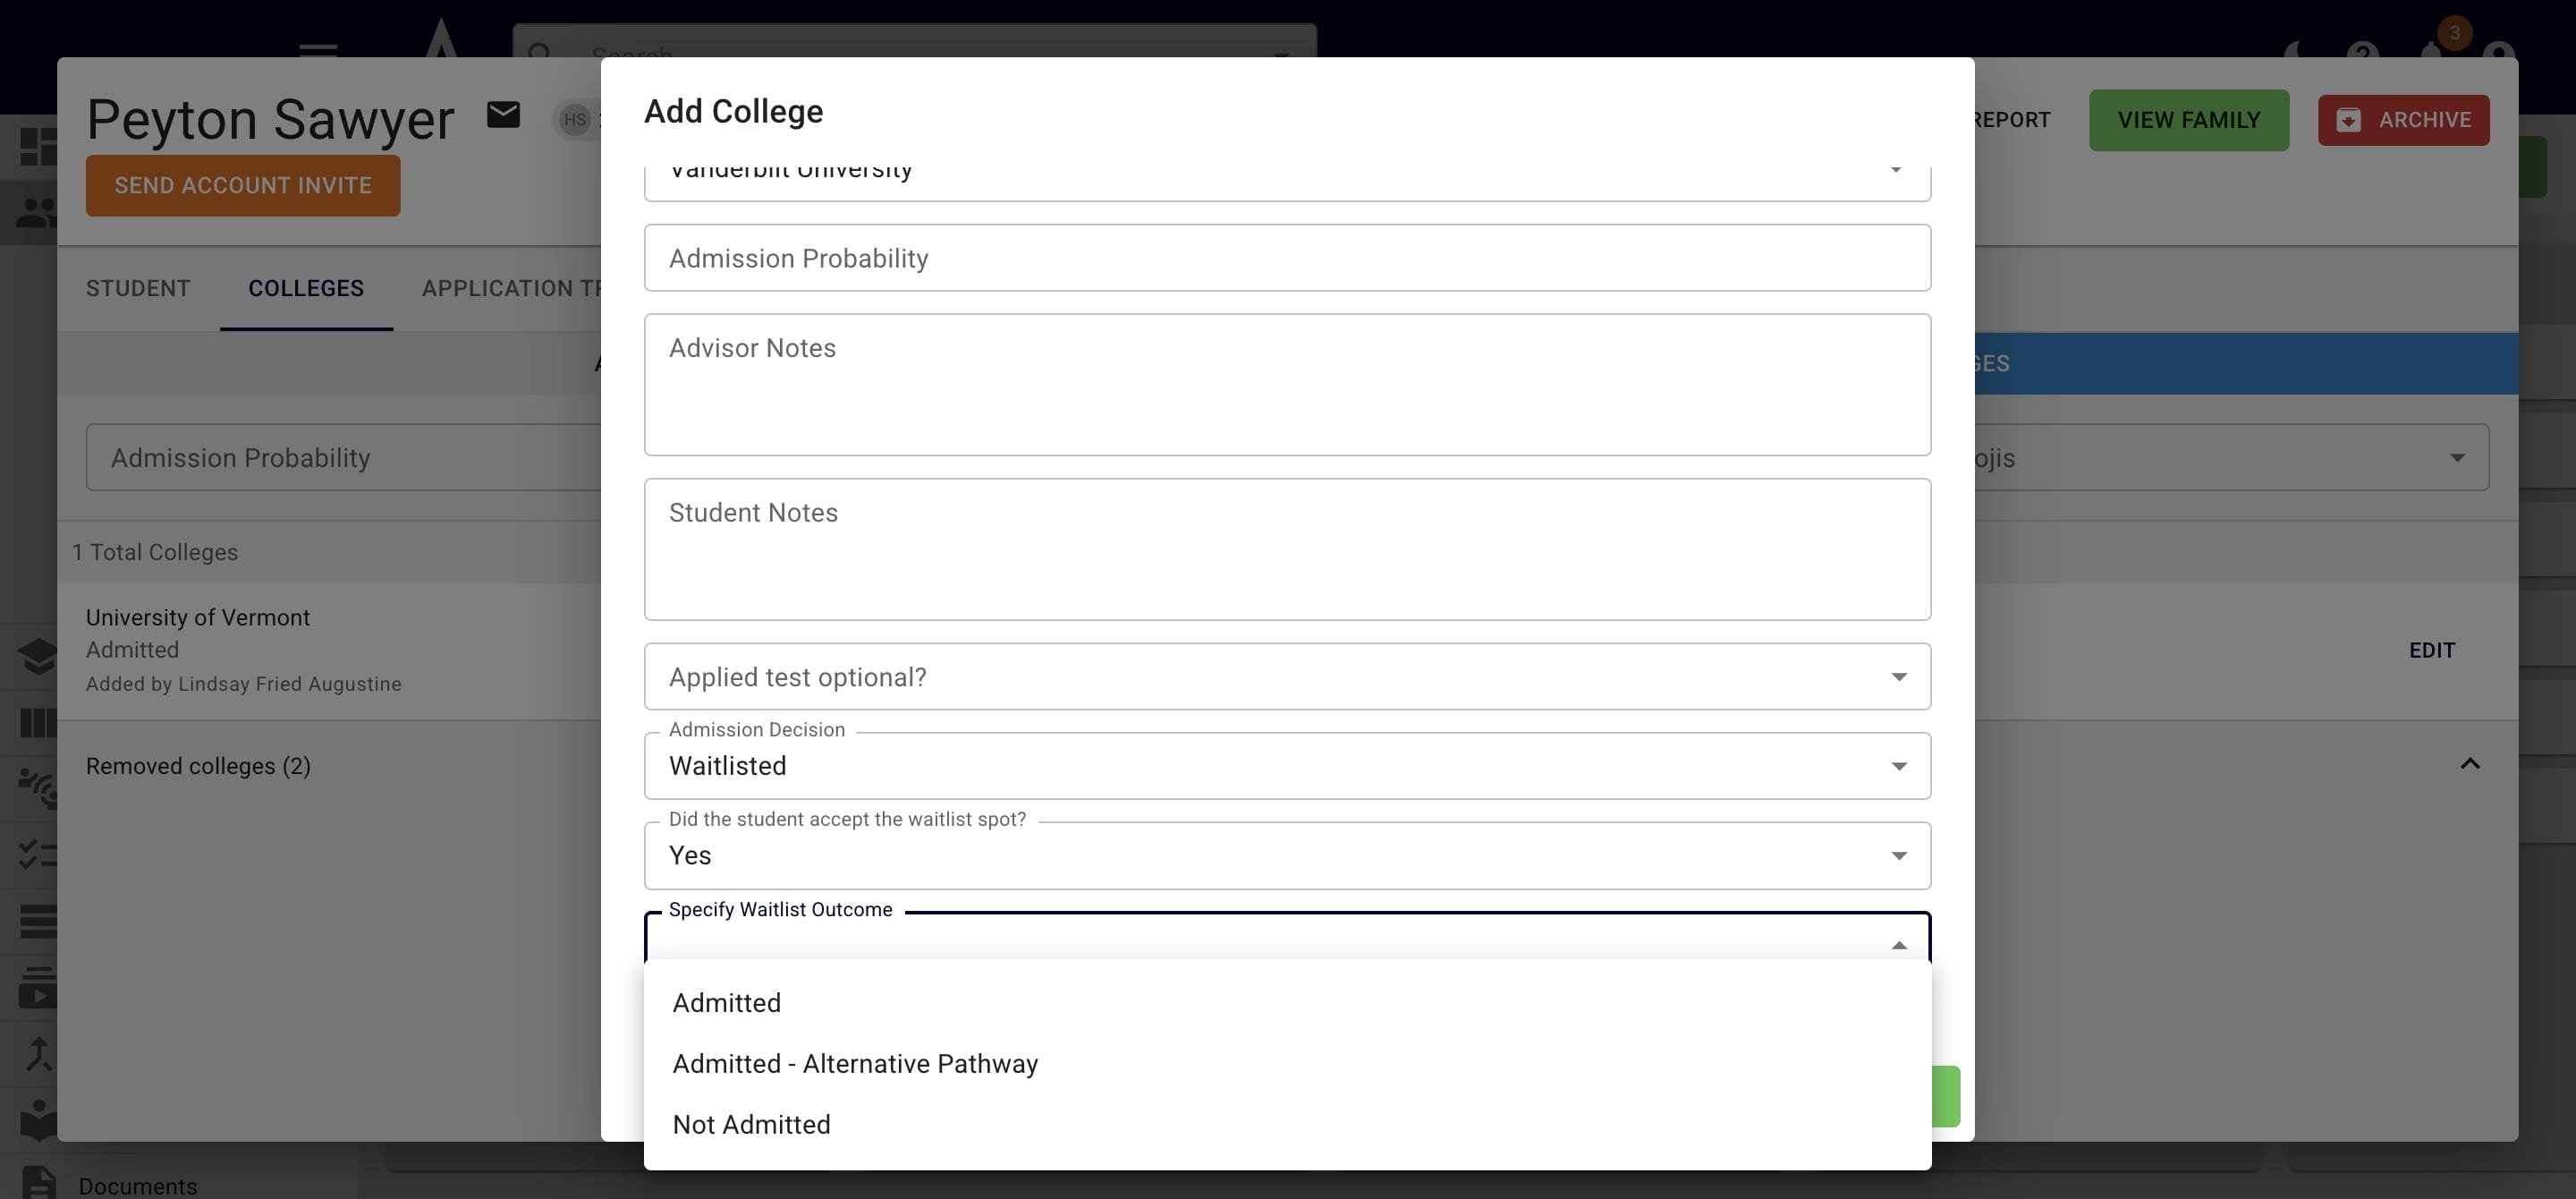
If you choose Waitlisted as the Admission Decision, it will ask if the student accepted the waitlist spot. If that answer is yes, it will ask what the final admission outcome was.
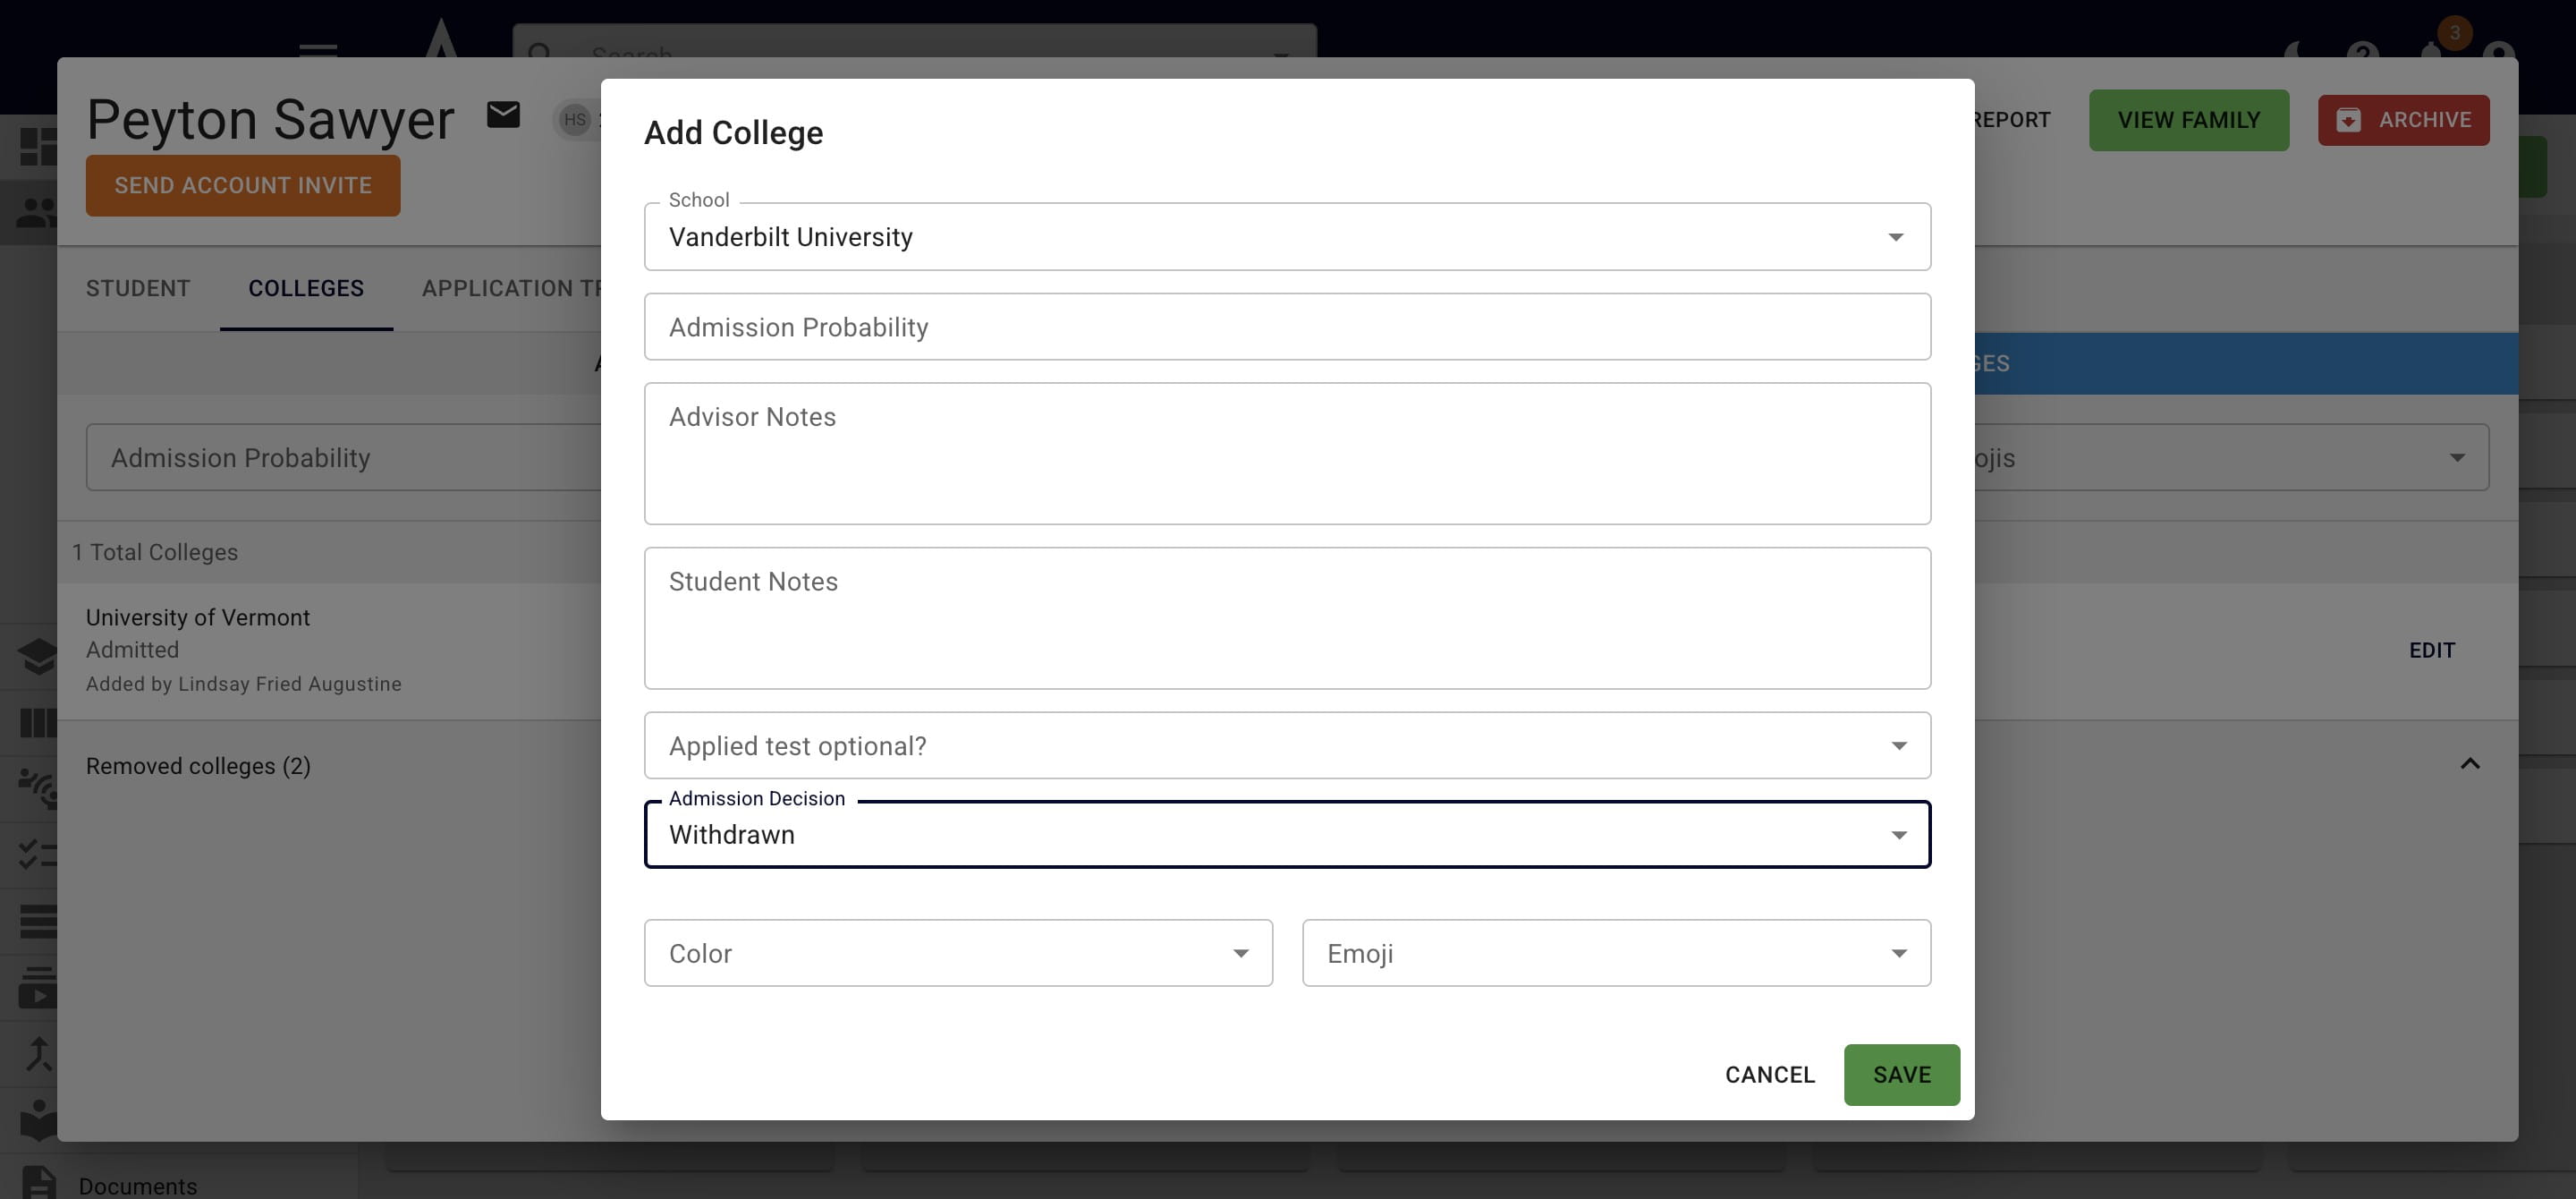
Other admission decision field options include Not Admitted and Withdrawn.
When you're done recording an admission decision press Save.
Done 🚀