How To: Verify Email Addresses on Mailchimp
Created by: Sabrina Arcalas Created on: 5/23/24
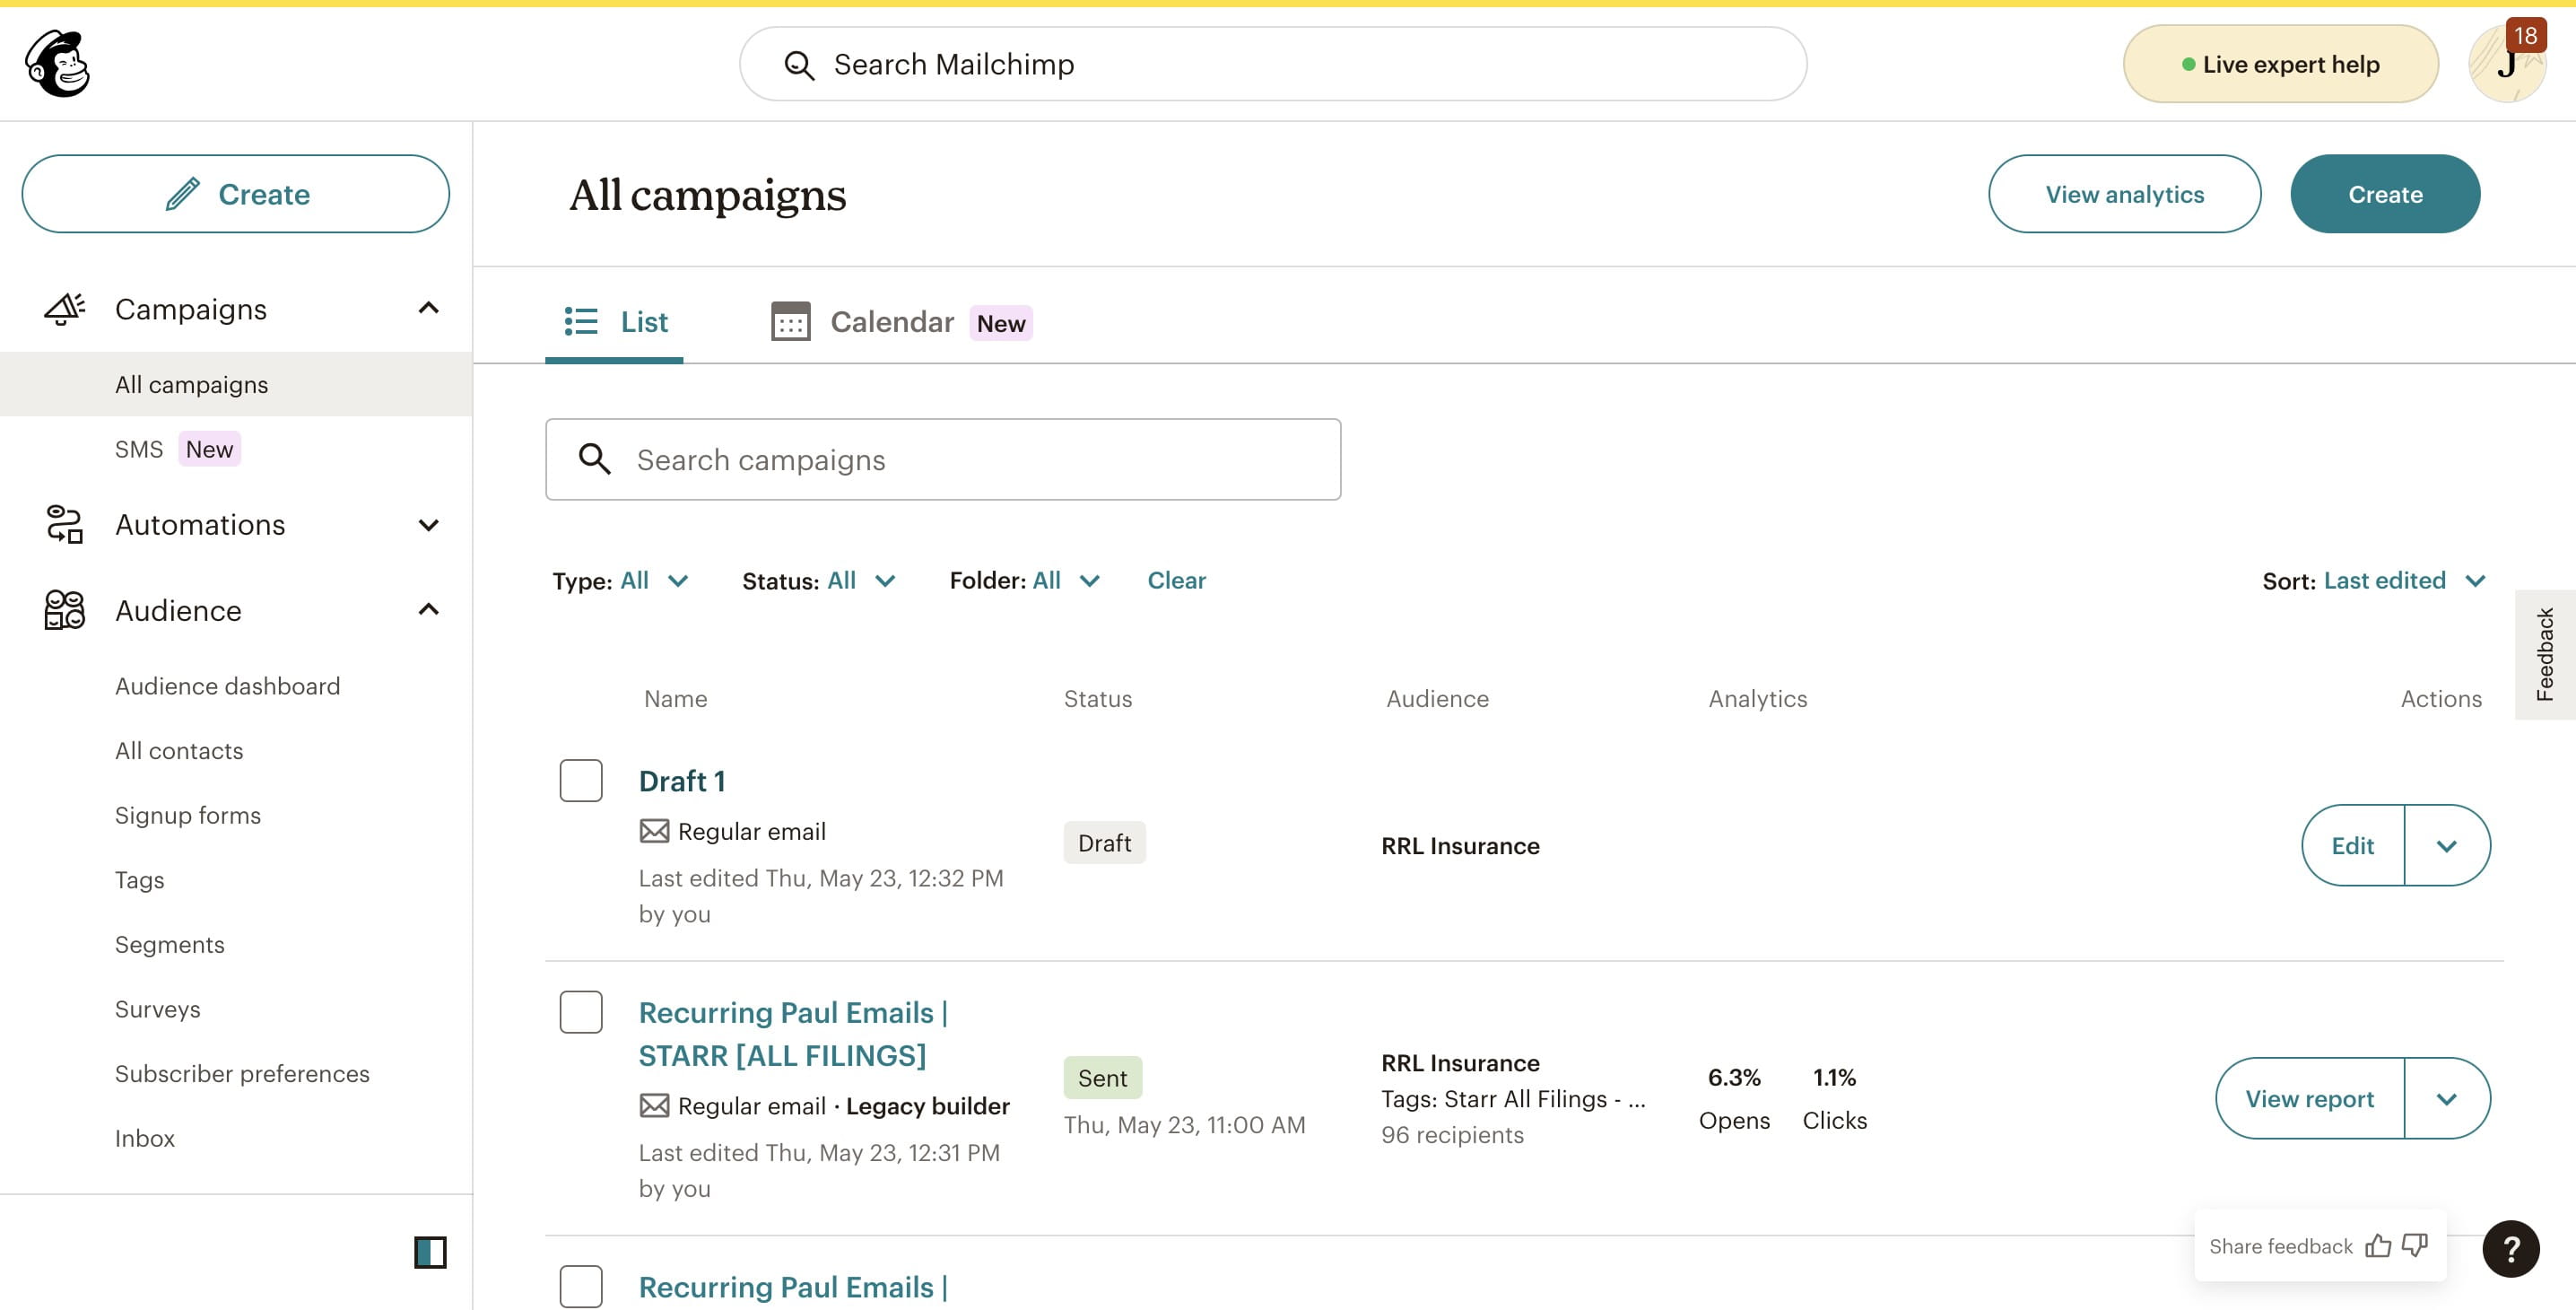
Navigate to the Mailchimp Account.
Click on specified Campaign.
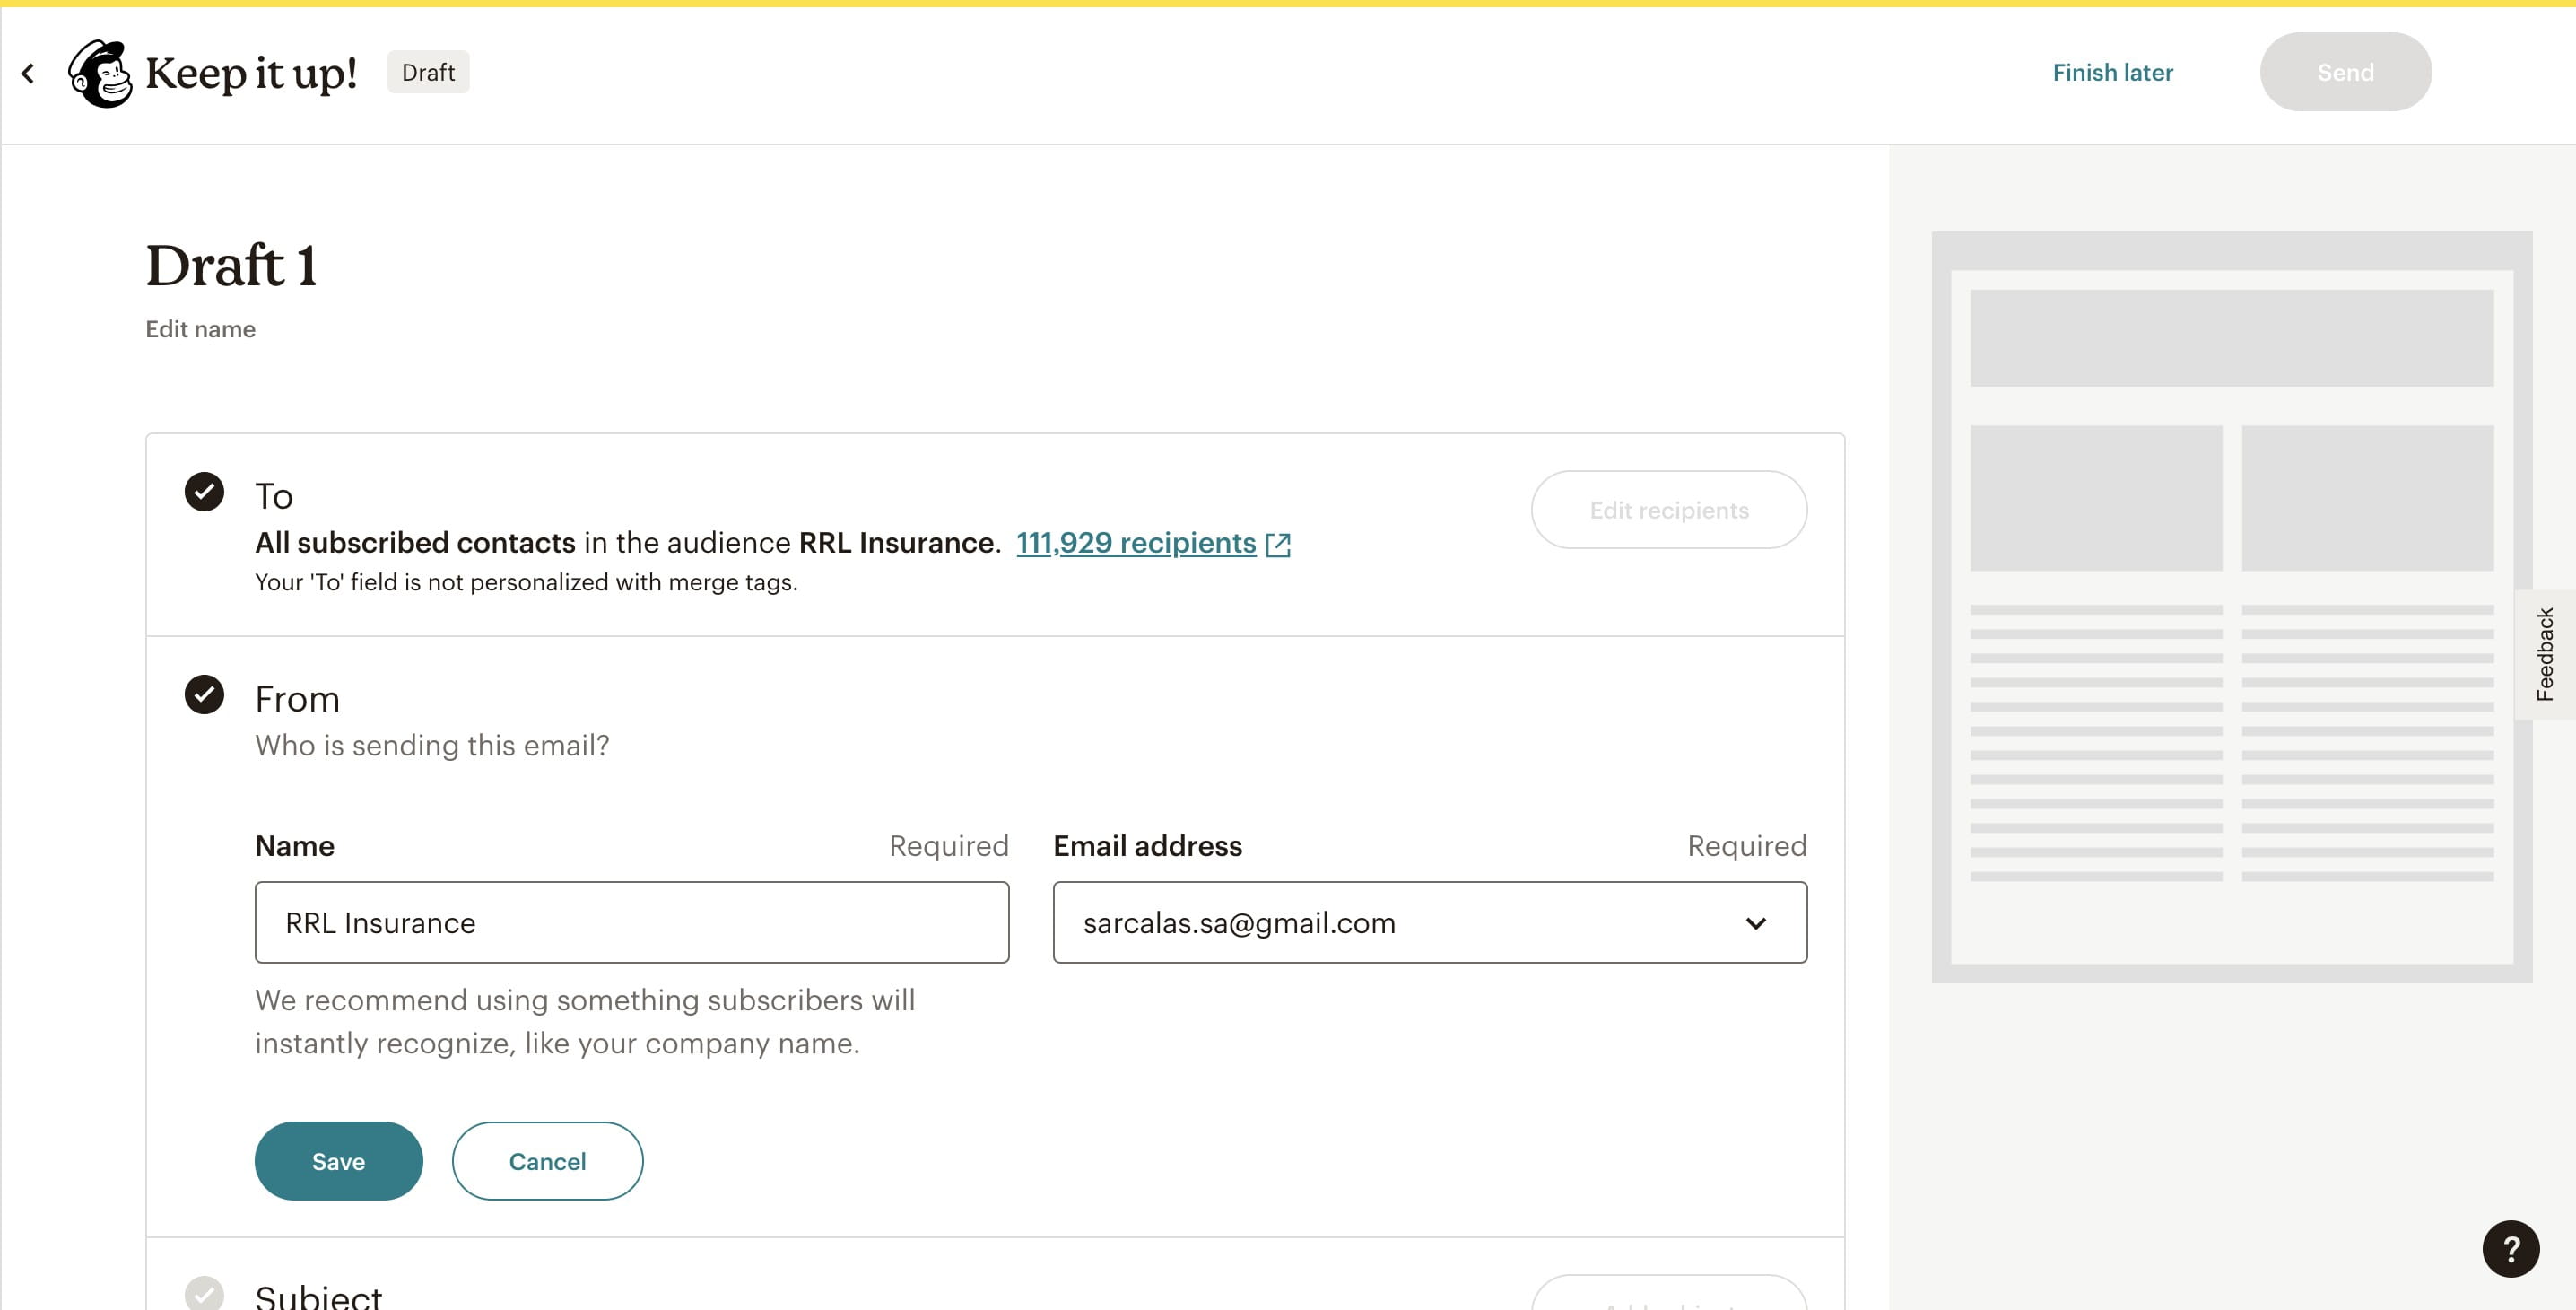
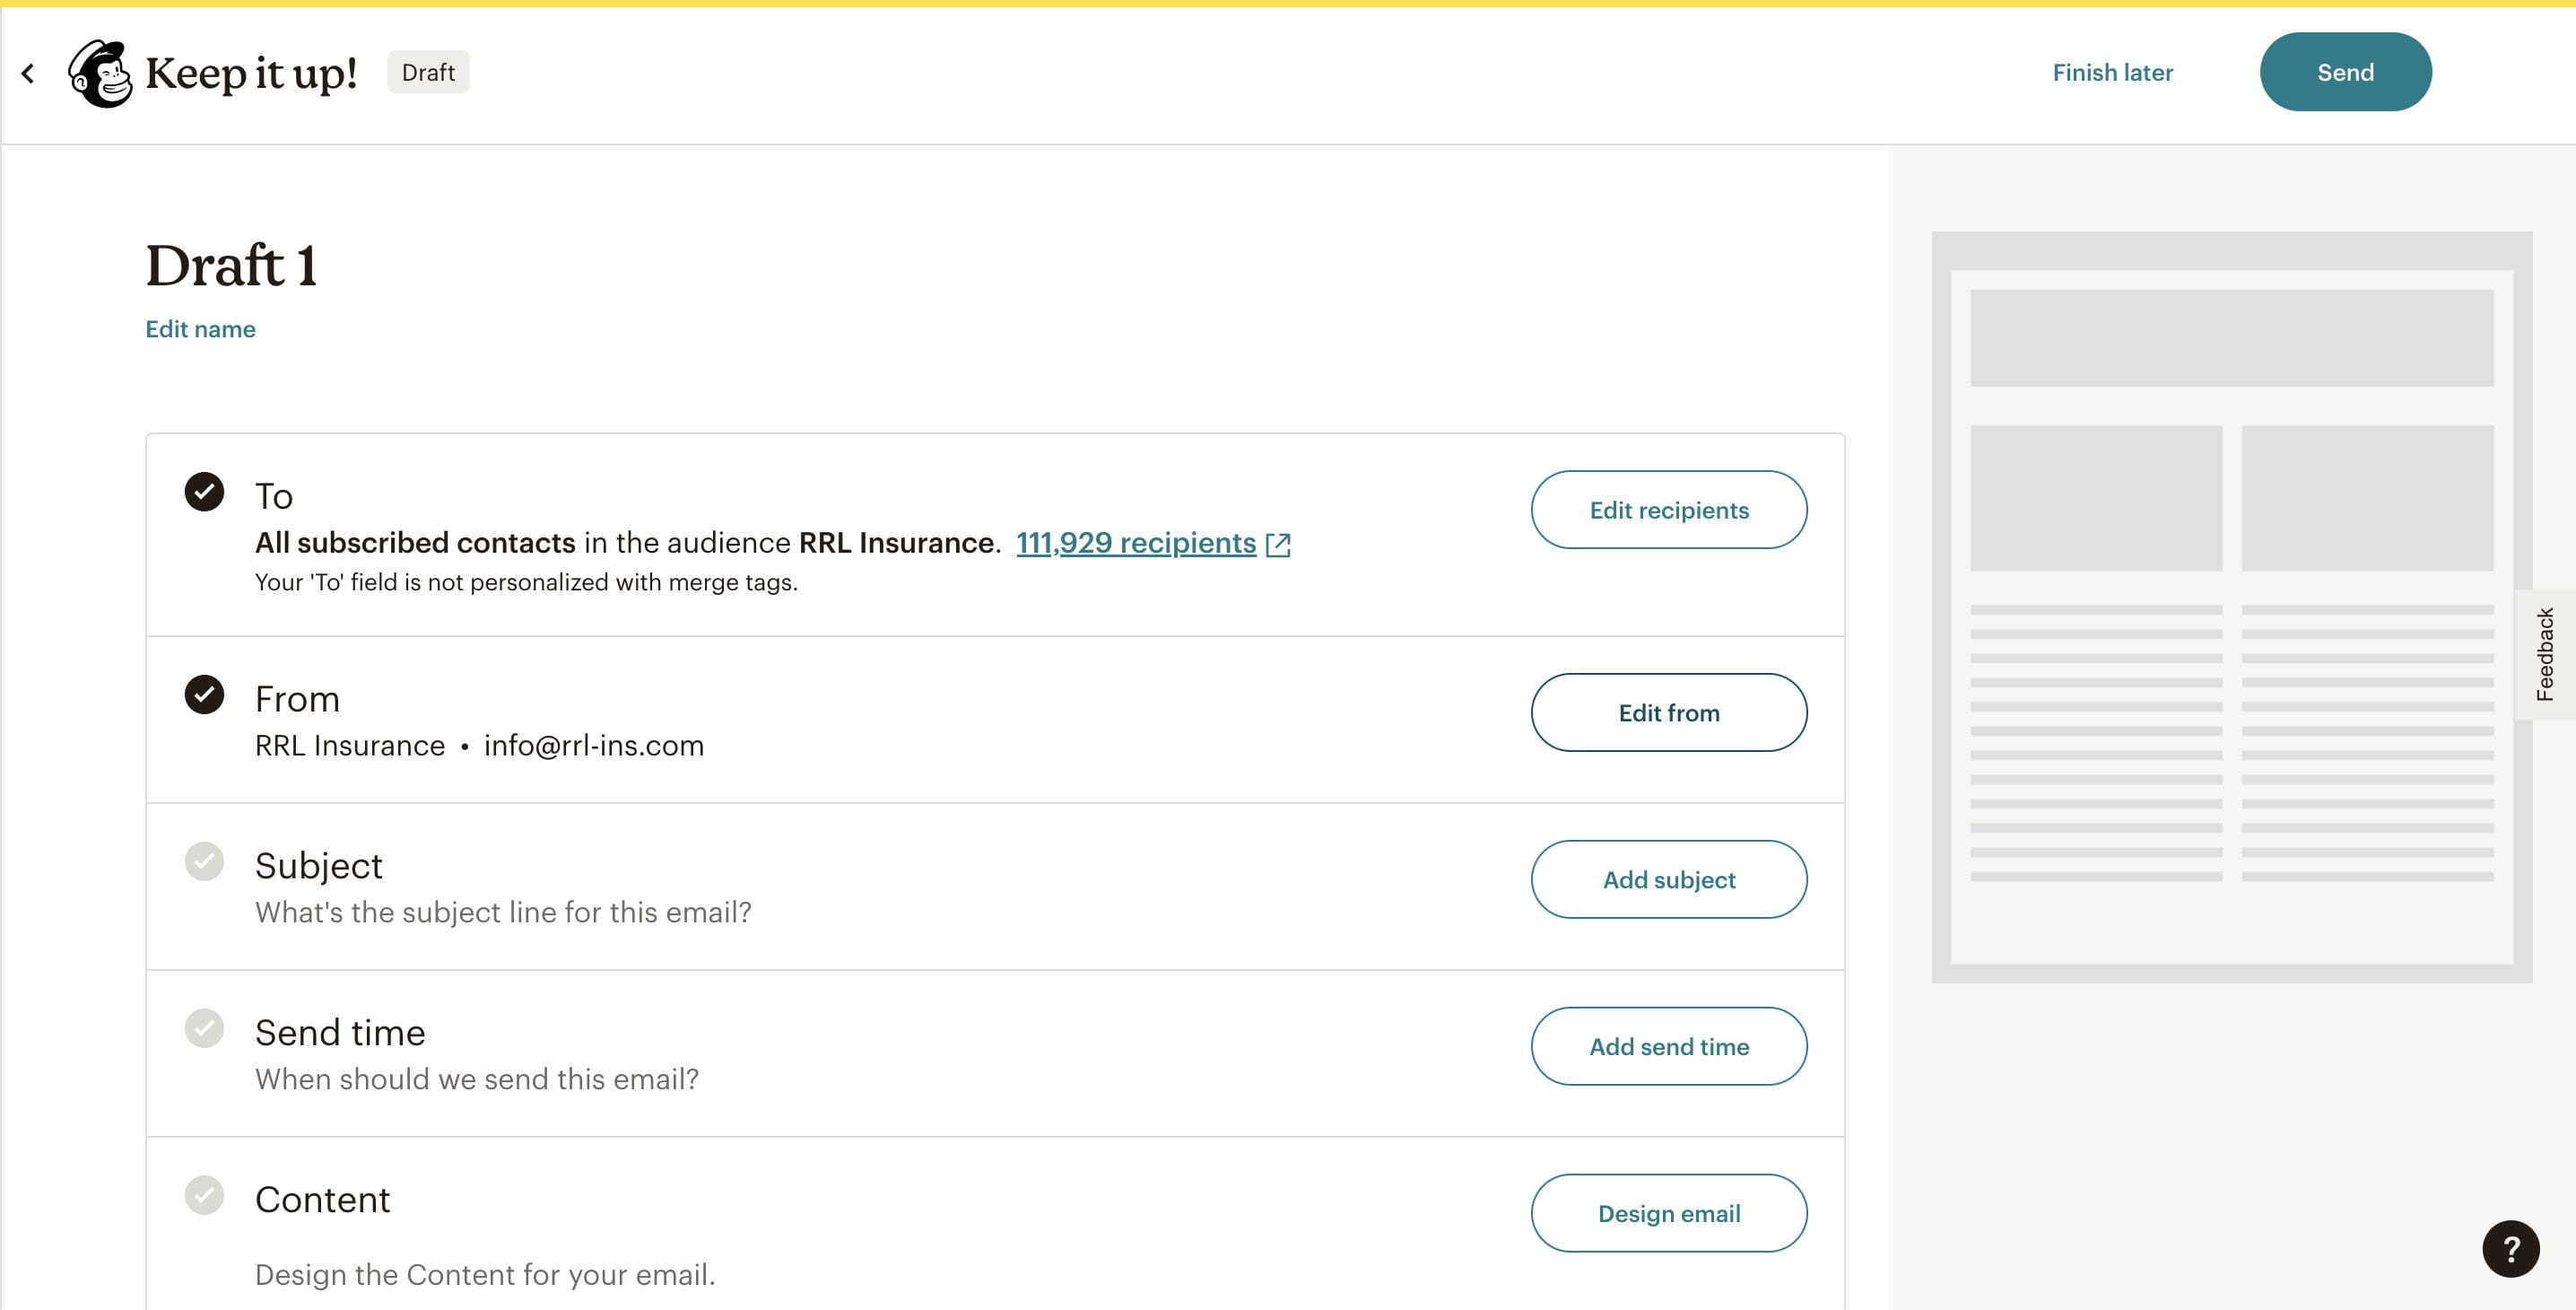
Click on "Edit from" in the From field.
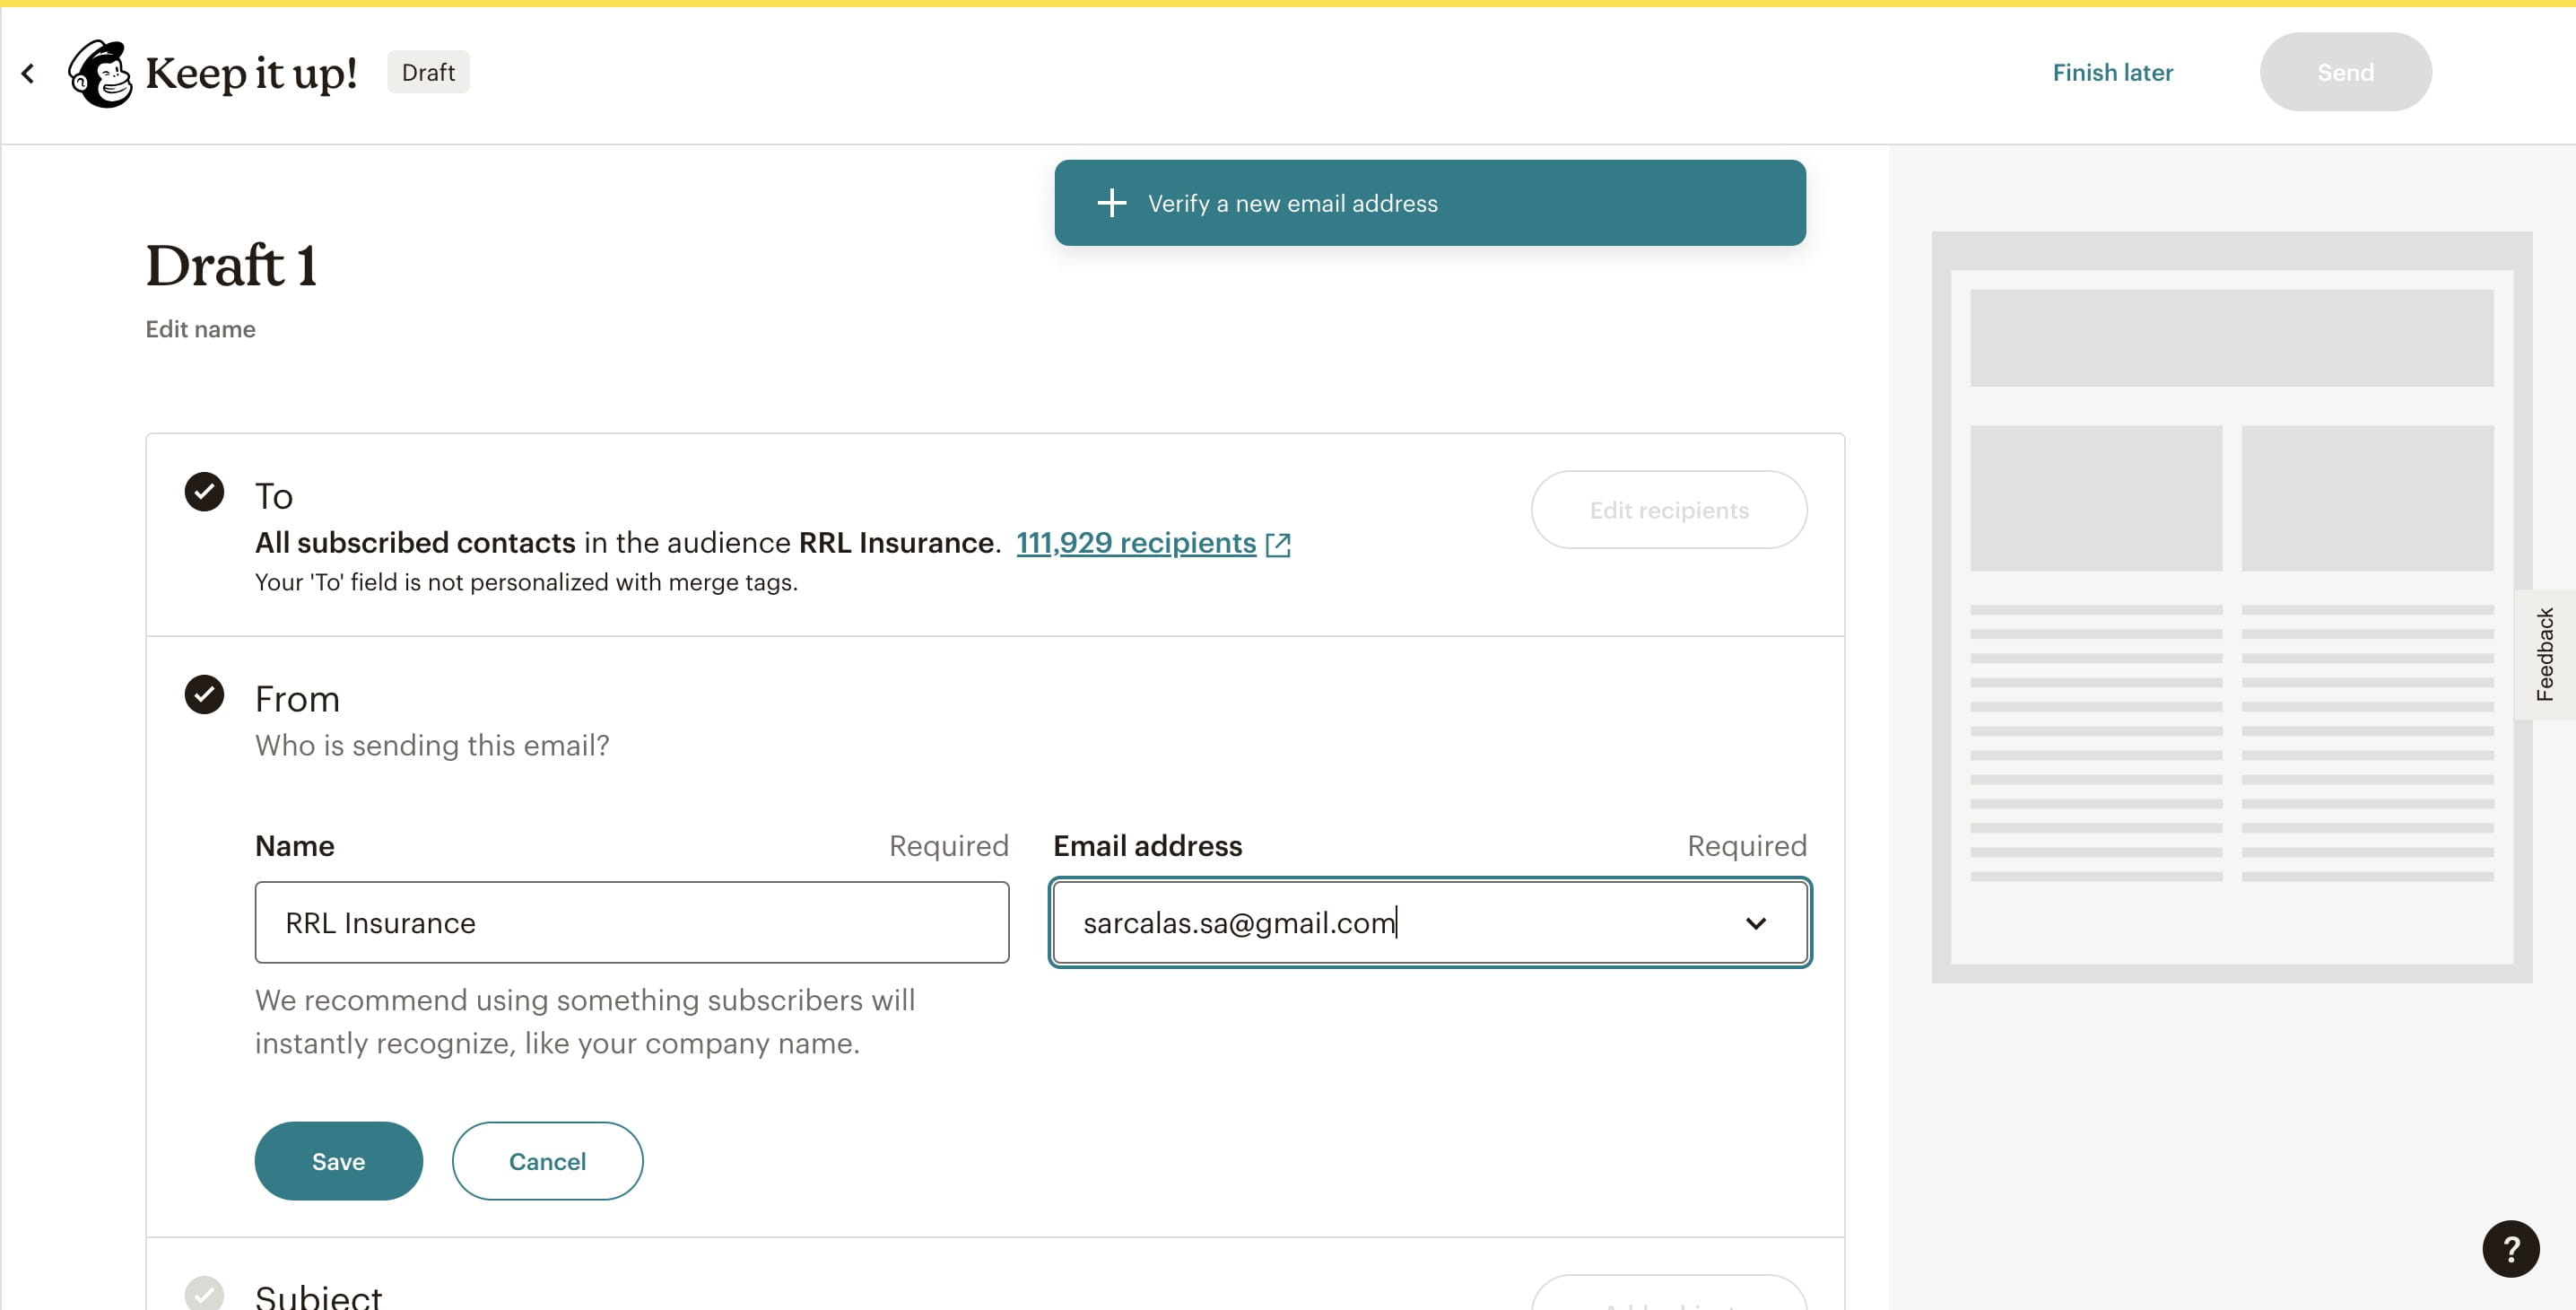
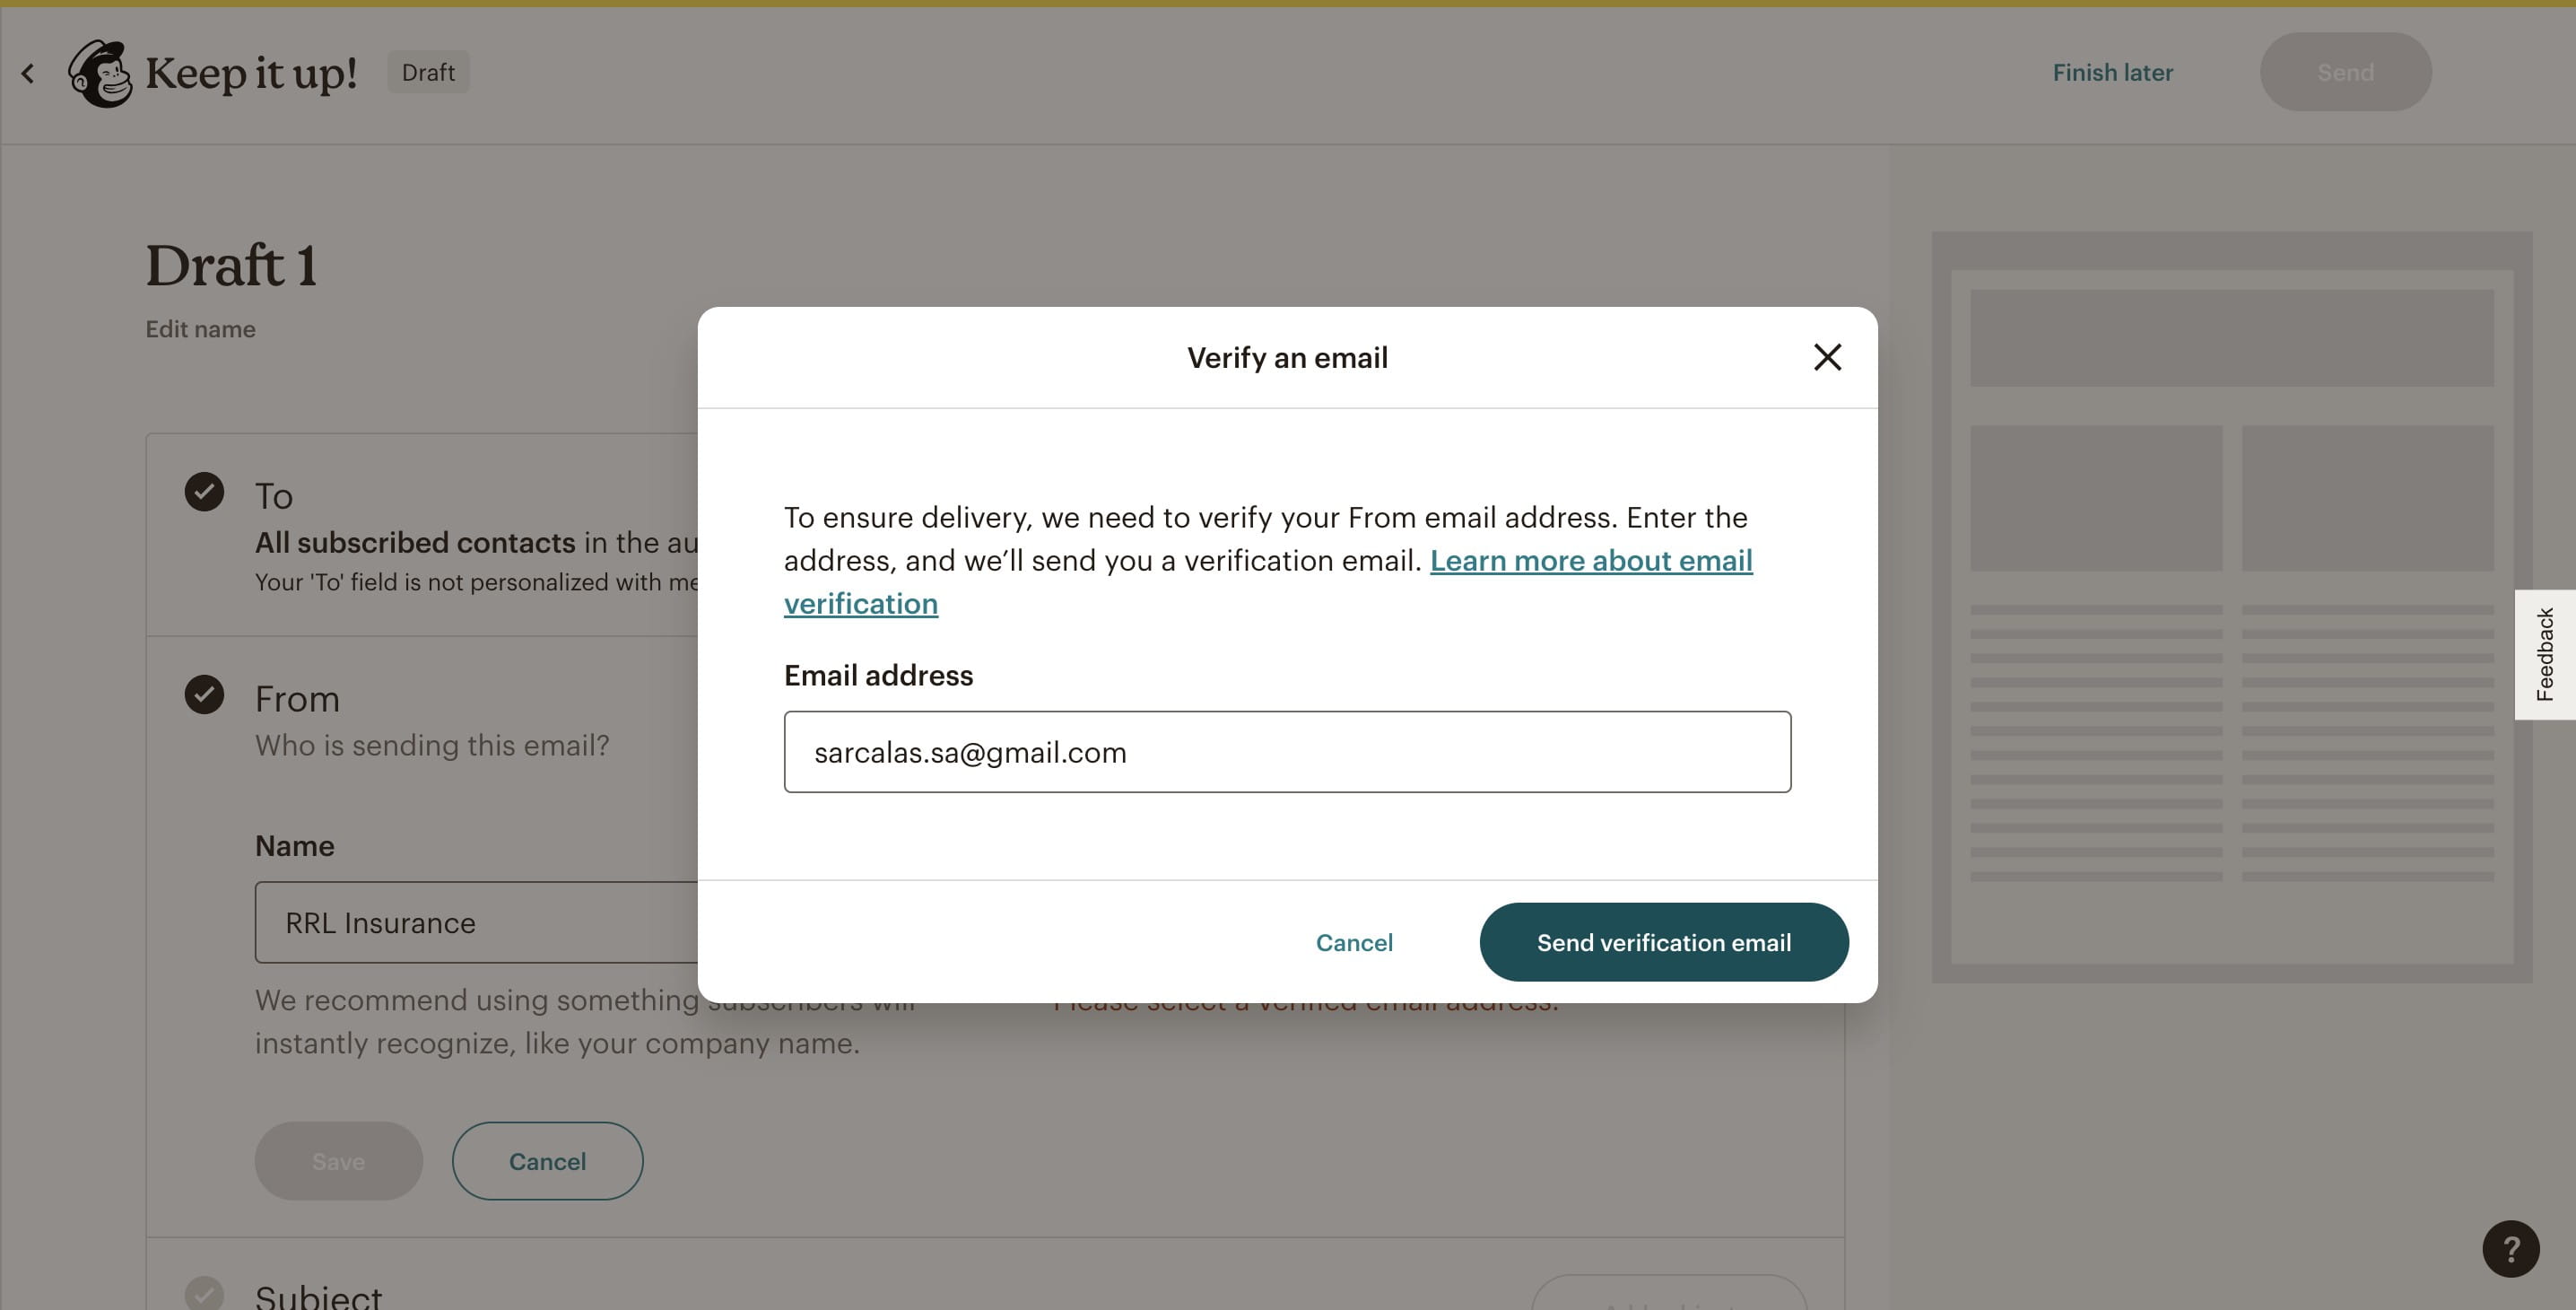
Type in the email you would like the campaign to be sent from. If this email address has not been used in the past, you will need to verify it. Click on the Verify a new email address.
Confirm that you entered the correct email address and click on "Send verification email"
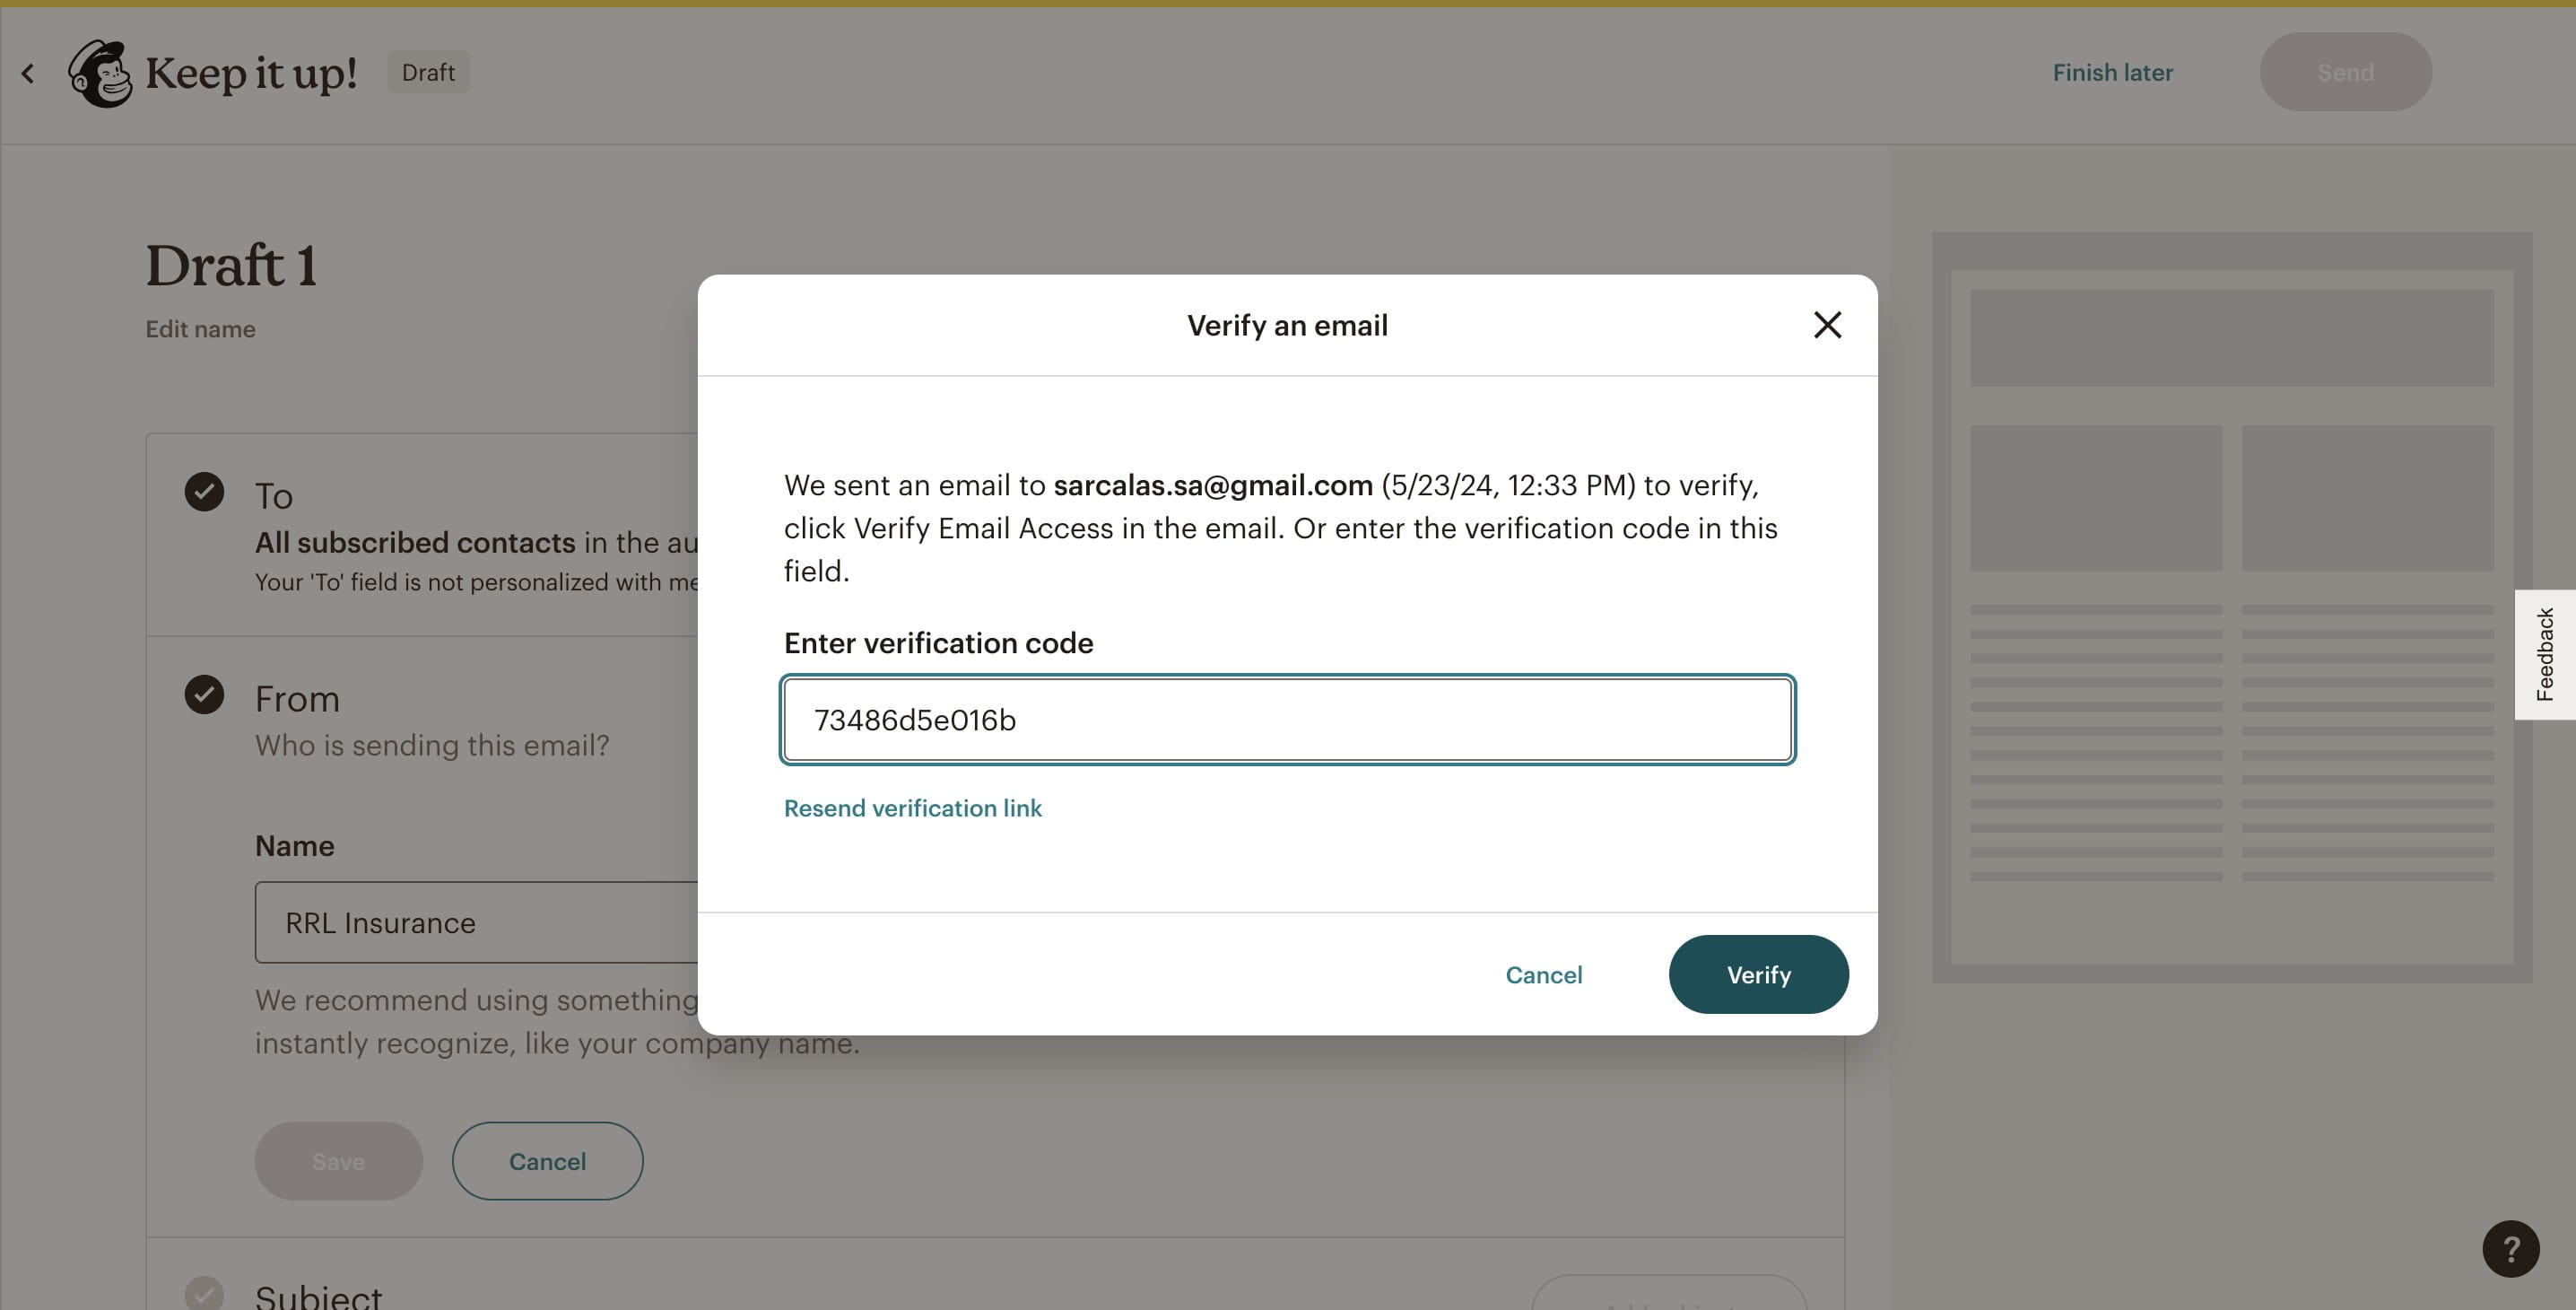
The client [or whoever the "From" email address belongs to] should have received this email. You can either instruct them to click on the verification button, or send back the verification code. Sometimes, the client may not get to the verification email fast enough before it expires, so be sure to communicate with the client to find a time where you can send the email and they can readily act.
![The client [or whoever the "From" email address belongs to] should have received this email. You can either instruct them to click on the verification button, or send back the verification code. Sometimes, the client may not get to the verification email fast enough before it expires, so be sure to communicate with the client to find a time where you can send the email and they can readily act.](https://assets.guidejar.com/uploads/c2fff4da-567e-4141-83bb-04d8dce917c0/13RuU3DYJ1ZAYR2gXsISHm1AFj52/5b677b62-9e6c-4402-b2f5-ce51a11663d5/1716482007627.jpeg)
Click on "Verify"
Done. You should see the email in the email address field if successfully verified. 🚀