How to Prepare TDS Return using Winman Software
Add as many steps as you want below to create a step by step guide. You can upload your own screenshots (or) videos to create a more engaging guide. Once you click on 'Finish', you'll be able to view this guide as a scroll or as an interactive demo video.
Open Winman TDS Software in your PC

Click on Open icon and select the party and previous year

Click on 26Q Form
Select the respective Form and Qtr for the return

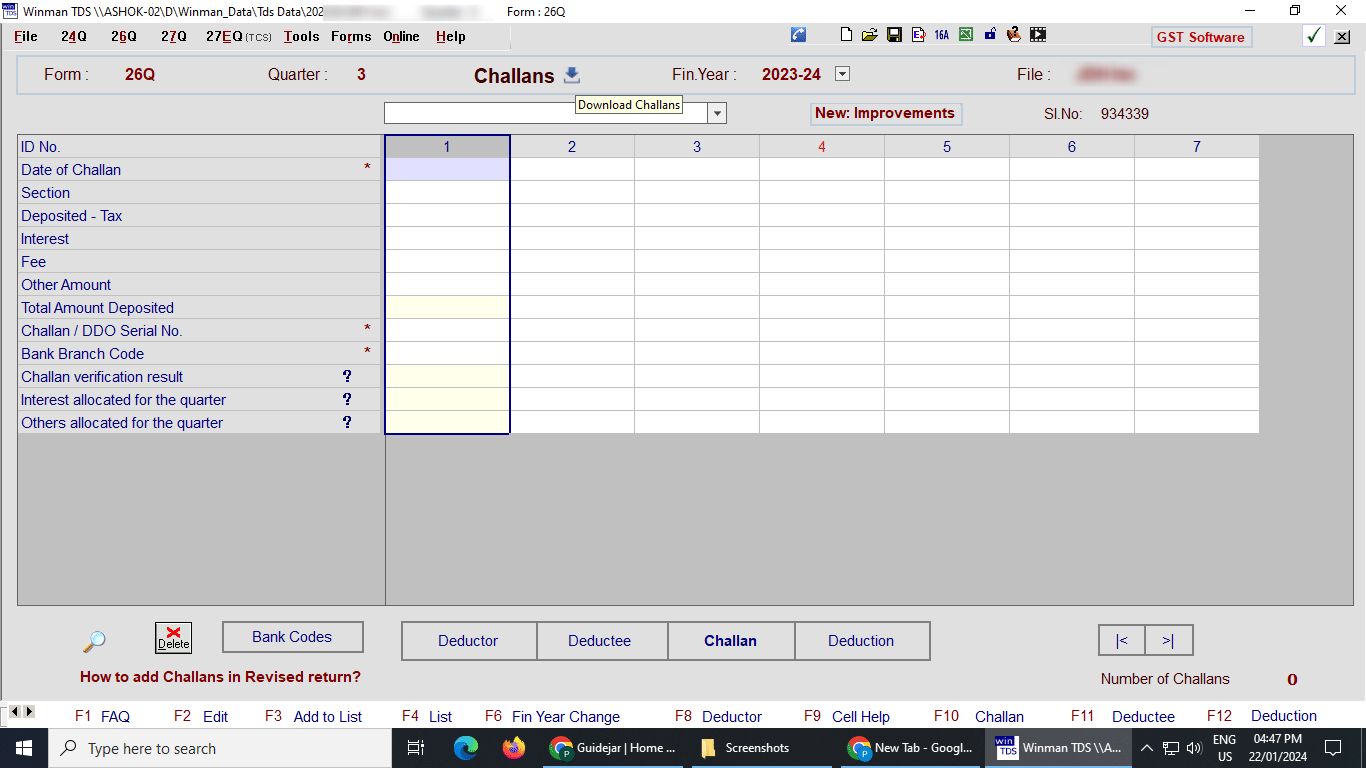
Click on Challan Option to open challan window and enter details
From TDS Challan copy enter the details required in the table manually
After adding the challan details right click on a challan and select "Verify Challan thorugh IT Website" option to verify the challan details

Click on download button to download challan automatically using software
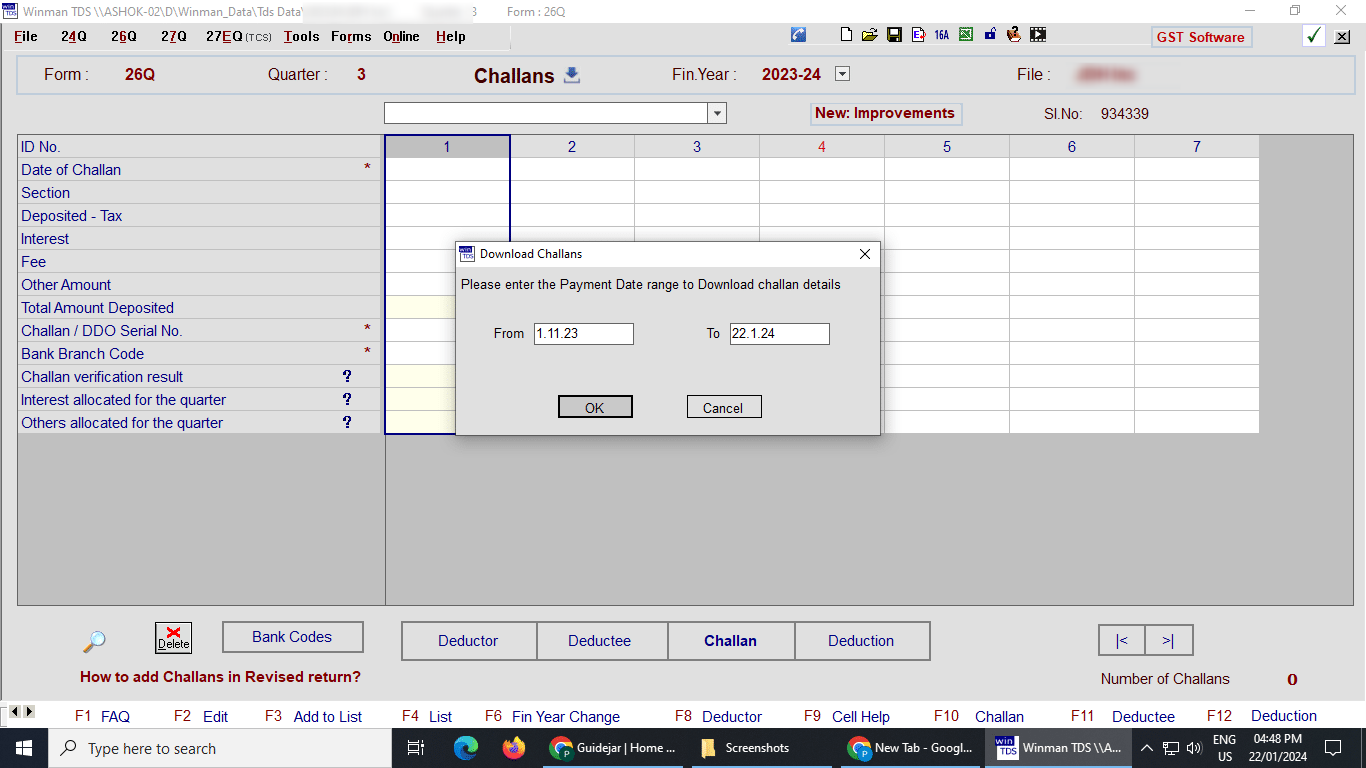
Select the date range for which challans are to be downloaded for E.g the date range for Q-1 challans will be from 1st of May till July
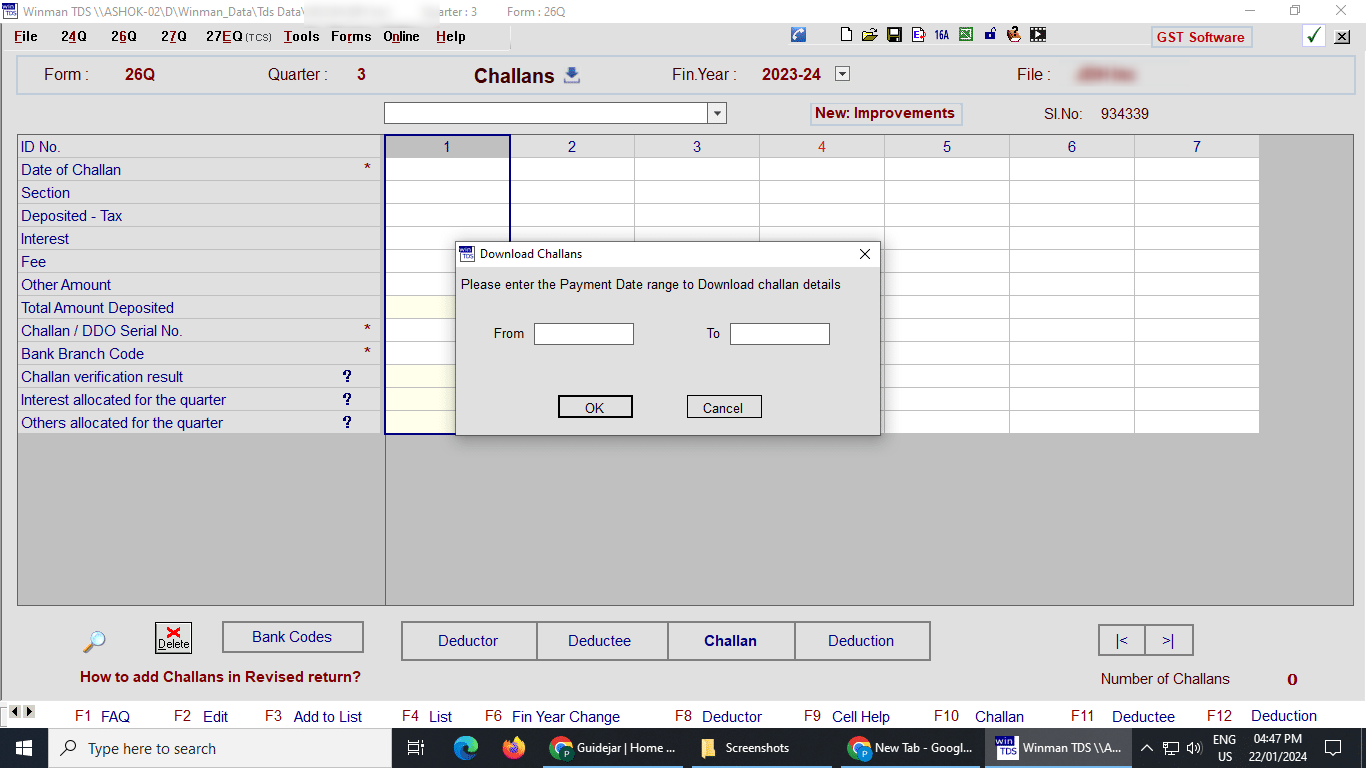
Click on Ok to continue and software will automatically navigate to IT portal and download the challans in the specificed range
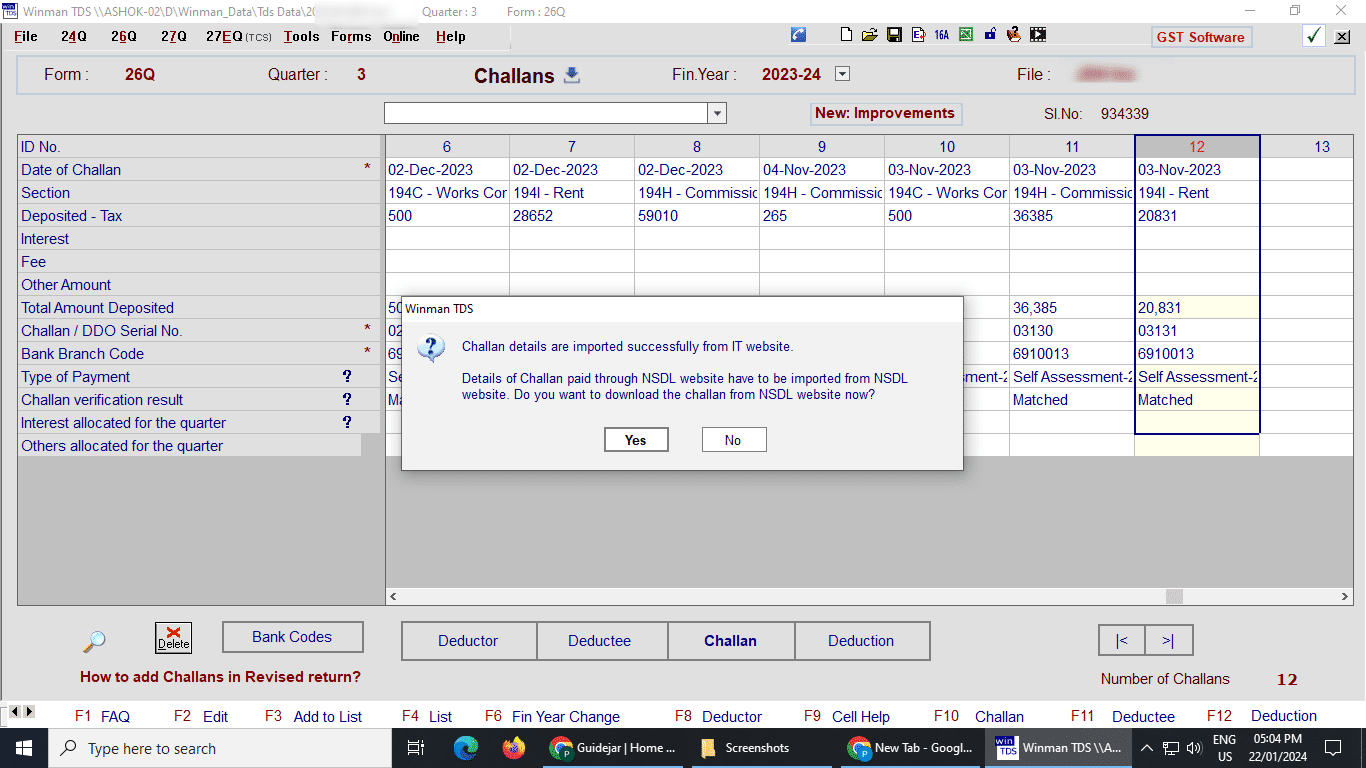
After downloading from IT website the software gives an option to also check to NSDL website; Click yes to go to NSDL or click on No
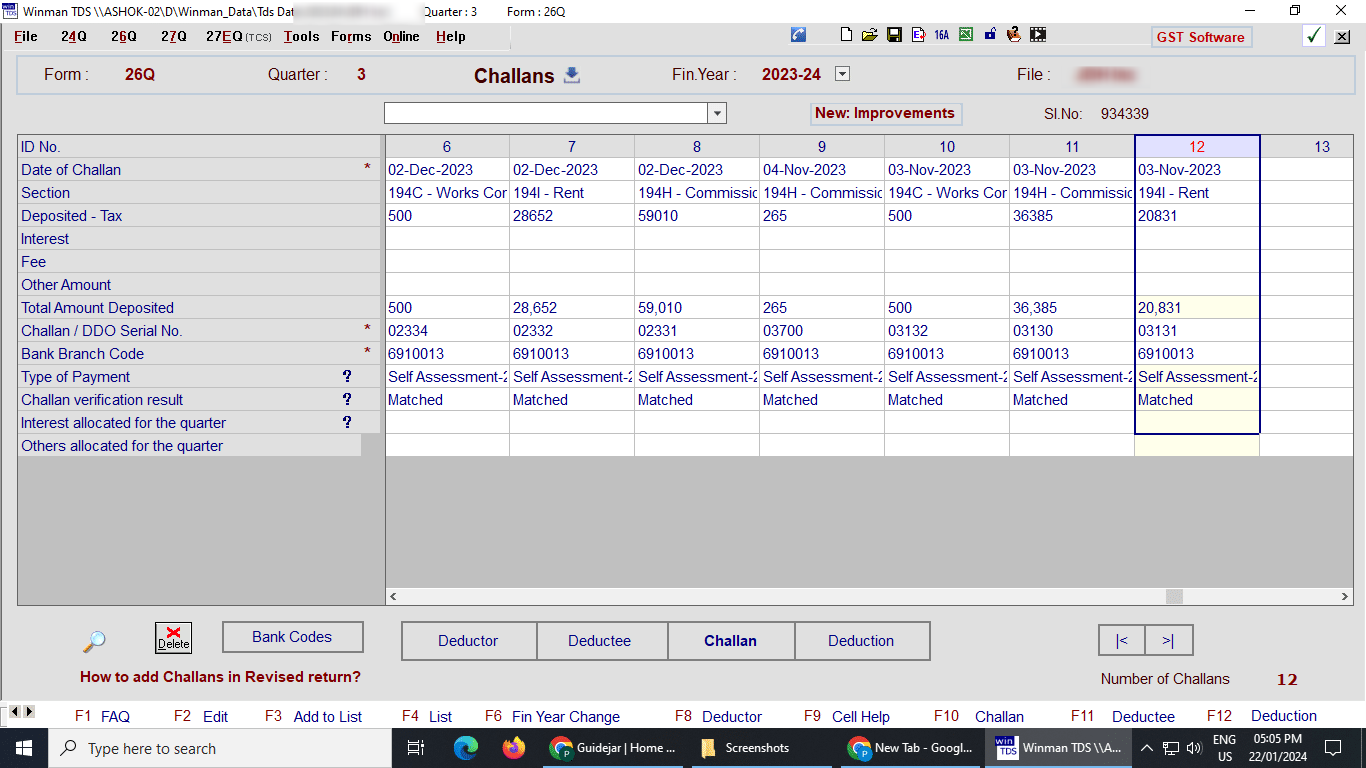
After downloading the challan, make sure only challans related to selected quarter appear here
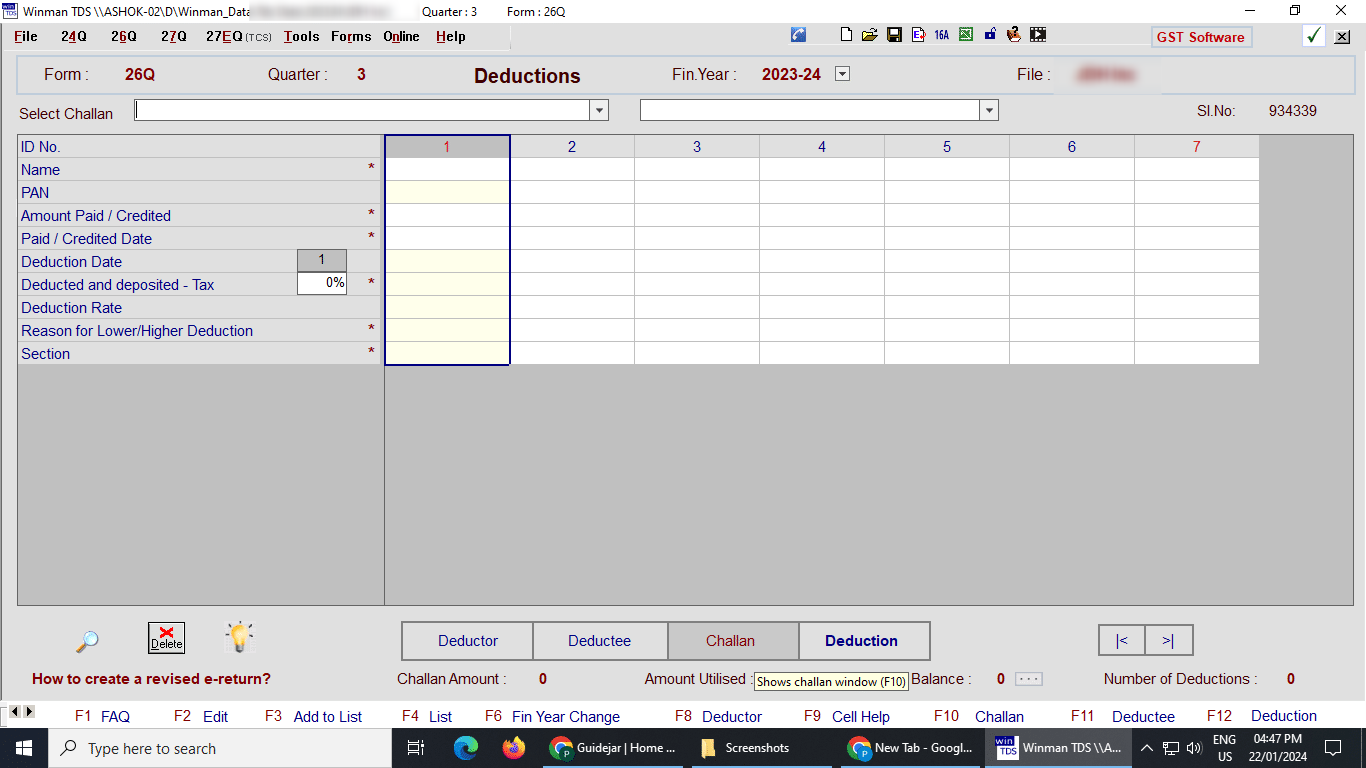
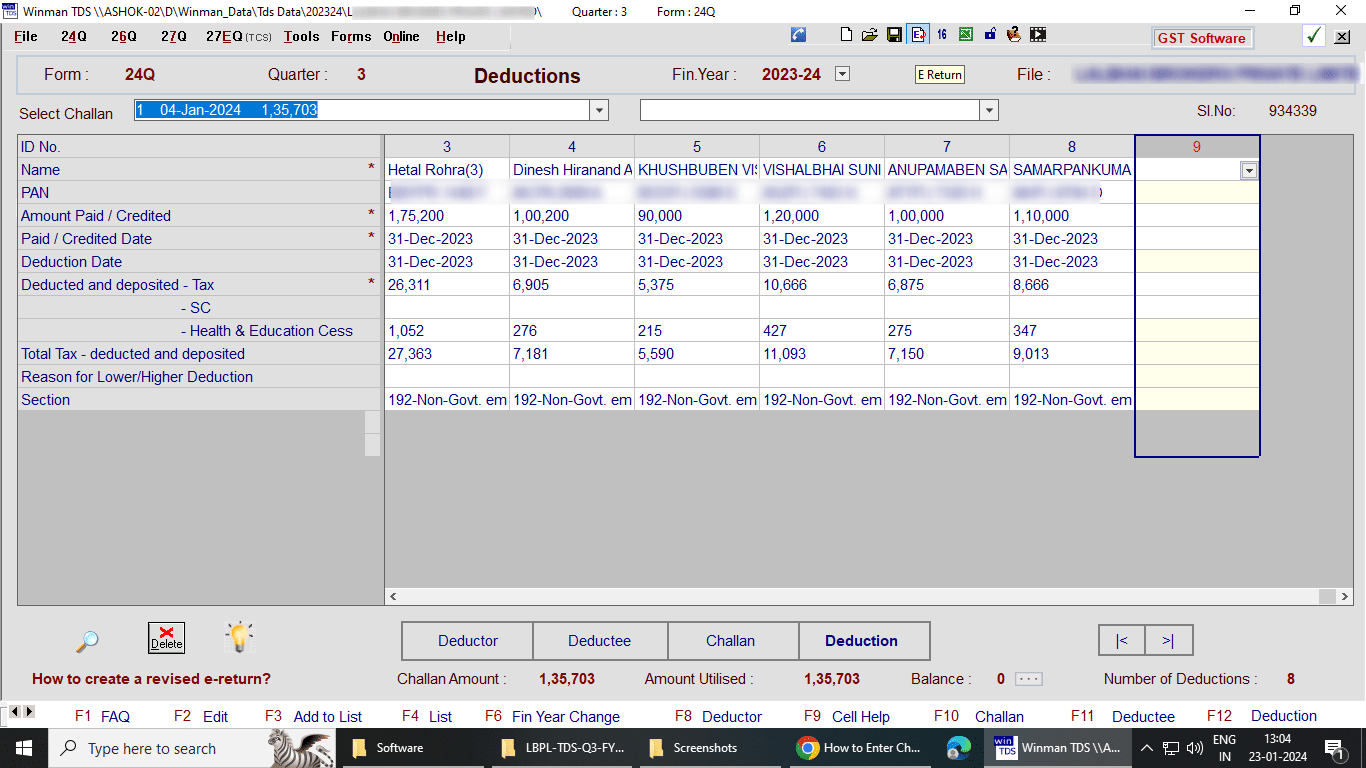
Click on Deduction Option to open deduction window and enter details against the challan paid
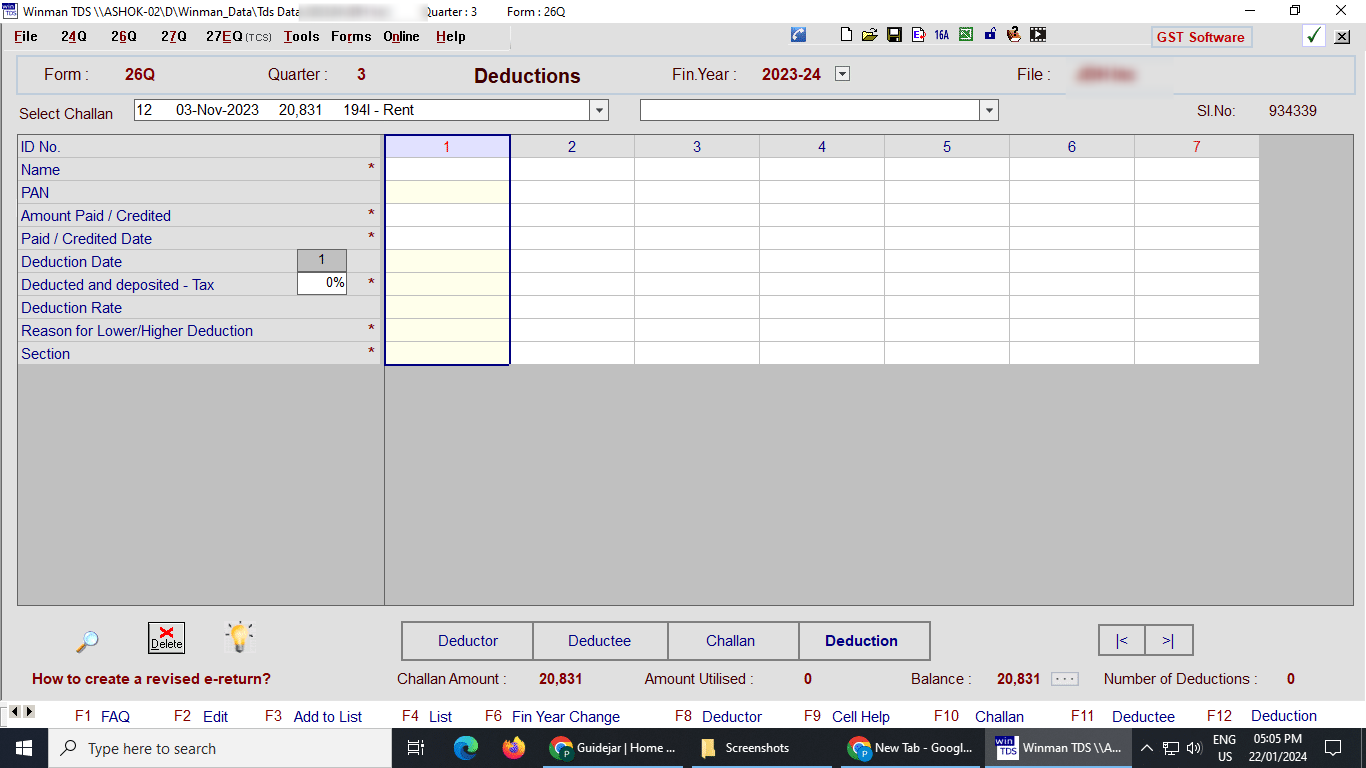
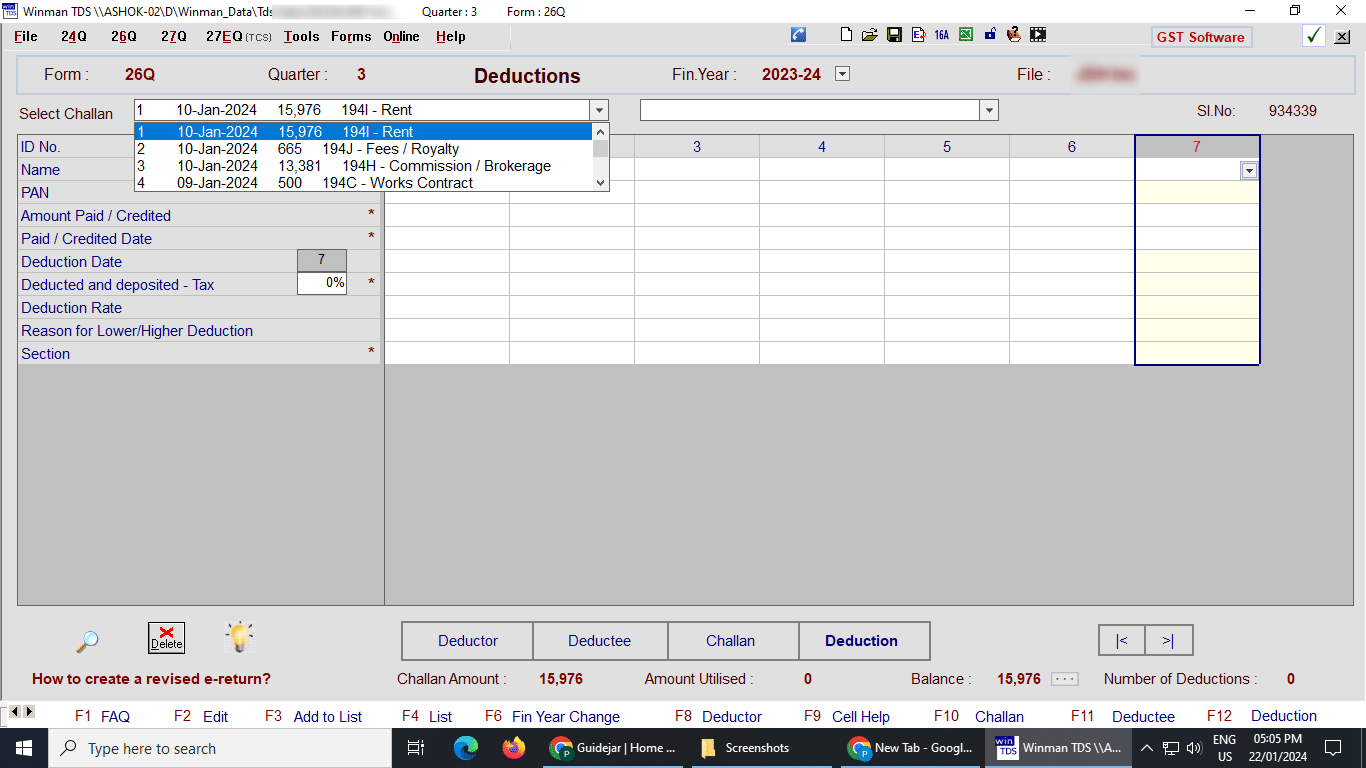
Click to open dropdown menu to select a challan for which deductions are to be added
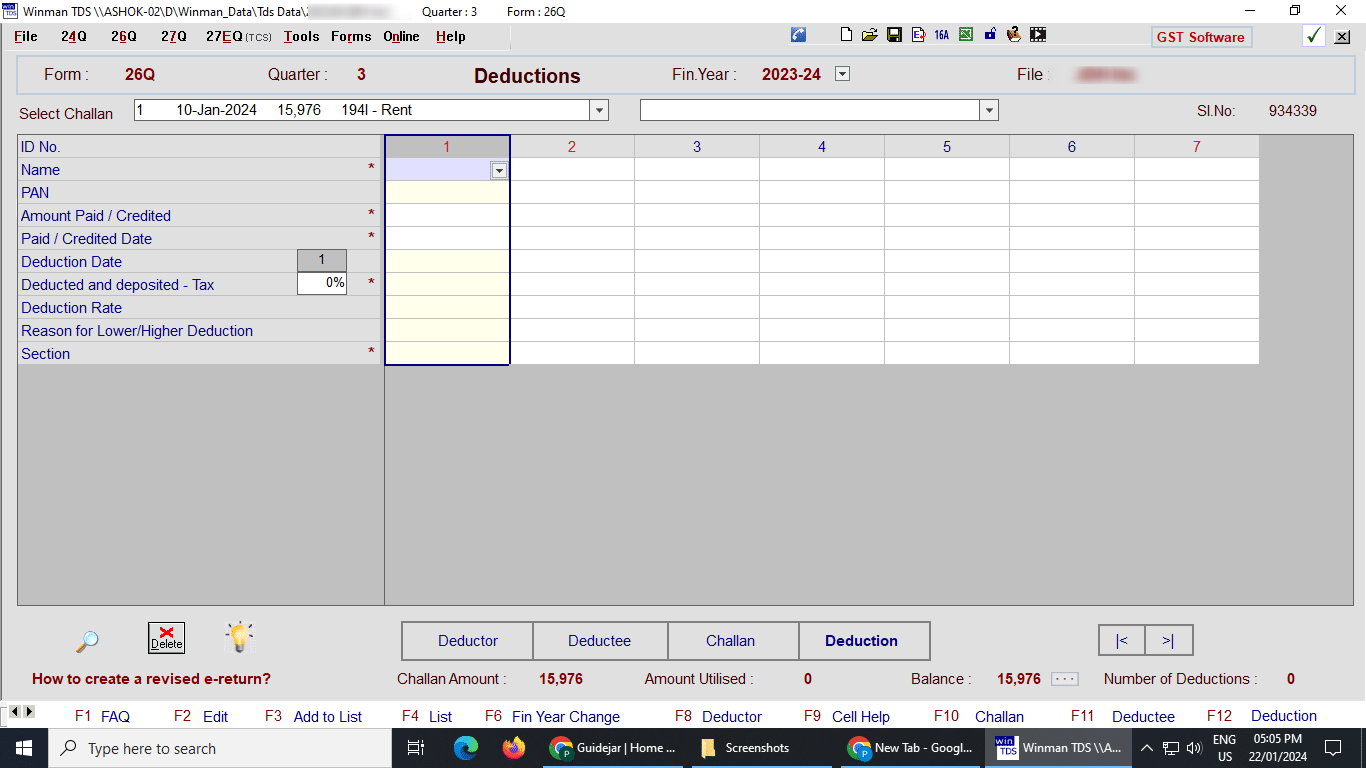
Enter the details of deductions against the specific challan as required

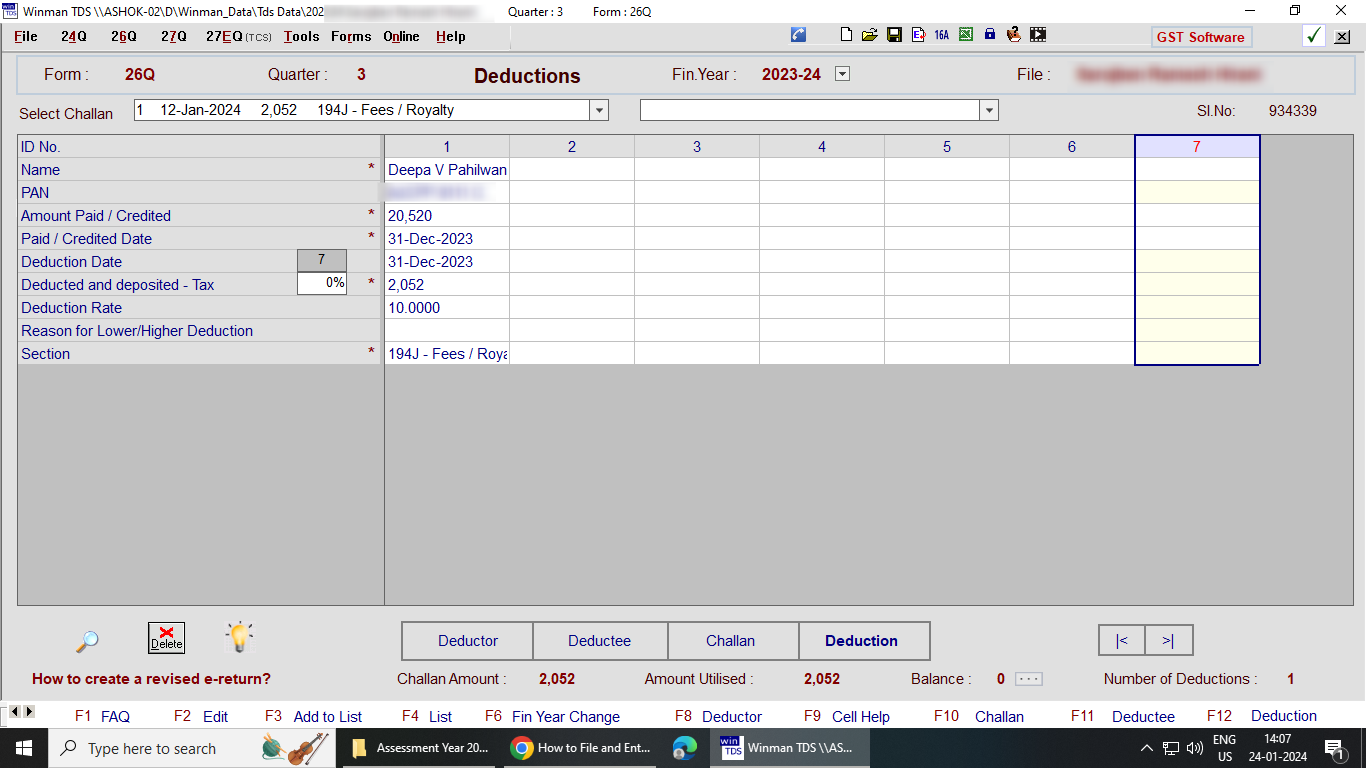
Name and Pan are to be selected from the dropdown menu and other details like Amount paid, Date,Section etc are to be entered manually
Confirm balance of the challan to be zero
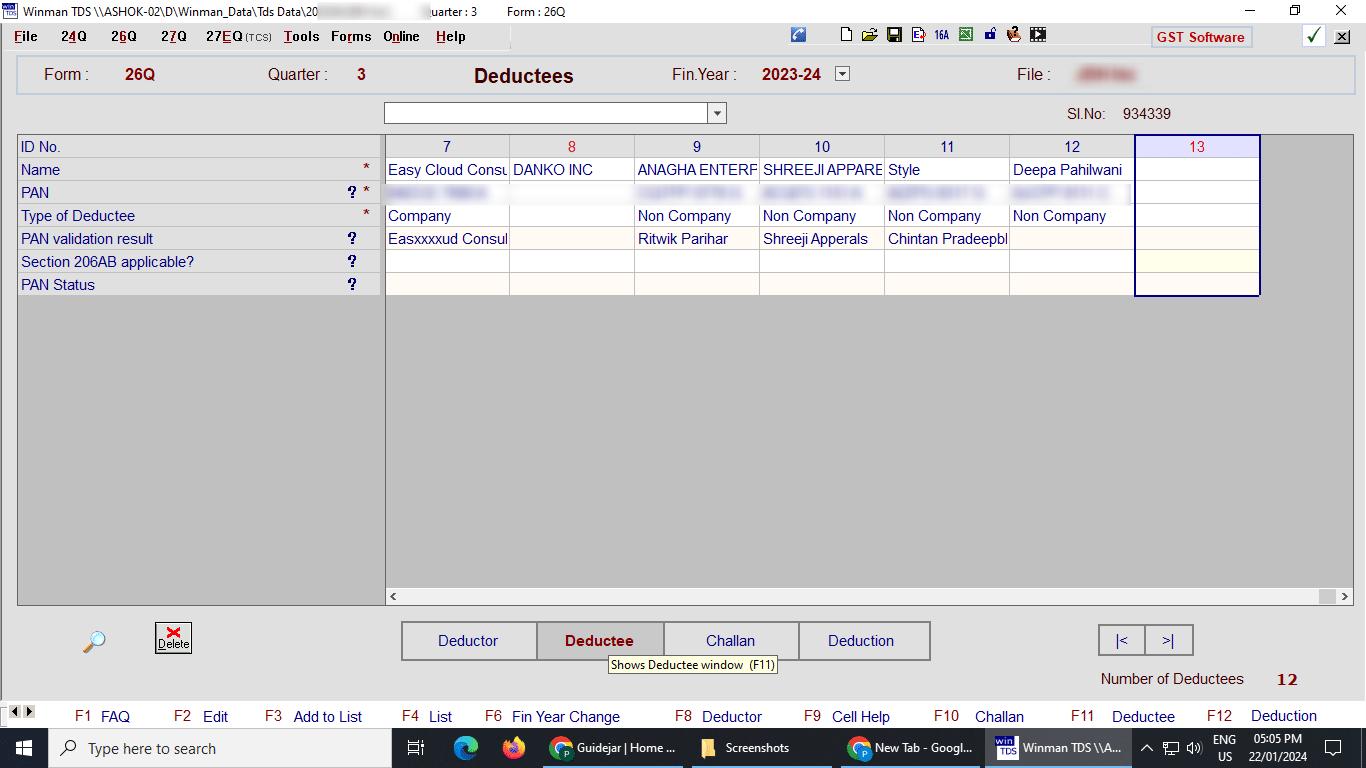
Click on Deductee Option to open deductee window and to add deductees if required.
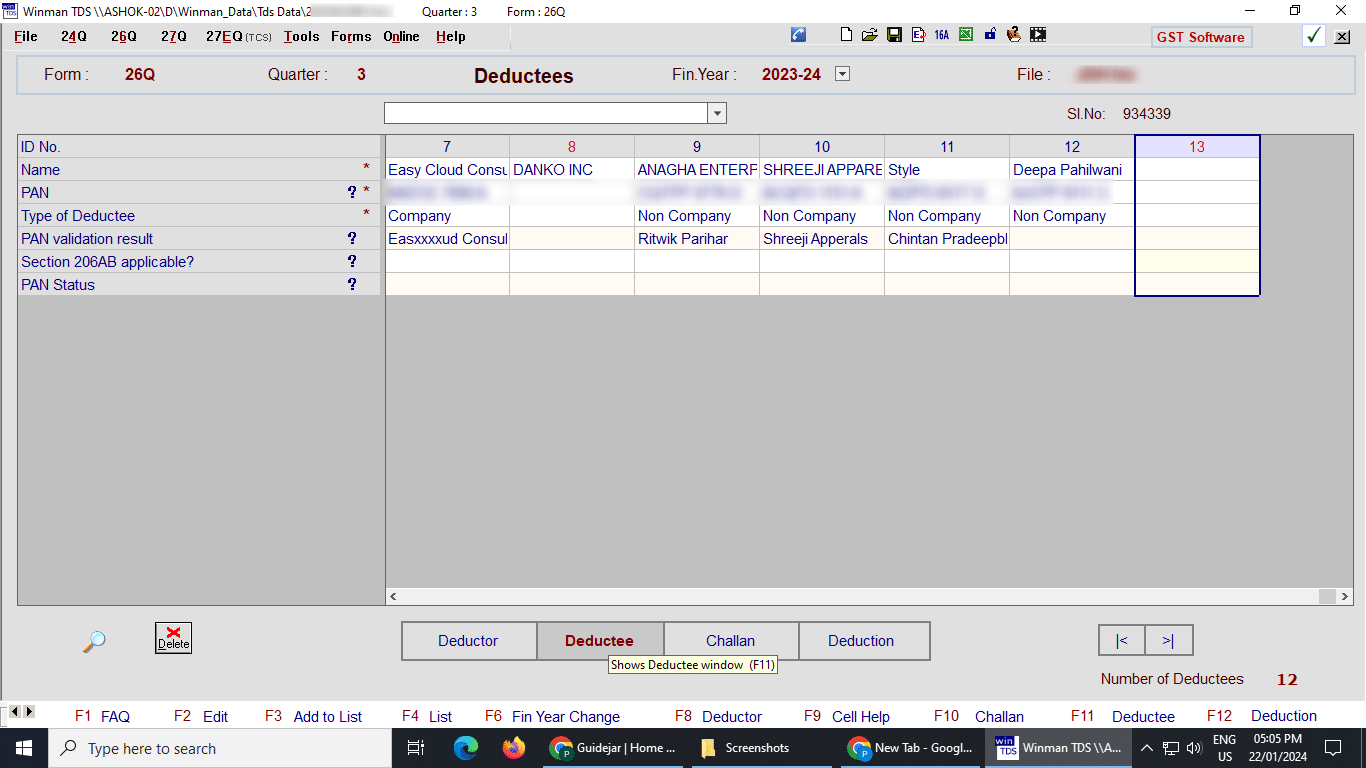
Enter Name and Pan of deductee (Deductees will only be seen in the deduction tab if they are added in the deductees list first)
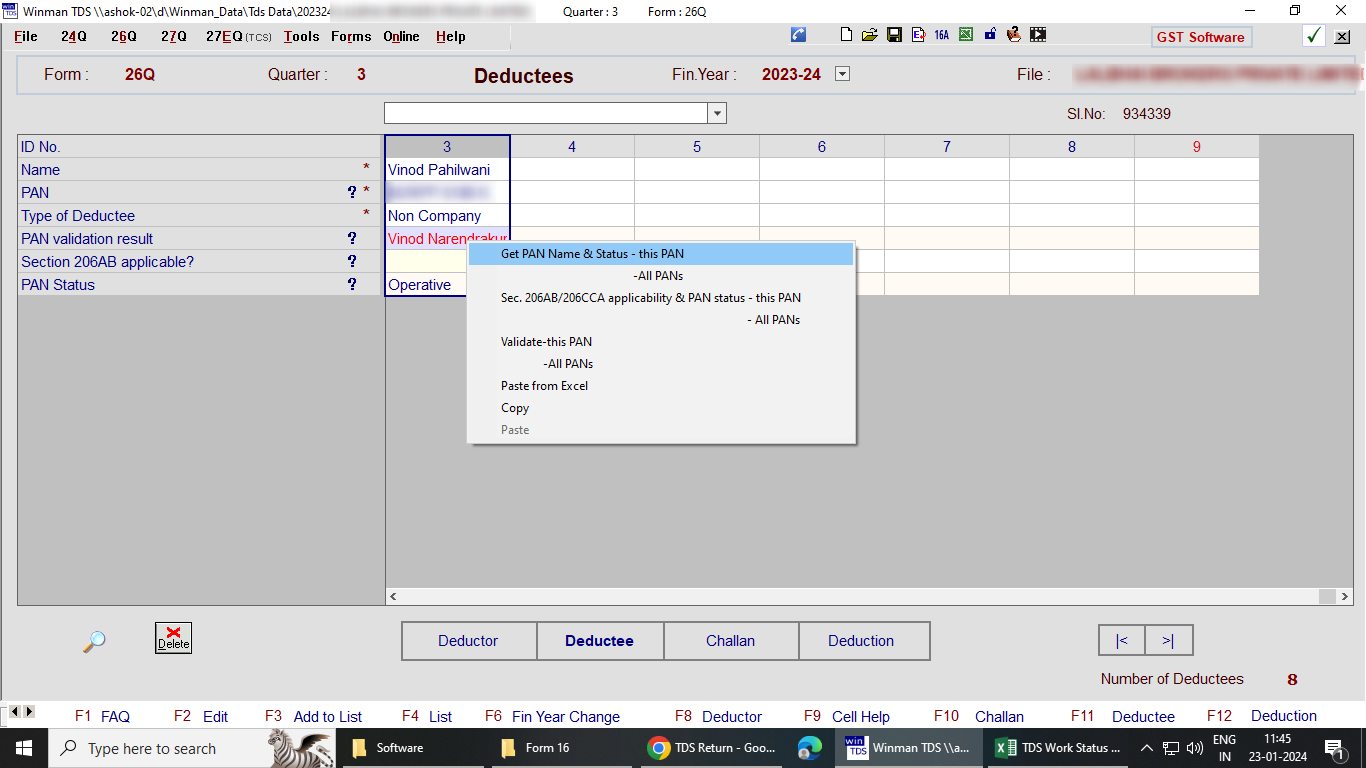
Click on "Get Pan Name & Status" option to verify the name and pan number of the deductee entered
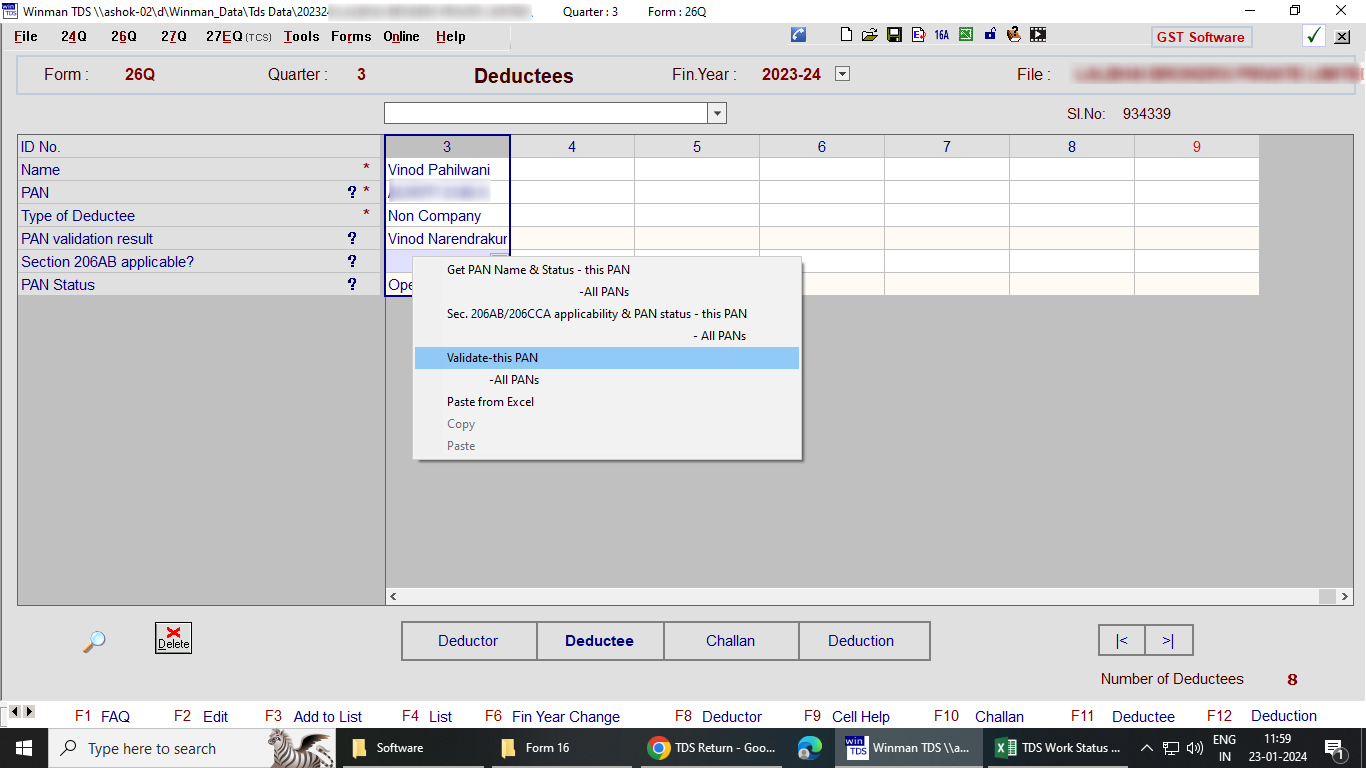
Click on "Validate" option to validate the details of the deductee entered
Click on "E-Return" button to start generating e-return on portal
Click on Generate/Validate E-return, also verify that PRN of last accepted return is auto-populated from online menu, otherwise enter manually
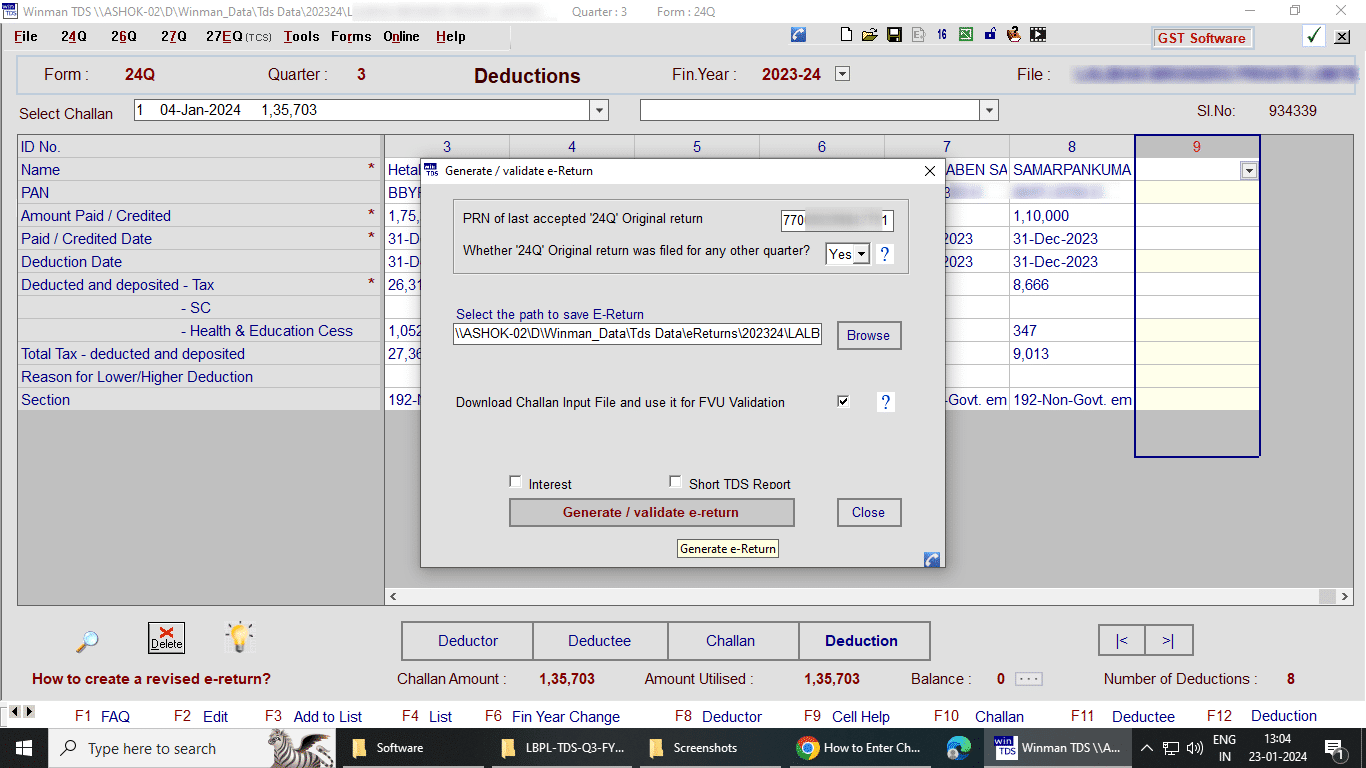
Click on Yes to Continue

Software will automatically verify the e-return generated, in case of an error, the error file opens automatically.
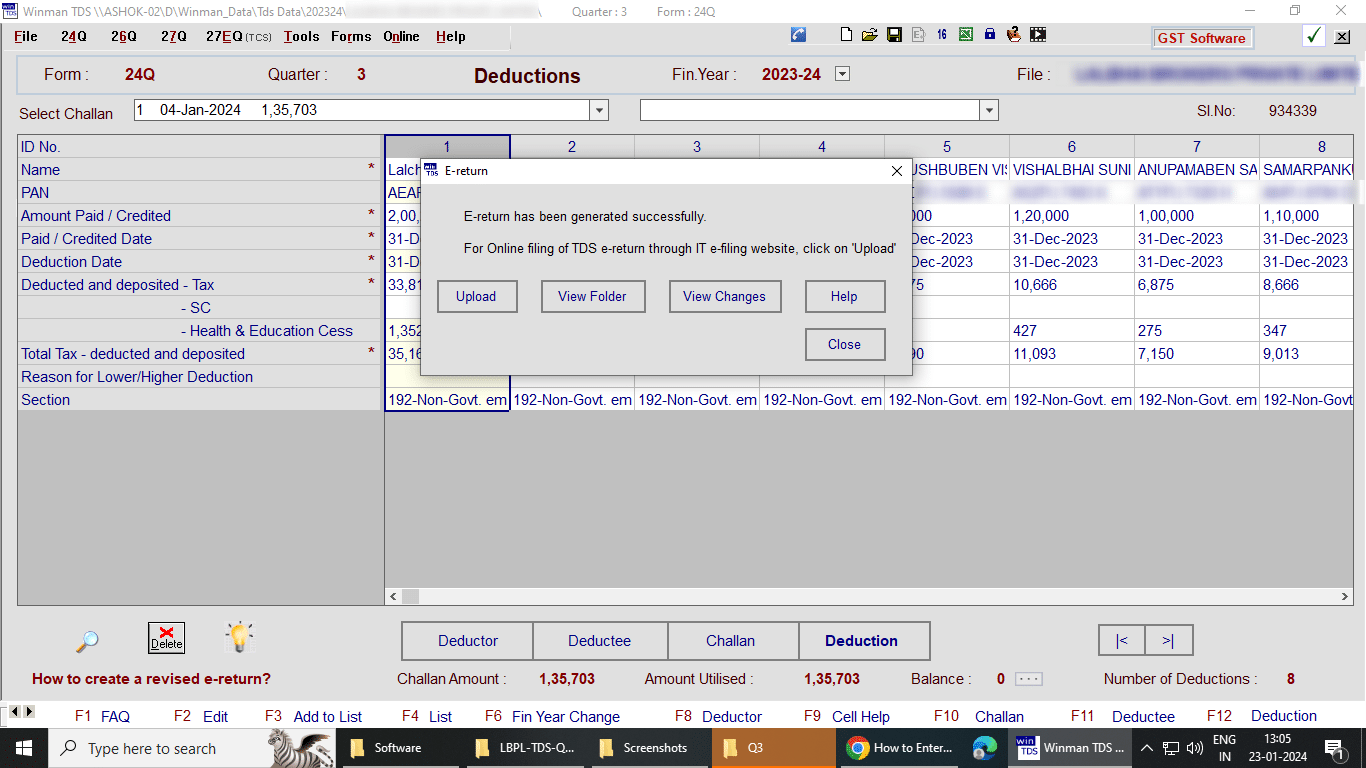
Cick on upload to file TDS return and software will automatically redirect to TDS IT portal
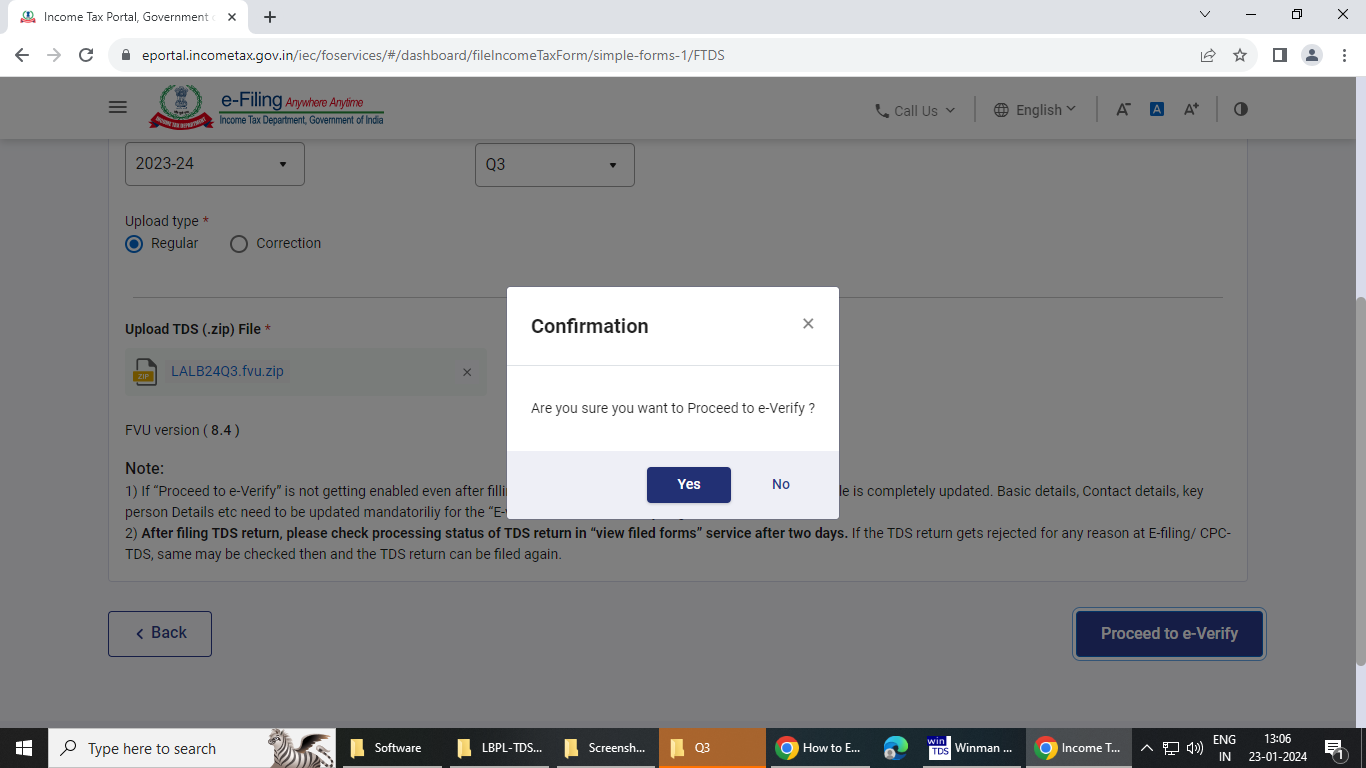
Verify the details autofilled and click on Proceed to e-Verify

Click on Yes to confirm and continue
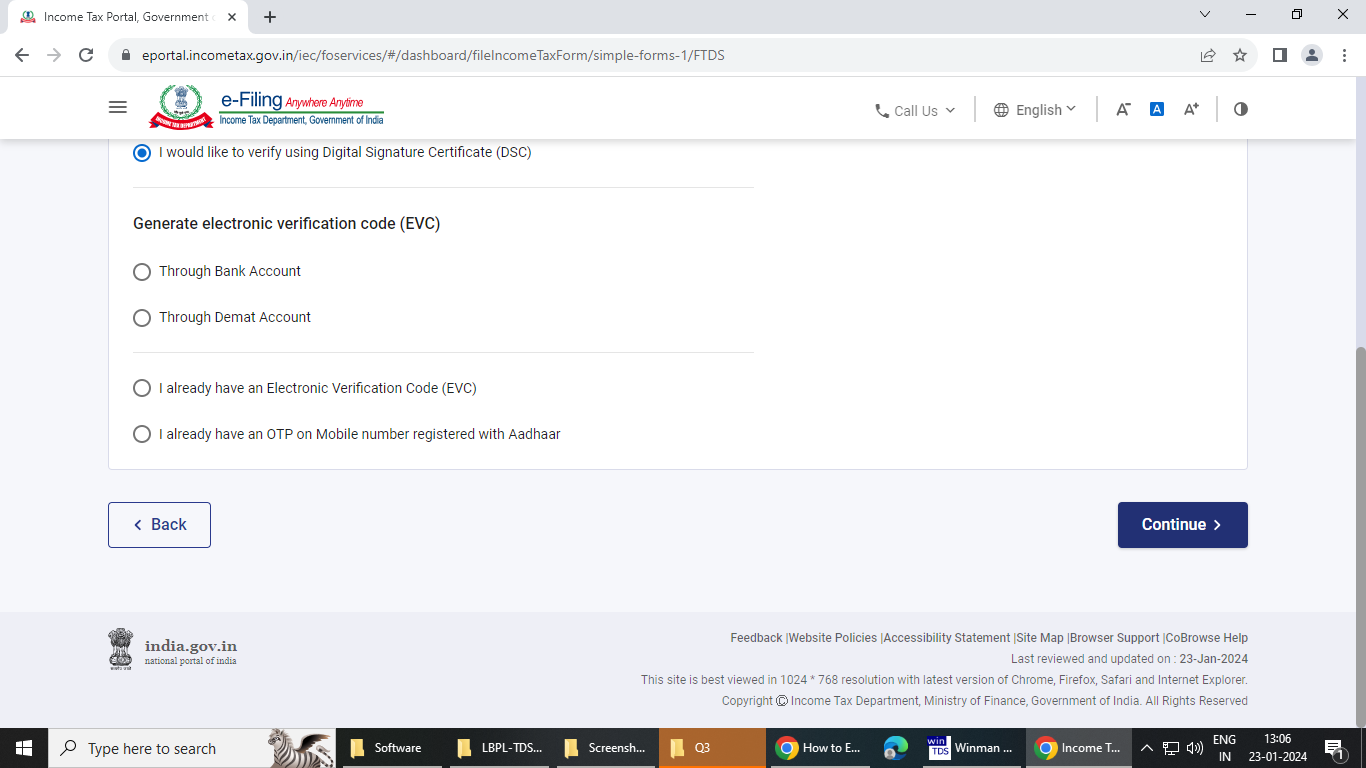
Select the mode of verification to be done as convinient
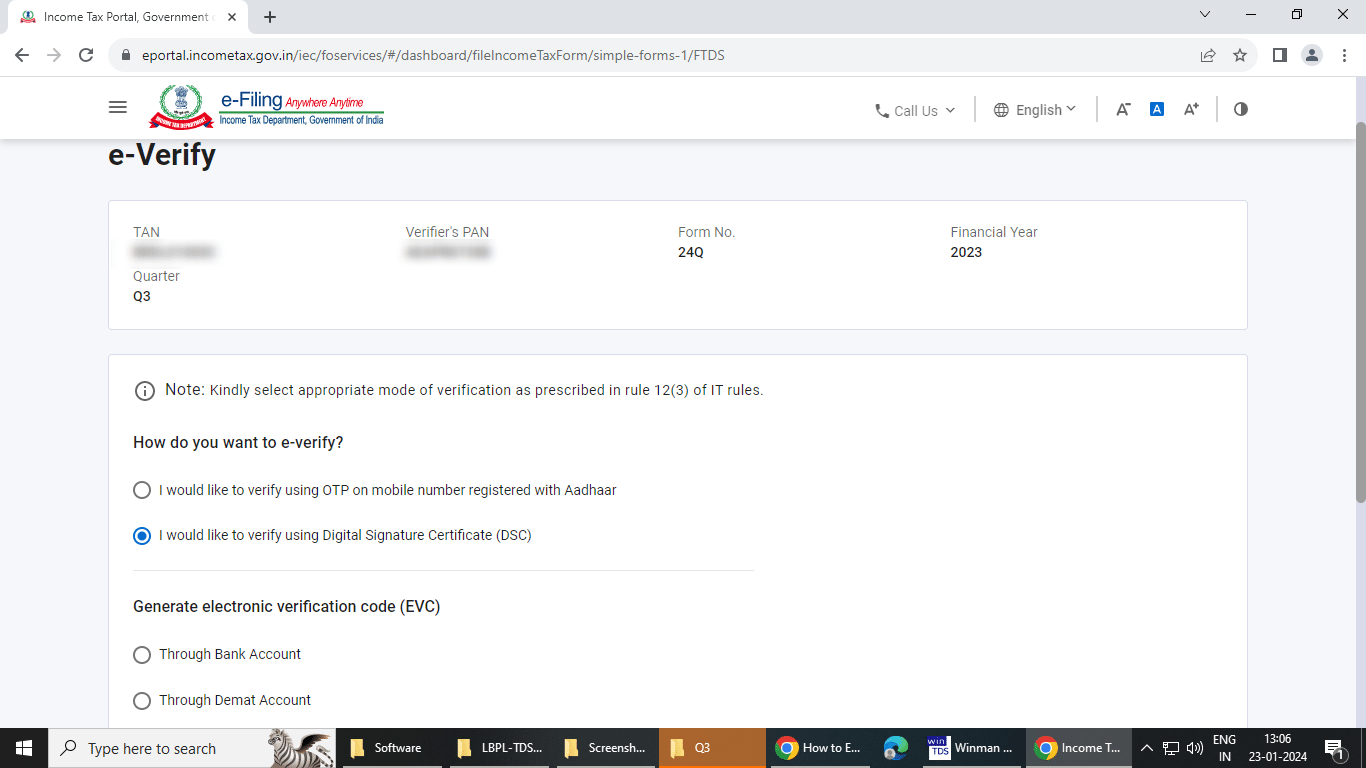
Click on Continue and Verify the return
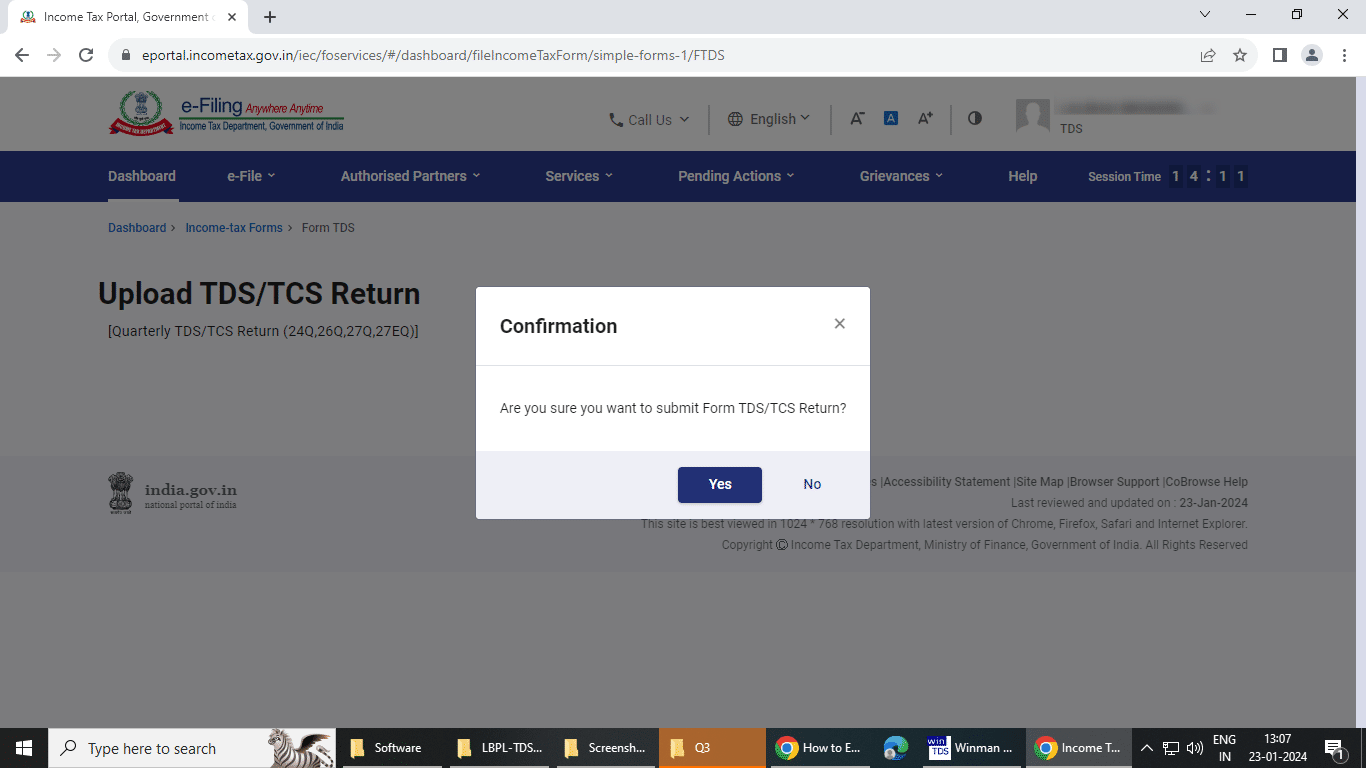
Click on Yes to submit and file TDS Return